Wooden Ratchet Toy Project
This fairly simple and straightforward woodworking project for older children will support the imagination and creativity of your kids, as well as developing fine motor skills. When it comes to quality wooden toys, this wooden ratchet toy offers great value and can be personalised with paints, glitter stickers or any other craft materials you can find. That said, we think it looks great as in its natural wooden form!
The wooden spinning ratchet noisemaker toy is ideal for celebrations, games, parties, sports events and general play use. Once complete, your children will be able to hold the handle and swing the mechanism around. The momentum makes the board click against the gear will which produces this distinctive clicking and rattling noise.
Furthermore, if you have younger children at home, why not try our Wooden Hand Clapper Toy?
Let's get started...
Part 1 - Materials and marking out
As there are moving parts that come in to contact with each other, hardwood is definitely needed for this project. In this example, we used oak for the head and ratchet with a simple beech handle.
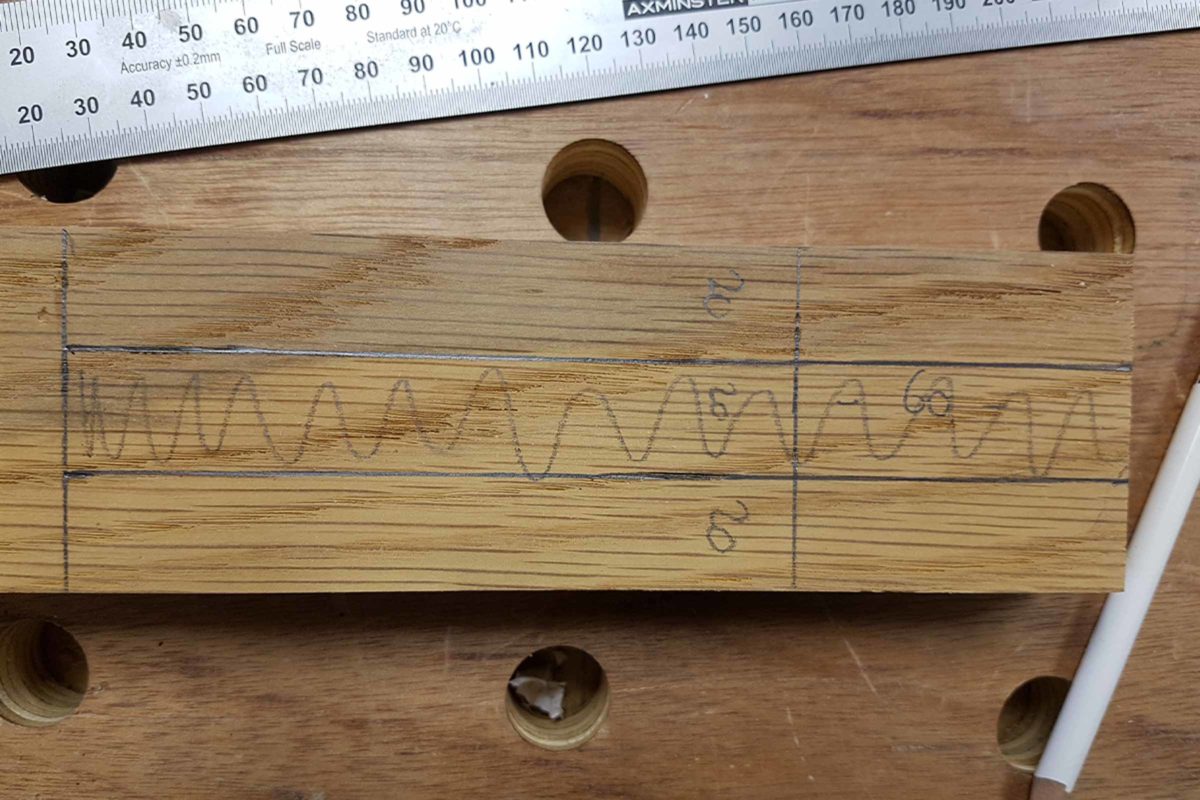
First things first, start by marking out 230mm long x 60mm wide x 20mm thick. This can be cut to size on a bandsaw, table saw or by hand.
Next, mark out at a 50mm point from one end and 60mm from the other end.
You will then need to mark a central 20mm channel from the 60mm end. Make sure you stop before the 50mm mark as most of this central area will be removed to form the reed.
Part 2 - Cut the groove / channel to form the reed
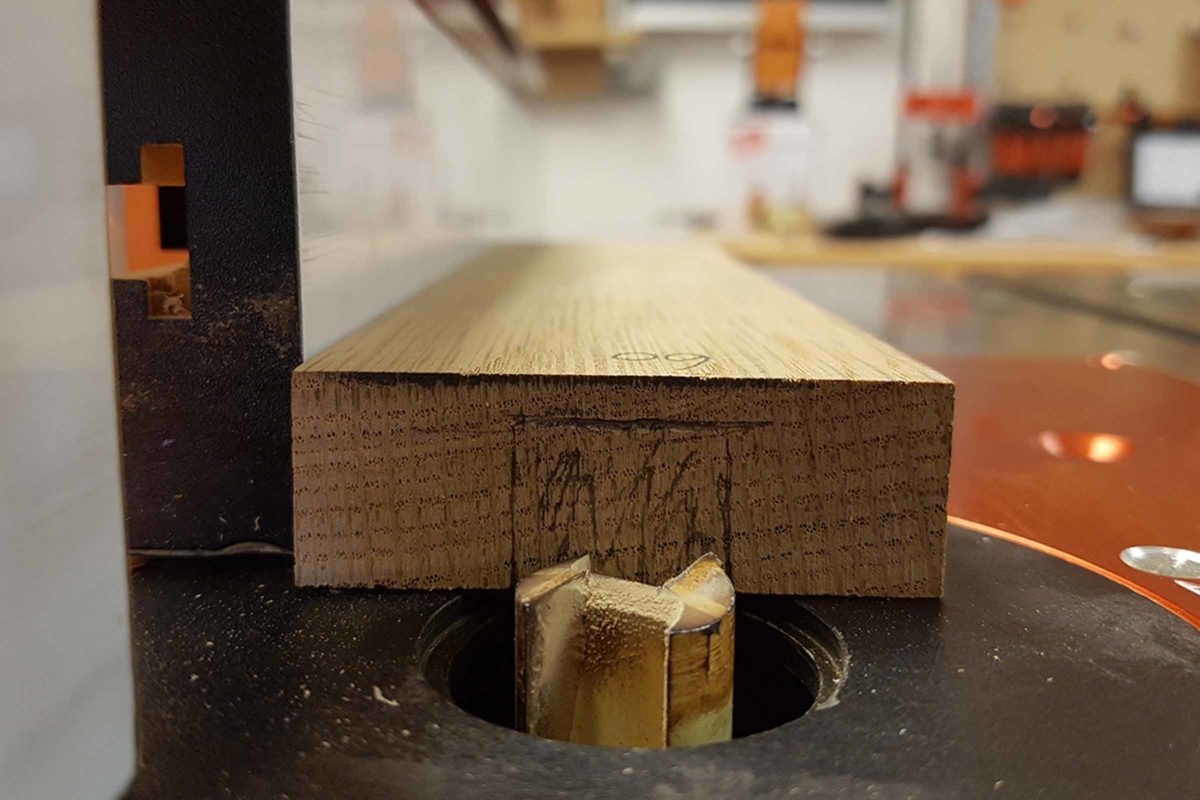
Now, you will now need to remove the material in the channel. We suggest using a router as it's the best tool for this task.
A 20mm wide x 16mm deep stopped groove will need to be cut to leave 4mm of timber to form the reed.
There are two options here. Firstly, at the bench with a hand held router and side fence. For this technique, it is probably best to leave cutting your timber to the 230mm length to give you something to clamp.
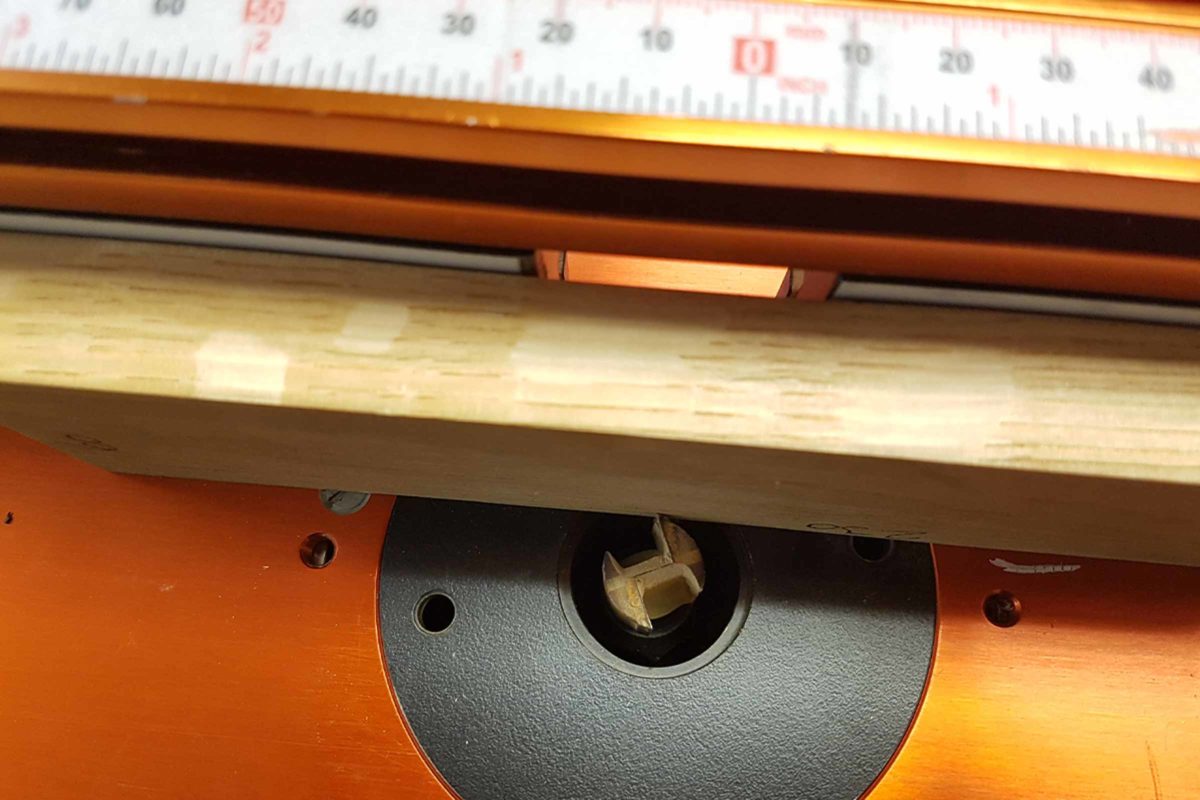
Alternatively, the second option is at the router table. The the fence will need to be set 20mm away from the cutters edge, marking up a stop mark so the cut finishes at the 50mm stop line. For safety reasons and for a better cut, ensure the cut is done in three or four stages. Work firmly against the fence using push blocks and guards at all times.
When you come to set up, please make sure that the router is unplugged.
Set the fence 20mm from the cutters edge
Slide the timber along and stop at the 50mm stop line. Mark up a stop line on the fence.
In three or four passes, raising the cutter slightly each time, work your way into the material. Remember to stop at the mark leaving 4mm.
It's now time to slice carefully down each side of the reed, stopping just before you get to the curve formed by the router cutter. This is best done on a bandsaw but could also be done using a fine Japanese pull saw.
Part 4 - Make the ratchet
Using the same hardwood timber as head, mark out a 60mm diameter circle. To do so, use a compass as it will leave a nice central mark for drilling later on.
Next, mark out eight or nine equal points around the circumference of the circle using a set of dividers. We suggest experimenting on a piece of paper first to get the spacing right. In our example, we found that 21mm spacing on our dividers gave us nine equal points to drill.
Using a hand plane, thin down the thickness of the ratchet. This is to ensure that it fits into the reed channel with space either side. It will also make sure that the ratchet rotates freely when in use.
Now, using a pillar drill and a 10mm forstner bit, drill the hole in the centre. Also drill the holes around the circumference of the ratchet.
Next, cut out the circle on the bandsaw and sand.
Whilst you are set up with the 10mm forstner bit, mark out a central 30mm point at the open 60mm end of the head. Drill through to receive the 10mm dowel.
Part 4 - Make the handle
If you have a lathe, the handle could be turned in one piece. If not, a 10mm & 20mm length of plain dowel is ideal for this.
Cut the 20mm dowel off at 200mm and cut the 10mm dowel off at 100mm.
Next, using a lip and spur drill, drill a 10mm hole 30mm deep into the end of the 20mm dowel. It is important to keep it as straight as you can. If you're struggling, try using a home made corner drill guide which may help.
Lastly, insert the 10mm dowel 30mm into the 20mm dowel.
Glue into place with PVA glue.
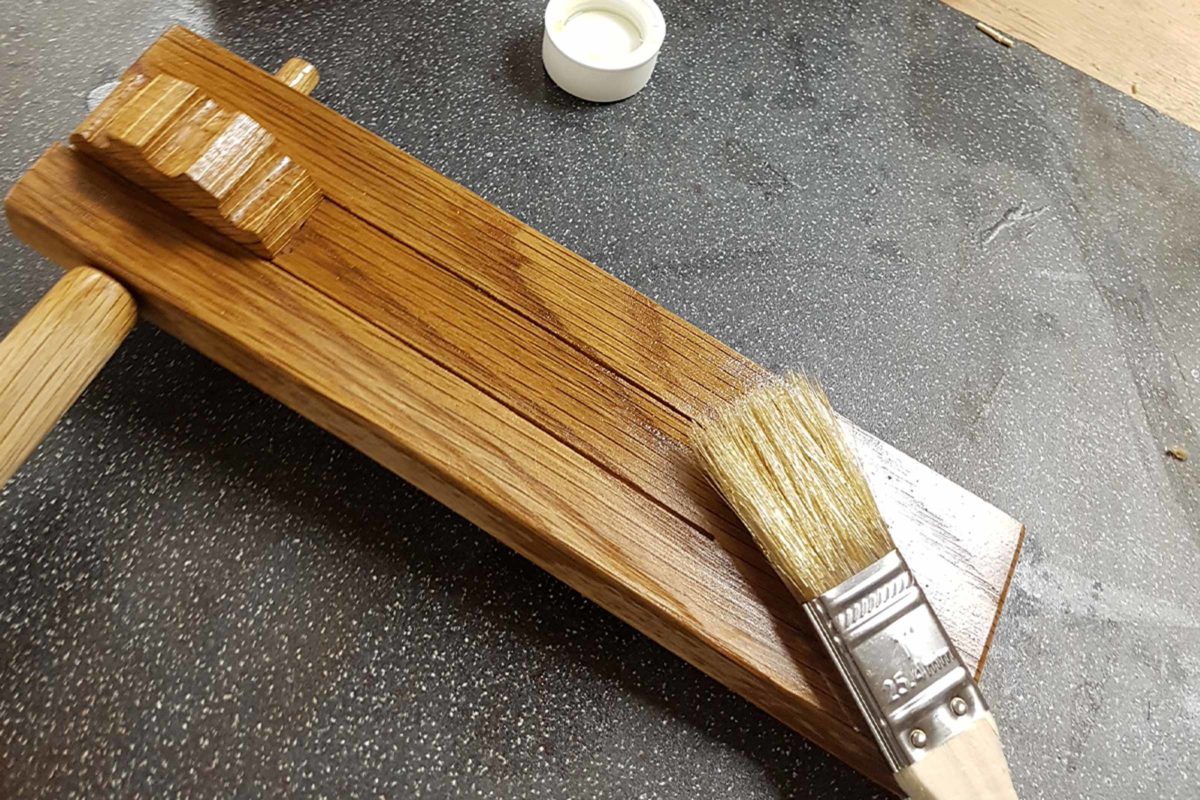
Part 5 - Assemble and finish
Before the final assembly, the reed needs to be cut off to length. The reed needs to be 2- 3mm longer than the 60mm mark from the end of the timber. This can be easily pared off using a nice sharp chisel, if required.
To test the length of the reed, try out a dry fit. If the feels a little stiff when you rotate the wooden ratchet toy against the reed, chisel off a very small amount for off the end of the reed.
When you are happy with the fit, put a little glue inside the central hole of the wooden ratchet before assembling the components. Wipe off any glue from the 10mm dowel leaving a small gap between the top of the handle and the bottom of the head.
Next, drill a 6mm hole in the side of the ratchet. Be sure to go into the 10mm dowel but not all the way through. The next step is to glue in place a 6mm dowel to hold the ratchet to the 10mm dowel. File off to match the shape of the ratchet. (61-64)
Finally, apply some oil and leave to dry. If you'd rather add some colour, glitter or other craft material instead, now's your chance to personalise your ratchet toy!
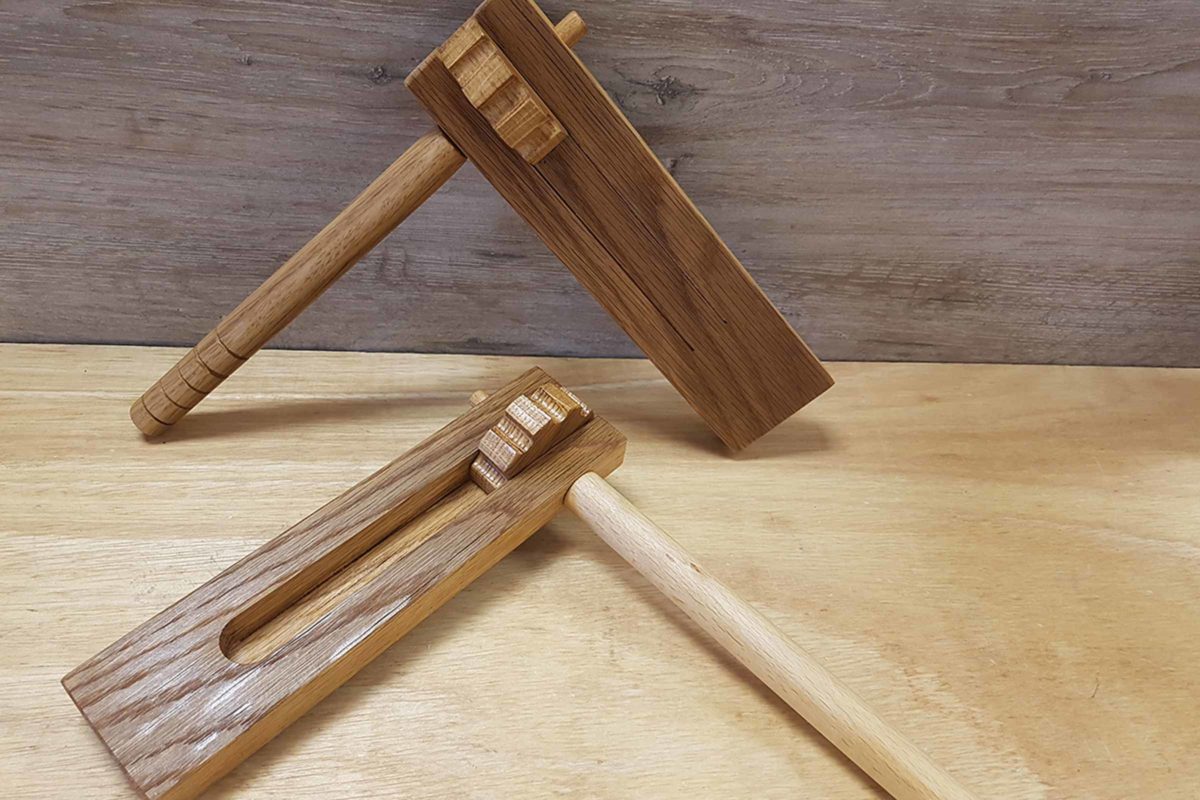
Your wooden ratchet toy is now complete!
Win a £25 Gift Card…
For a chance of winning at £25 Axminster Gift Card, simply show us what Beat the Boredom projects you’ve completed by uploading them to Instagram, Facebook or on to our Community Forum.
Snap It
Take a photo of your project.
Tag It
Use the #BeatTheBoredom hashtag and upload it to one of the following;
Win It
Send us your Beat the Boredom creations for a chance to win a £25 Axminster Gift Card – one to be won each month!
Discover more…
If you’ve enjoyed reading this article, keep an eye out for our next woodworking project for kids as part of our Beat The Boredom series. Watch this space for more details!
Take a look at some of our previous Beat The Boredom projects below!
You May Also Like...
Part of our online Beat The Boredom series, this week we’ve got a brilliant yet simple woodworking project to get your younger kids inspired. Ideal for young children with adult supervision, our latest woodworking project...
We've got another fantastic woodworking project for kids; our wooden robot project is ideal for any beginner woodworker. Ideal for young children with an interest in learning more about woodworking and getting hands on, this is...
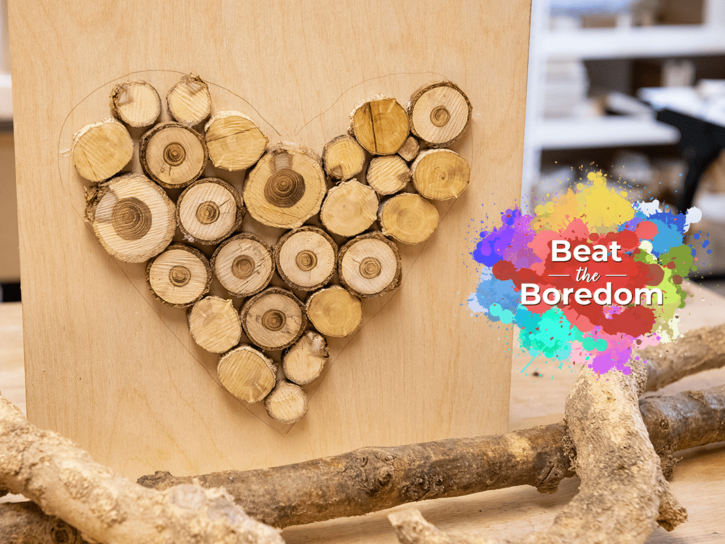
Looking for another great woodworking project for young kids? Take a look at our Wooden Heart project, designed for little ones with the help of an adult. Forming part of our online Beat the Boredom...
Check out our first Beat the Boredom woodworking project for young kids- a simple nail & string project, using tools and materials found at home.
Stuck at home with the kids? Looking for something fun to do? We have the answer with our online Beat the Boredom Series. A great way to get the children involved in a variety of...
Get connected!
If you’re searching for Beat the Boredom projects, you’ll find them on the Knowledge website. Alternatively, follow us on Instagram and Facebook to stay up to date on all the latest from our Beat the Boredom series. Connect with us using #BeatTheBoredom to @AxminsterTools.