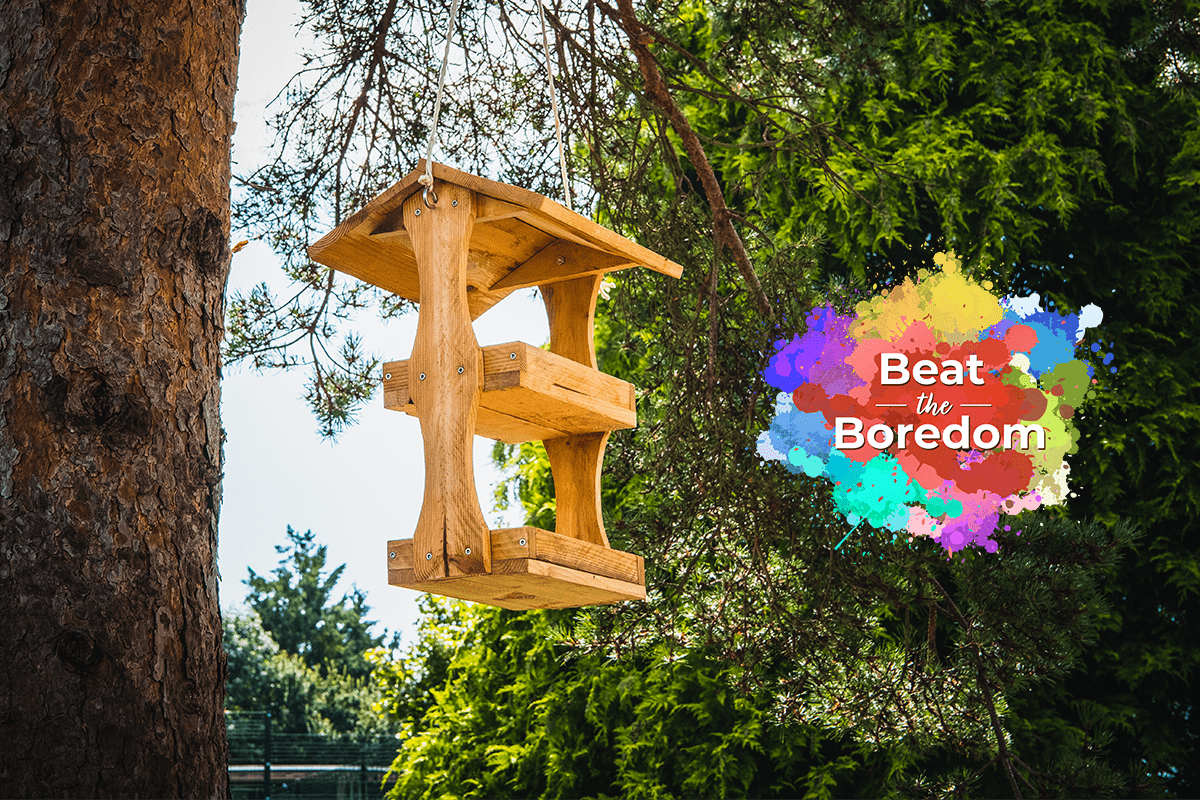
Tiered Bird Table
A great woodworking project to make with the kids, this wooden tiered bird table offers a year round feeding station, and guaranteed happy visitors!
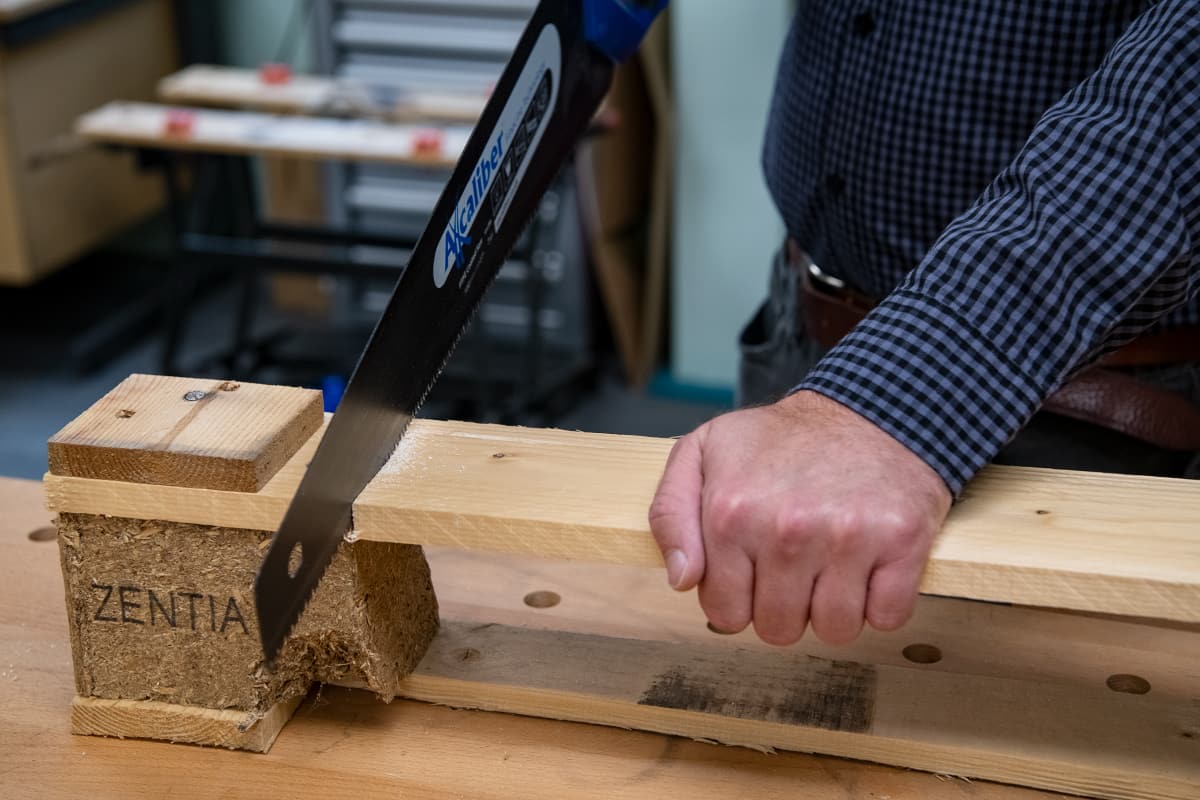
Part 1 - Dismantle a pallet
Firstly, find a decent quality pallet; one without too many splits or knots. You can either use a claw hammer to pull the nails out or use a hand saw to cut the usable timber from the pallet.
Part 2 - Glue the panels
Here you need four panels; two roof panels and two for the shelves. Pallets vary on the width of the boards so use this as a guide only. To glue the edges together they need to be flat and clean. Hold the boards on edge in a bench vice or something similar (Black and Decker workmate, for example) and plane off the rough edges. Run a bead of glue along the planed surface and bring the boards together. Clamp until some of the glue squeezes out and wipe off any excess. Leave to dry.
Part 3 - Mark up the sides
In our example, our boards taken from the pallet ended up at 90mm wide and 460mm long but make the most of the width, if your boards are wider. Mark centre along the length. Using a rule, measure 20mm from the top of the board on both sides. Draw a line from centre to the 20mm mark. This line indicates the pitch of the roof.
Next, you need to shape the sides. In our example, we brought the sides in to give the bird table a bit of shape - here’s how. From the top, measure and make a mark at 50mm, 210mm, 250mm and 410mm on both edges of the board. Using something round (a large dinner plate or frying pan, for example), join up marks made at 50mm to 210mm. This will give you a semicircle. Do the same again from 250mm to 410mm. You only have to do this on one board as you'll fix to the other board to cut.
Part 4 - Cut the sides
Next, using your marked out board as a guide, drill six pilot holes where the sides will fix onto the roof and trays. Two at the top for the roof, two in the middle (waist) and two at the bottom. Find another board that is the same size as the one you are working on. Then screw the two boards together. Here, please make sure the screws don’t go all the way through both boards and protrude out the bottom.
Trim off the angle for the roof then cut out the semi circles marked. Use either a bandsaw or a coping saw.
Part 5 - Cut rails for the trays and roof struts
Set the fence on the bandsaw to 35mm and run the boards through cutting strips. You will need eight of these. This is a good opportunity to get rid of any waste (splits and knots).
Reset the fence to 50mm to cut the roof struts. Next, cut the roof struts to length at 210mm. Mark a centre line and use your sides as a template to cut the pitch of the roof.
Part 6 - Cut the panels for the roof and the trays
You now need to trim your glued panels square on one end using either a bandsaw or a handsaw. Start with the roof panels to get maximum length. Trim the trays a bit smaller. In our example, we cut the roof at 360mm x 180mm and the trays at 300mm x 180mm. If you have a little helper with you, sand the edges of the boards to prevent splinters as pallet wood can be a bit rough.
Part 7 - Make the trays
First you'll need to cut your rails to size. As a guide, we cut the end rails first at 180mm. Next, lay them on your tray panels and measure for the side rails. Cut side rails to length.
Apply glue to end of side rails, align and screw through end rails to make a frame. It helps to drill a pilot hole to prevent splitting. Place the frame on top of the tray panel and clamp in place. Turn the tray over and screw the panel to the frame. Repeat this for the second tray.
Part 8 - Assemble body of bird table
Use the previously marked out holes in the sides to screw and glue sides to the trays. Then fix the roof struts. Try to keep everything square using centrelines for alignment.
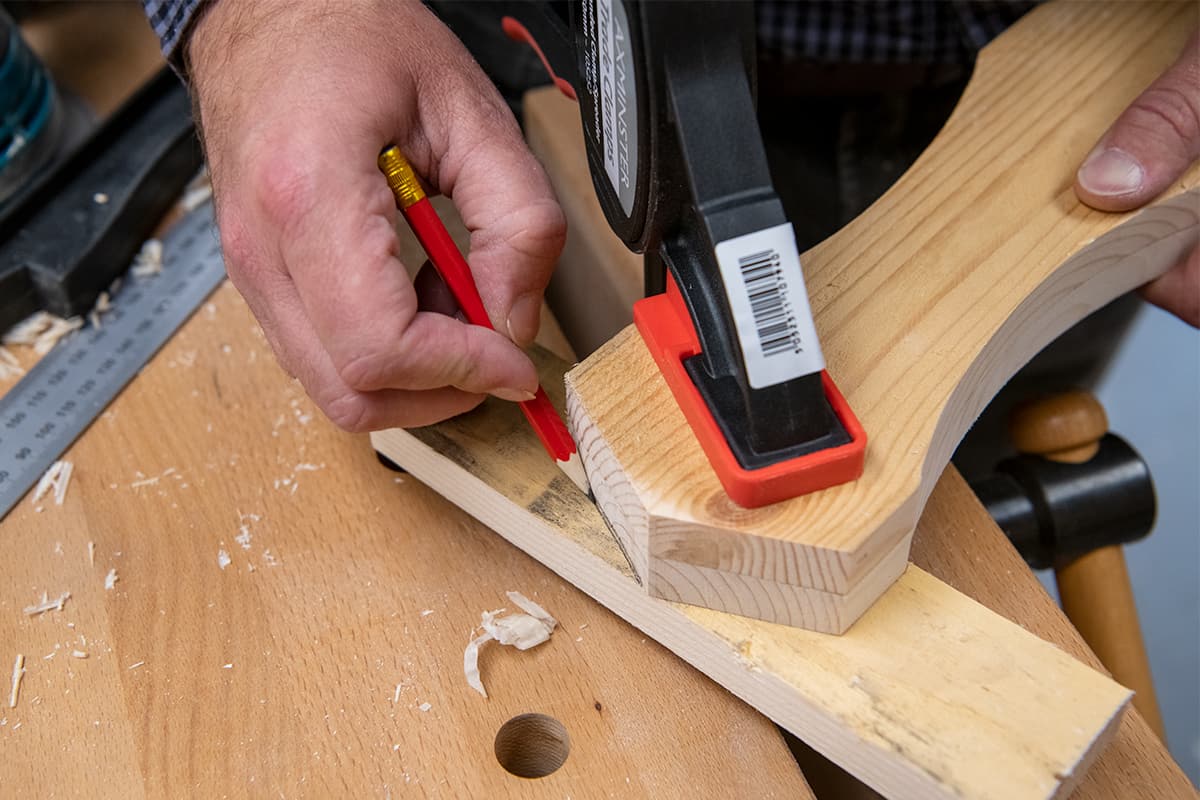
Part 9 - The roof
To make the roof first take the roof panel and clamp it to one of the roof struts. Offer the other roof panel up to the roof strut and align to the top edge. Continue the line onto the clamped panel to mark the angle you need to cut.
Hold the roof panel in a bench vice and use a hand plane to plane in the angle.
Next, use quick grip clamps to hold the roof panels to the roof strut and glue in place. Once the glue is dry, the roof is ready to screw to the roof struts.
Part 10 - Finish
To finish your tiered bird table, there's just a couple of finishing touches to complete!
To be able to hang the table, screw in a couple of round eye hooks and plait some string. This will mean you can hang it around a tree branch. Sand all around using a random orbit sander or a sanding block. As always, remember to wear a dust mask. Finish by adding some oil. In our example, we used an Osmo UV protection oil.
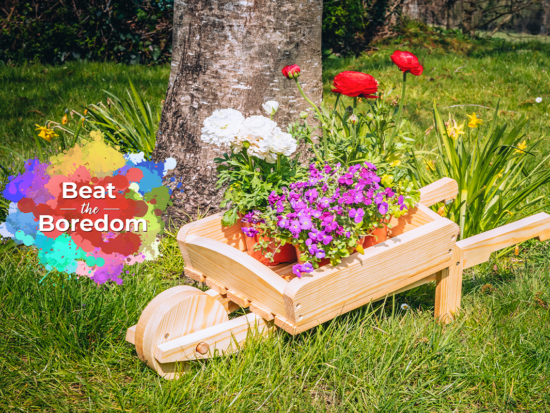
Win a £25 Gift Card...
For a chance of winning at £25 Axminster Gift Card, simply show us what Beat The Boredom projects you’ve completed by uploading them to Instagram, Facebook or on to our Community Forum.
Snap It
Take a photo of your project.
Tag It
Use the #BeatTheBoredom hashtag and upload it to one of the following;
Discover more...
If you’ve enjoyed reading this article, keep an eye out for our next woodworking project for kids as part of our online Beat The Boredom series. Watch this space for more details! Furthermore, why not take a look at all of our previous projects below?
Stuck at home with the kids? Looking for something fun to do? We have the answer with our online Beat the Boredom Series. A great way to get the children involved in a variety of...
Get connected!
Follow us on Instagram and Facebook to stay up to date on all the latest from our Beat the Boredom series. Connect with us using #BeatTheBoredom to @AxminsterTools.


")


Might be worth notching the tray corners to give drainage.