The Through Dovetail Joint: How To Mark The Pins
When cutting dovetails, the pins are always marked out from the tails.
The time honoured and traditional way to mark the pins is to use a plane on it’s side in front of the vice. Here, one of our Rider No. 5½ jack planes is being pressed into service.
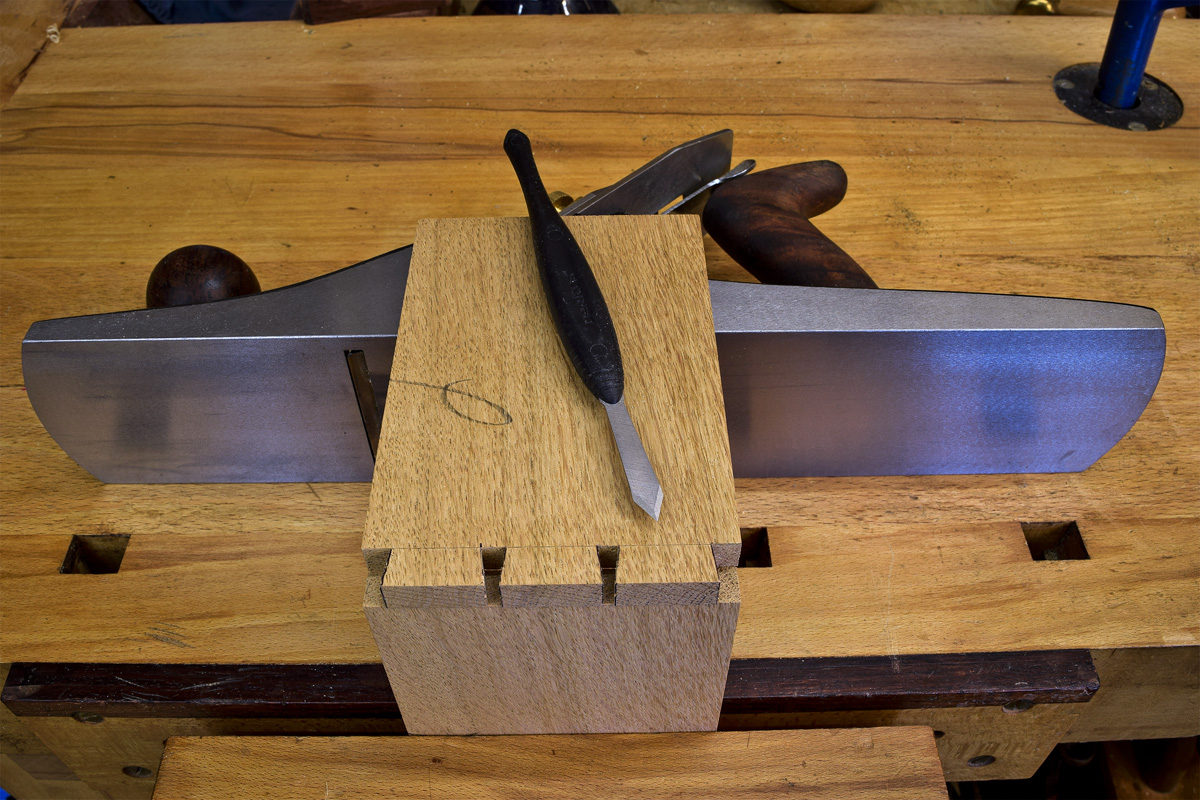
The tail board is placed horizontally across the plane and pin board ready for marking out. This method works quite well, but it’s difficult to ensure that the sides line up correctly and that everything’s square. Even when it is square, it’s infuriatingly easy to nudge the pieces out of position which as a consequence leads to inaccuracy.
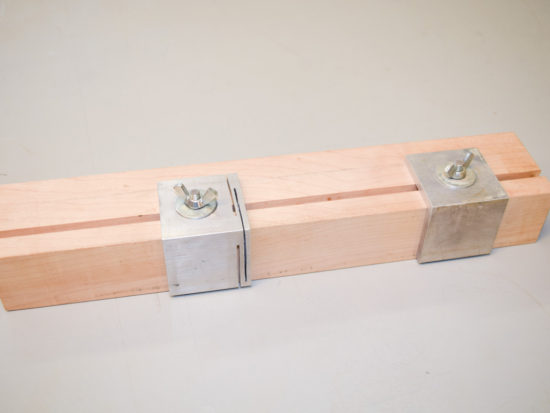
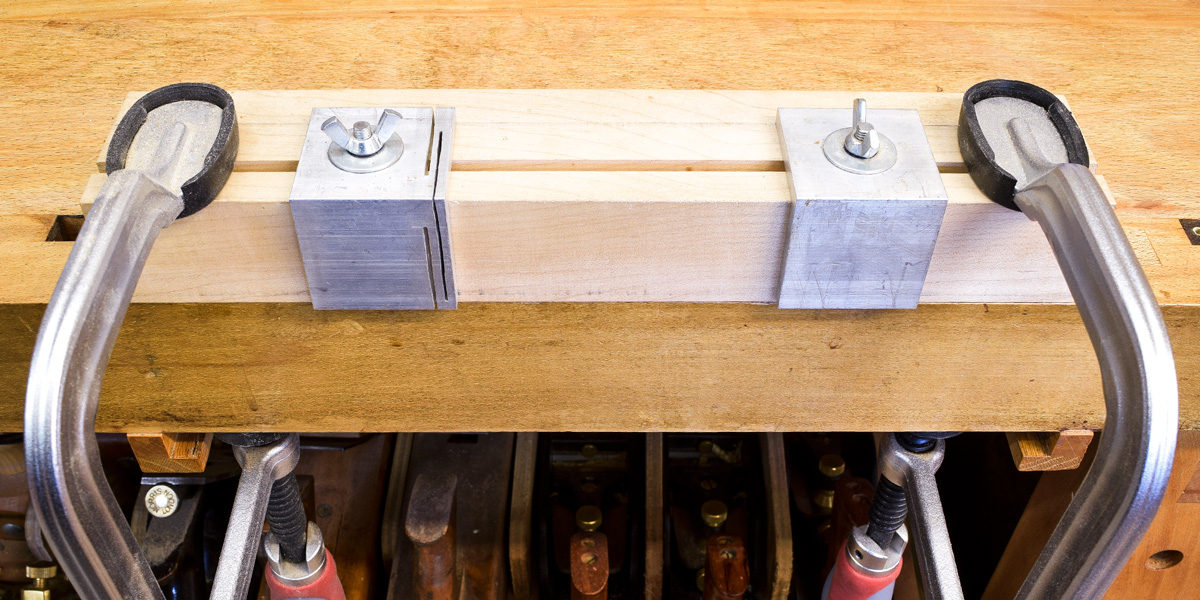
A much better way to mark the pins is to use a dovetail transfer jig. Both pieces are held securely and square, ready for marking out. There are all sorts of jigs that can be made but this one has been designed by Robert Ingham.
What you'll need
Step 1
Insert the pin board into the aluminium clamps on the jig.
Step 2 (optional)
For additional security, use a deep throat g-clamp to hold the pin board.
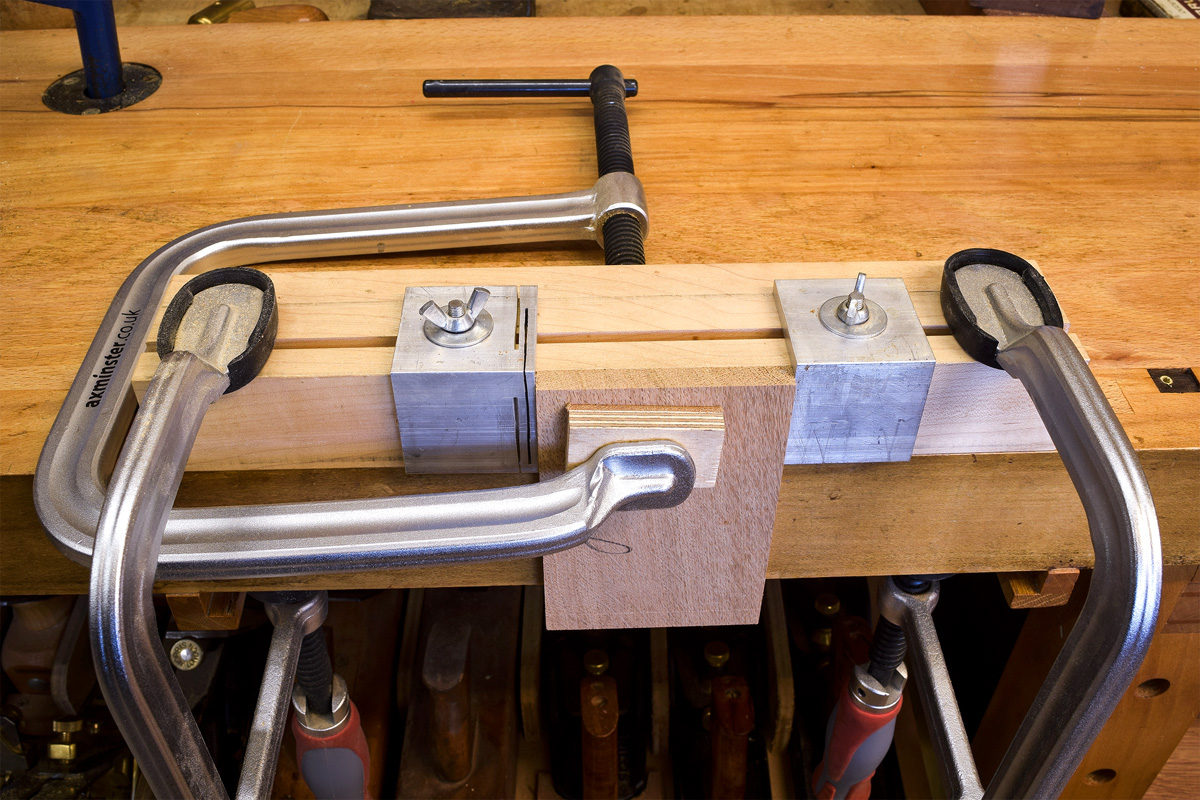
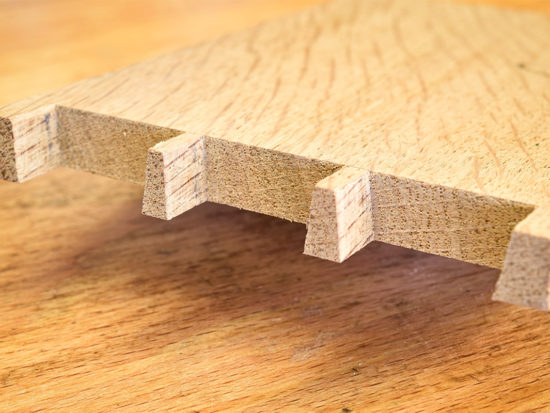
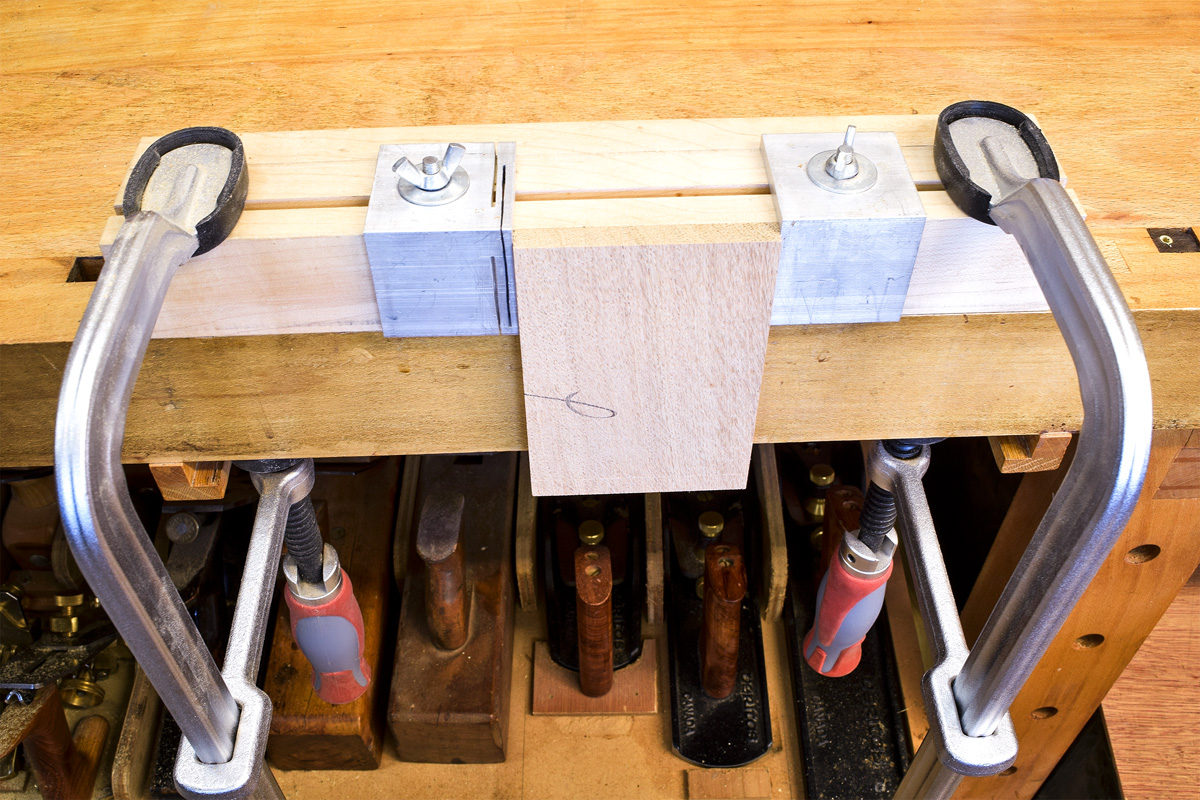
Step 3
Place the tail board into the jig and tighten the aluminium clamp so it’s held securely.
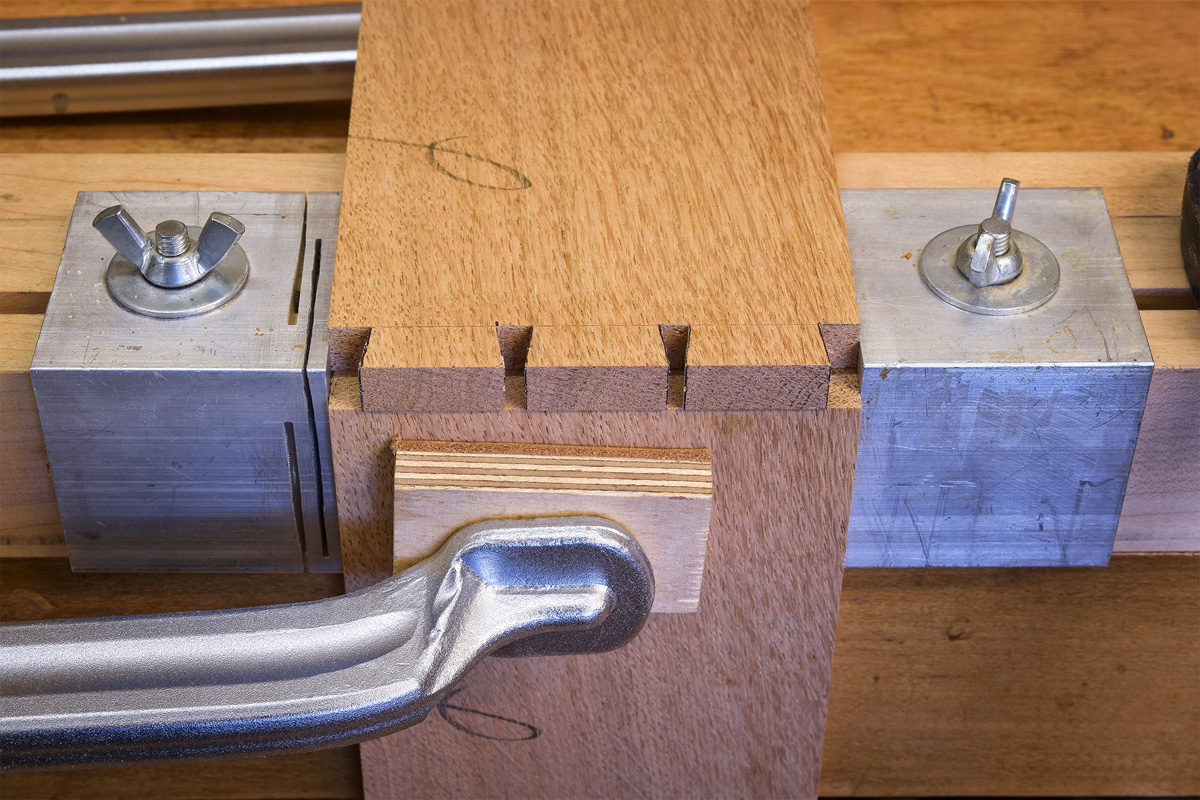
Important!
There should be a tiny amount of overhang on the tail board; no more than 0.25mm which can easily be felt with the fingers.
Step 4
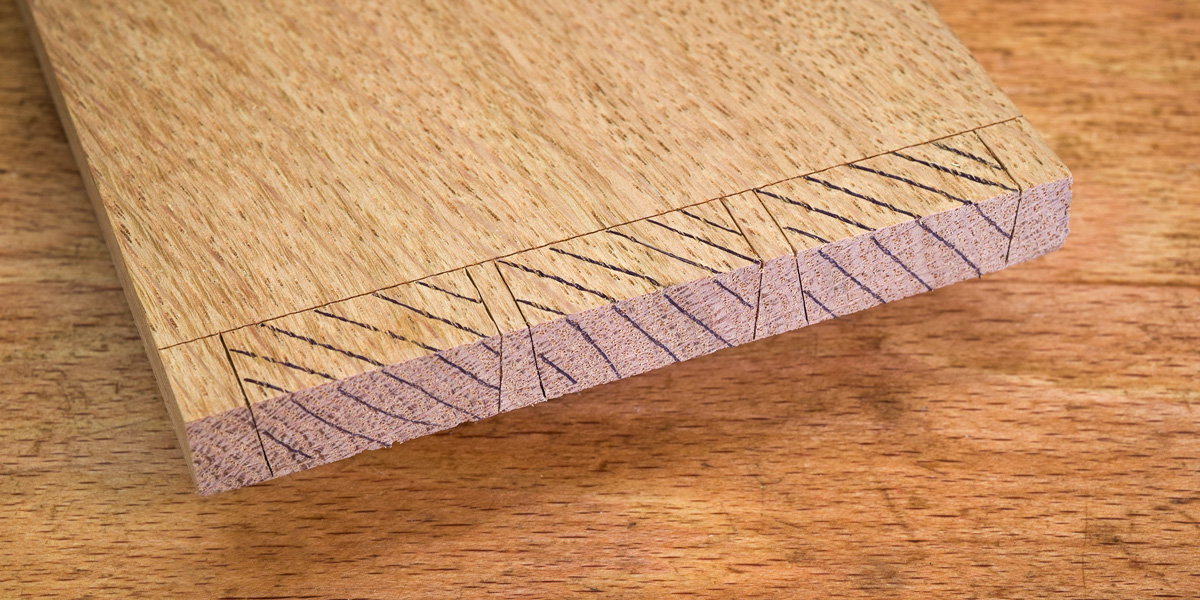
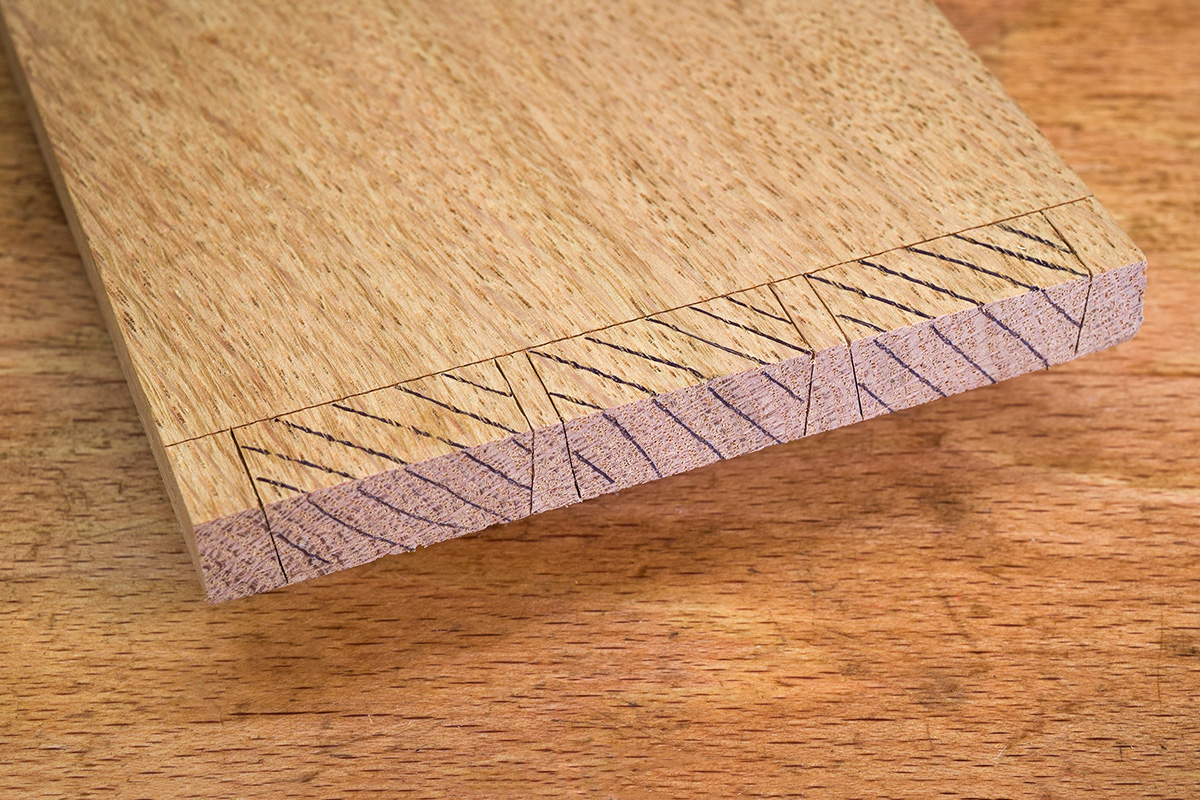
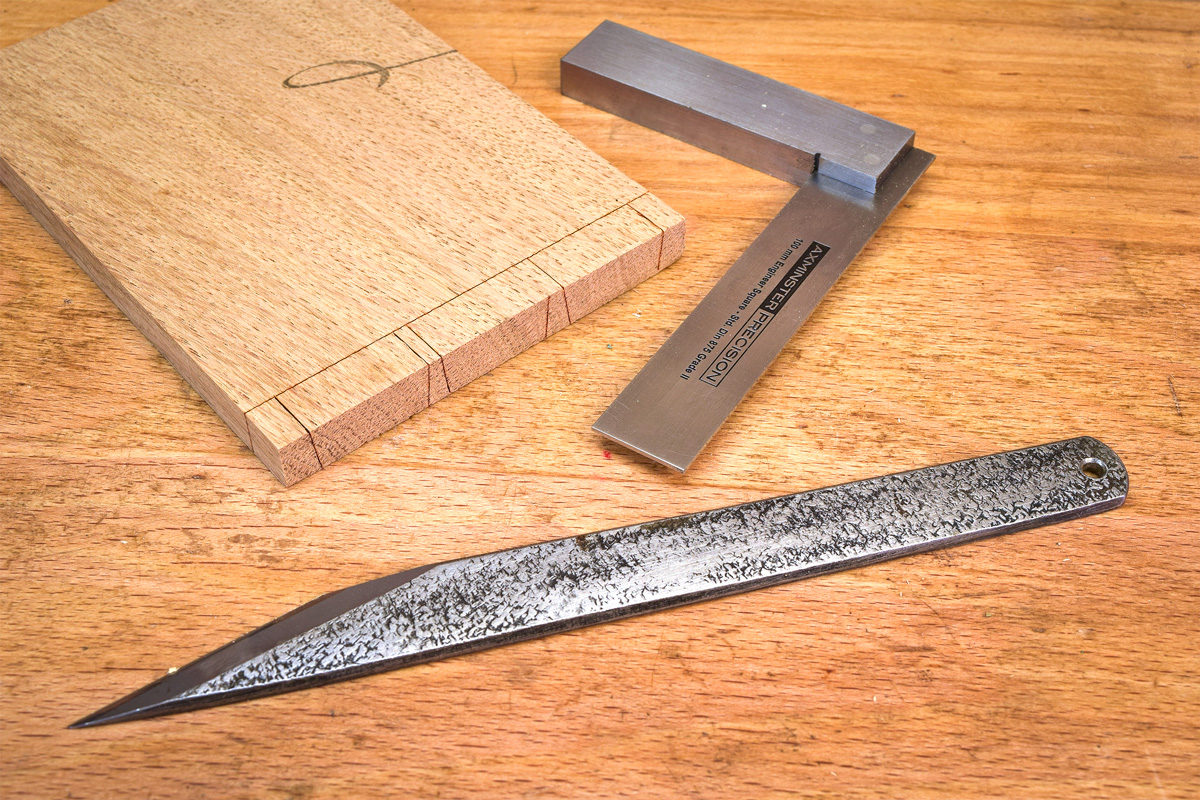
Use a ‘V’ shaped dovetail marking out knife, mark the pins by scribing around each in turn.


Top Tip!
Make sure that the knife is used firmly to leave a deep cut in the end grain.
Step 5
Use a square and marking knife to transfer parallel lines from each pin onto the shoulder line.
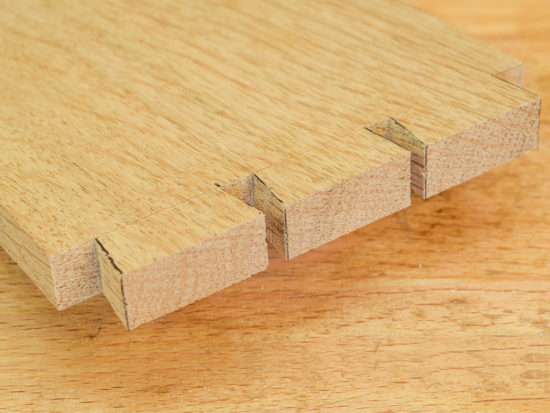
Step 6
Finally, complete the marking out of the pin board by carefully shading the waste sections.