
The Marking Gauge
When producing handiwork at the bench, the assumption is sometimes made that the cutting process is the one that achieves accuracy and this in some respects is true; if you don’t cut accurately then stuff won’t fit. However, no matter how accurately you can wield your hand tools, the marking out procedure is equally important.
There are only a few marking-out tools which are required and it goes without saying that they should be the best quality that your pocket can afford, but it’s fair to say that everyone develops their own preference and has their favourites. As well as the basic marking out tools, over time you’ll probably also acquire more specialist items such as a dovetail gauge and a small striking knife.
There’s definitely a place for a decent, sharp 4H pencil on the bench and I generally always use a softer HB or a carpenter’s pencil for any rougher marking out; for example, if I’ve got to cut a lump of wood off the end of a board. A selection of rules is desirable; 150mm, 300mm and 1m should be easily to hand as well as some engineer’s squares, with a 150mm size probably being the most useful. I also have a smaller 50mm and larger 300mm square and I’ve found a small sliding square very handy as it doubles as a depth gauge.
There are a number of other marking out tools that are essential, one of which is a marking knife and one with a V-shaped blade is the most versatile. Another is the scratch or joiner’s awl which can be used to mark a precise dot or point on the wood.
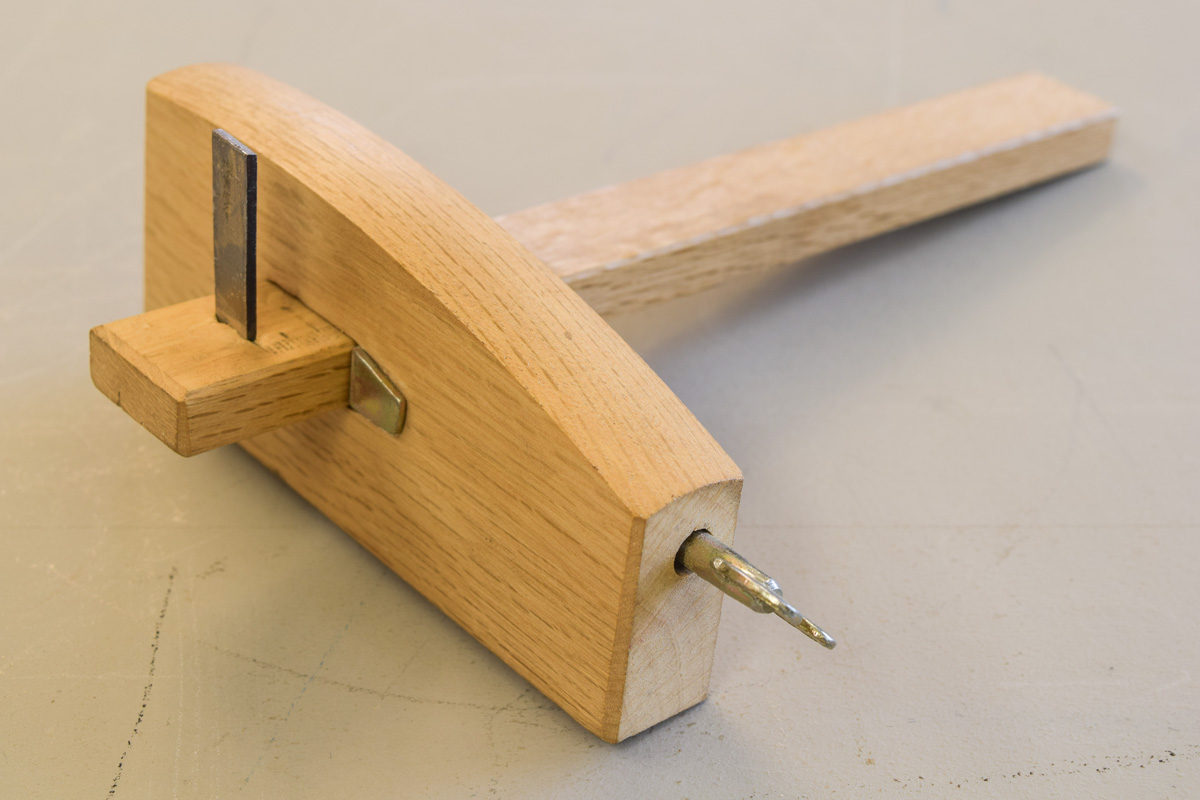
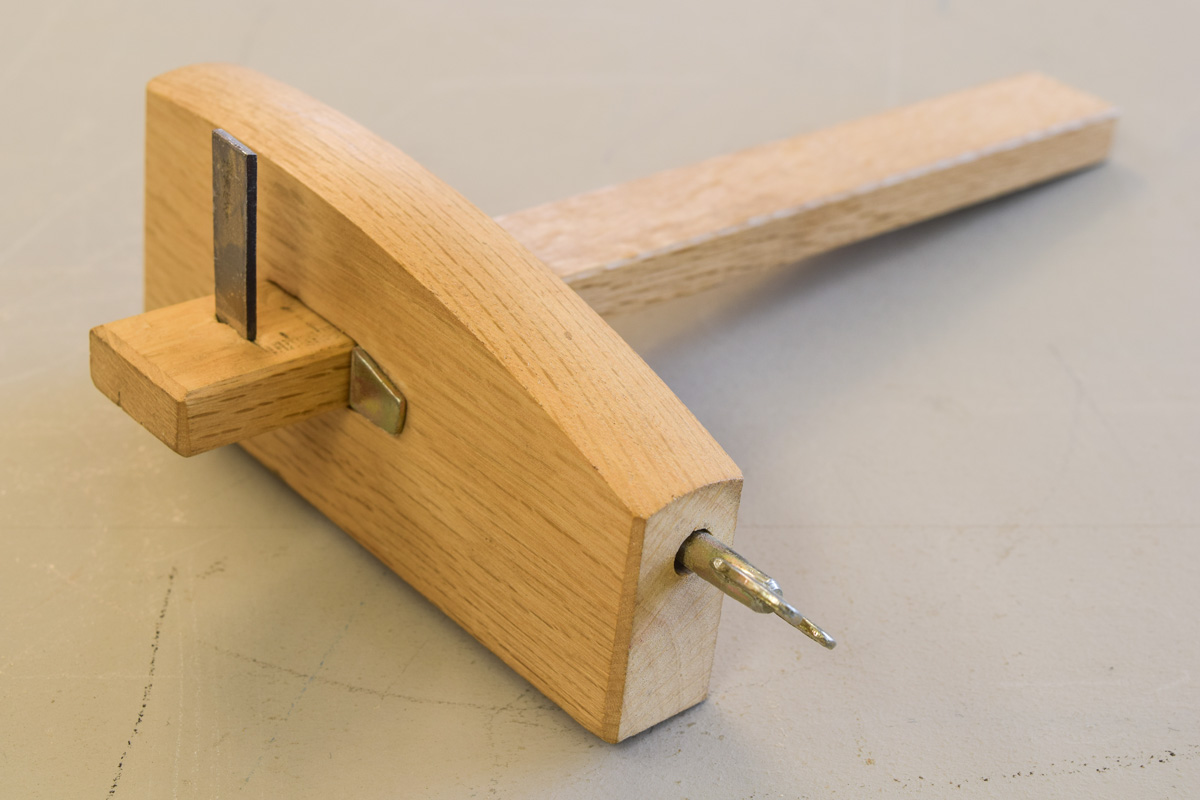
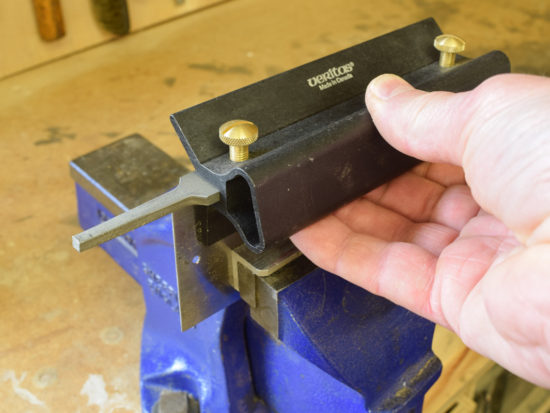
The last item is of course the marking gauge. Over the course of many years I think I’ve probably tried all the variations from the traditional pin type which has been around for centuries through to the more recent wheel gauges, of which I have a couple, but my favourite ‘go-to’ gauge now is a Japanese one. An issue with marking gauges is that you’ll usually always need more than one as during the course of a project, the ‘set’ on one particular gauge needs to be maintained and can’t be altered. If by chance, you’re a fan of the Veritas wheel gauges, a few of those could make a very deep indent into the pocket of nearly £100.
For anyone new to woodwork, the traditional pin type gauge is one of the hardest hand tools to master and it did take me quite a while to get the hang of it, but a few Christmases ago, my daughter bought me an inexpensive Japanese marking gauge and because it uses a blade rather than a pin, it also doubles as a cutting gauge. Watch our video Using a Marking Gauge.
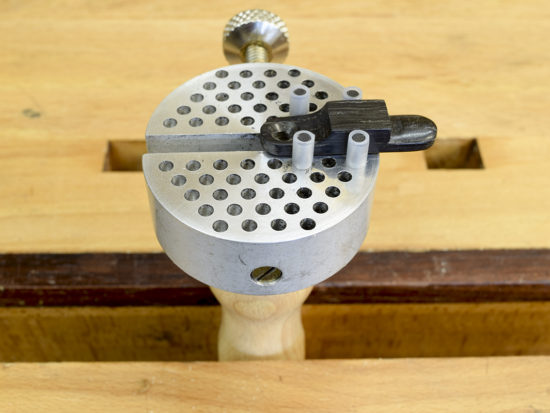
To use it was a revelation. The blade is wedged into the stem so that the gauge must be used on the ‘pull’ stroke, rather than the traditional ‘push’ and being extremely cunning, the Japanese have also positioned the blade with around 10° of ‘toe in’ (arrowed), the result of which is that there’s a natural tendency for the stock to hug the side of the wood.
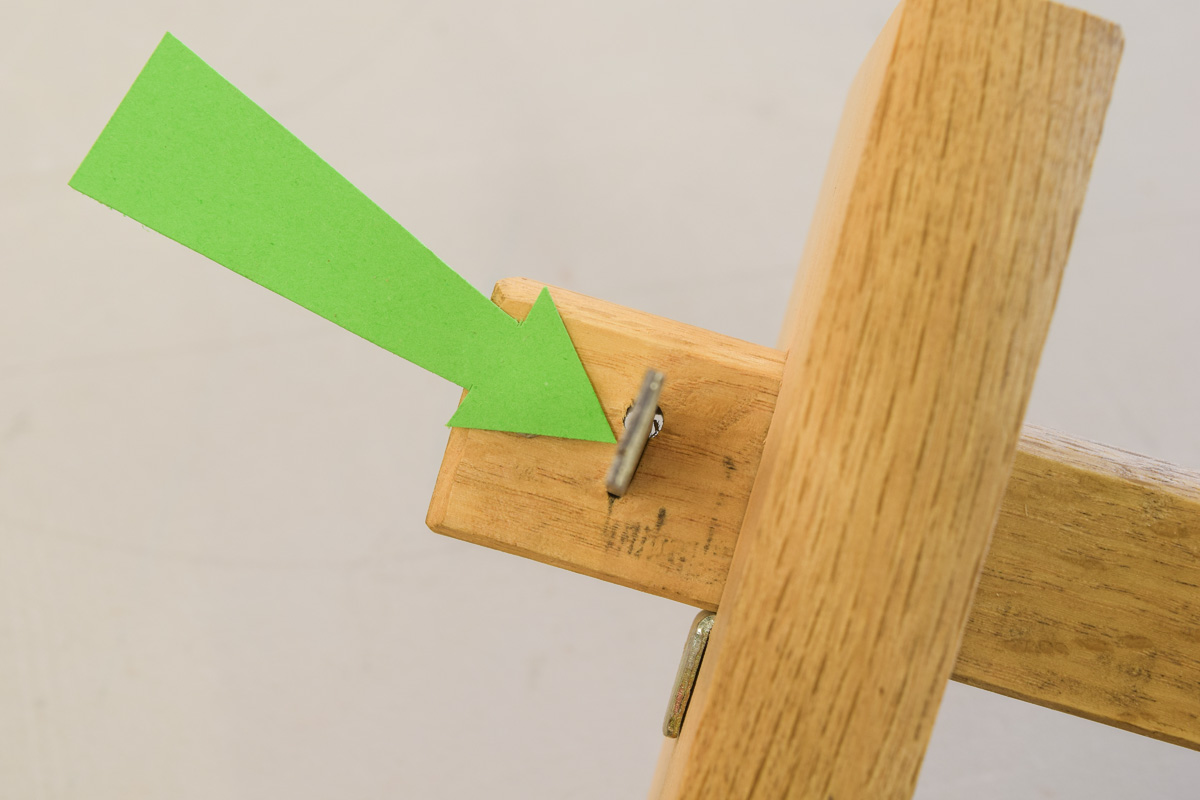 The stock is also much longer than normal which means that it’s very difficult for it to veer away from the face edge.
I was so impressed that I almost immediately discarded all my other gauges and decided that I would make a few more, including a longer panel gauge with a holly stem and a specially ground, hardened steel masonry nail instead of a blade.
 Even better, a Japanese marking gauge costs next to nothing as it can be made from oddments of timber from the scrap bin. The only expense is a long 6mm bolt and square nut as well as an oddment from a HSS hacksaw blade for the cutter.
There is however, a silver soldering process involved for the turn screw which some may find difficult, but provided the correct procedure is adopted, it’s very simple. Alternatively, anyone with a little ingenuity who decides to make a Japanese gauge could probably find a way round the problem, possibly by using epoxy adhesive.
The gauges I made were based on the one my daughter bought me. If you want to find out how to make your own you can follow our 'How To' on the making process by clicking here.
Looks great hoping to make one of my own also.
Hello Wim, many thanks indeed for your comment. If you do a lot of work at the bench as I do, I'd suggest you make three rather than just one as it's only a little more effort to replicate each stage as you go along. Including the one my daughter bought me, I've now use four and two currently have a 'set' sticky label on the stem so I know that I can't alter them. Any issues or problems, leave a comment on the 'How To' build page and I'll do my best to answer them.