
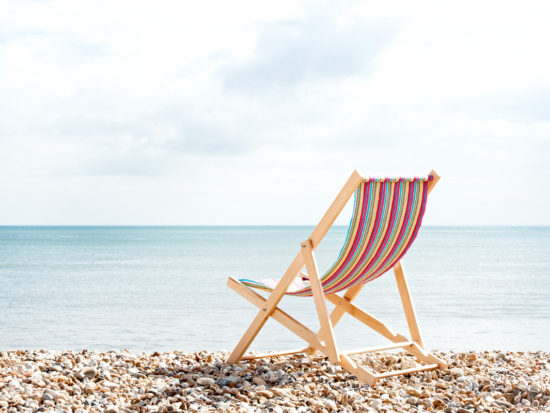
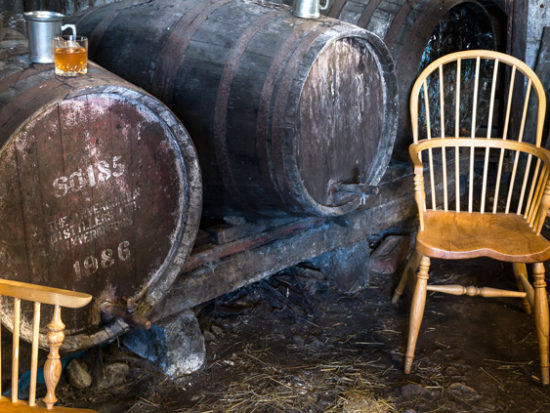
How to make a Windsor Chair step-by-step: Part 4
After completing all of our legs, stretchers and arm supports in Part 1, your seat in Part 2 and the arm, back bow and the sticks in Part 3, it’s now time to focus on the drilling and final assembly.
About this project
This four part project will give step-by-step instructions on how to make a traditional Windsor chair. It will list all tools and materials you will need at the beginning of each part. Good luck and happy making!
Before we get started
Undertaking the construction of a Windsor chair is no mean feat and having some experience of woodturning and working with hand tools is essential. We not only offer a complete 5 day Windsor chair course, where you take home a chair at the end of the week, we also offer two-day courses on Woodturning so you can hone your skills in advance.
Tool menu - Final shaping, drilling and assembly
You will need the following tools to complete Part 4:
- Titebond II
- Bench
- Deadblow Hammer
- Ratchet Straps x 4
- 12.7 mm Lip and Spur Bit
- Pillar Drill
- Spokeshave
- Digital Angle Finder
- Cordless Drill
- Depth Gauge
- Japanese Pull Saw
- Oil Finish
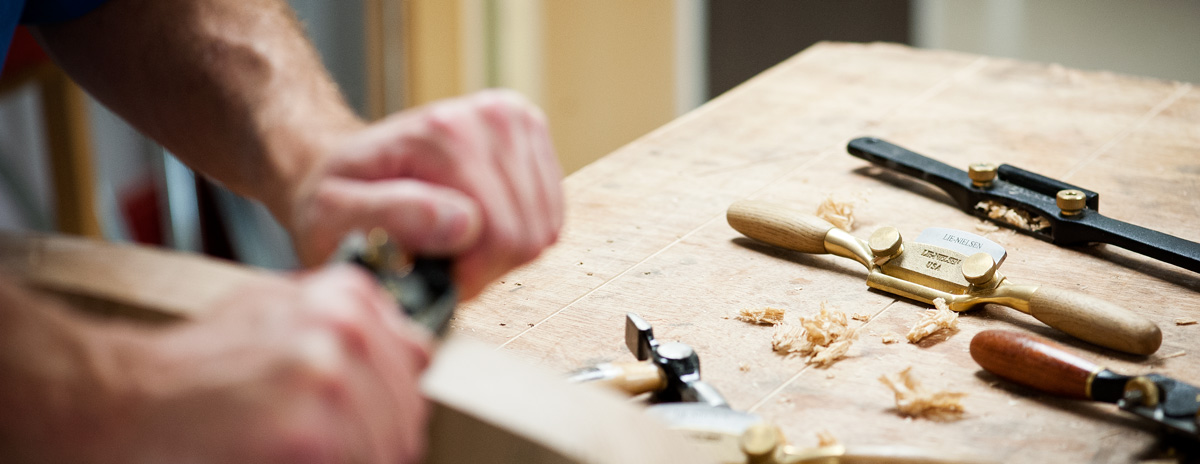
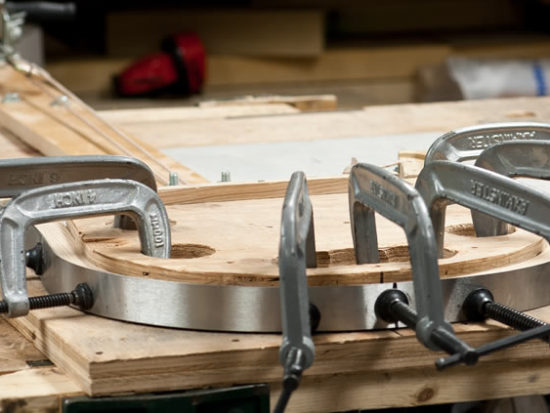
Step 1 - Final shaping of arm bow and back bow
- Fix arm bow in vice of bench (be careful not to mark the bow)
- Using a spokeshave, shape to desired design
- Starting with 150 grit, sand up to 240 grit
- Repeat with back bow making sure ends are down to ½” to fit in arm bow
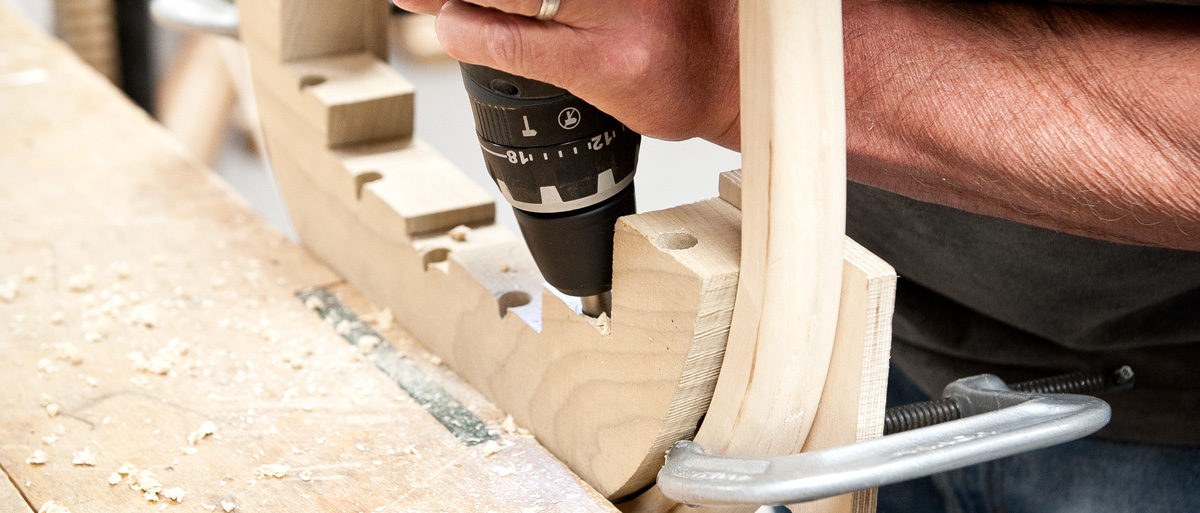
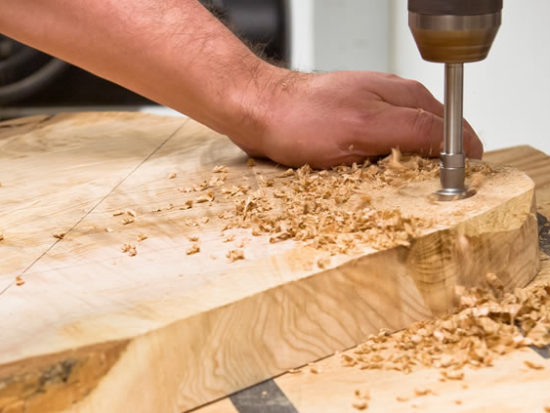
Step 2 - Final drilling - arm and seat
- Using the same drilling jig from Part 3
- Set to 10 degrees
- Using 12.7mm lip and spur bit, drill all seat and arm bow holes for sticks
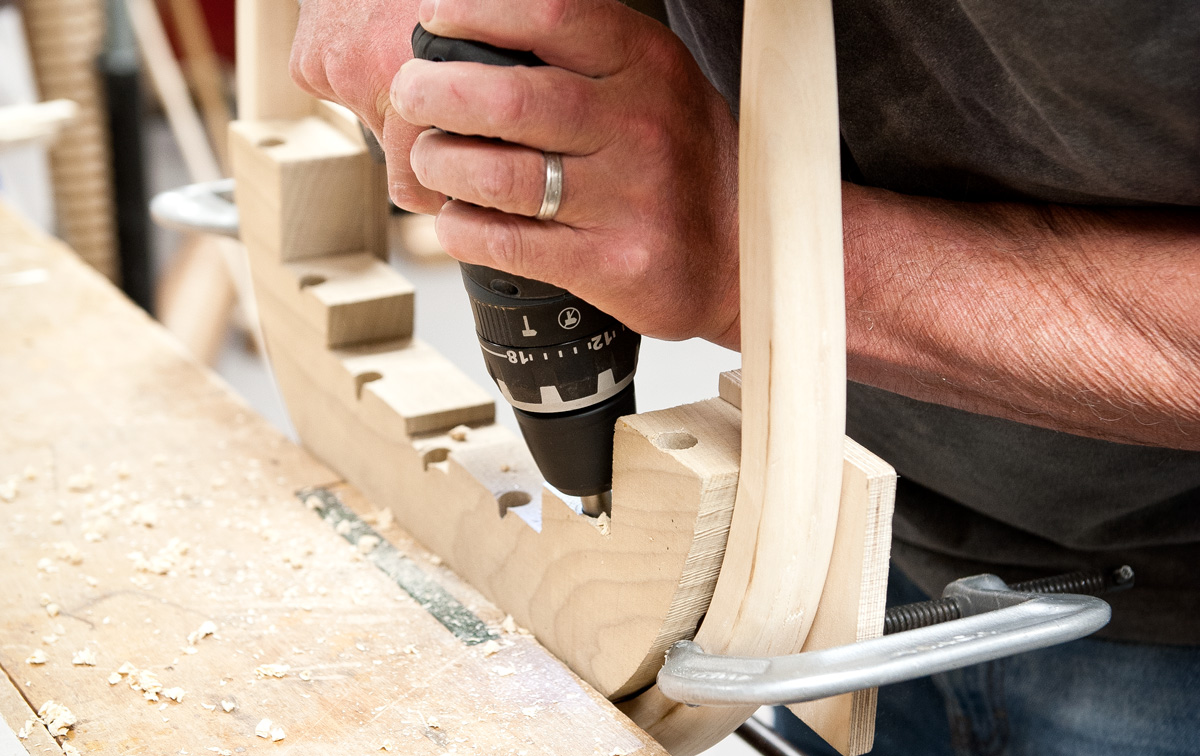
- 6 blind holes either side on the bow
- 7 through holes for the back of bow
Step 3 - Final drilling - legs and stretchers
- Using 12.7mm lip and spur bit, drill front legs at 13 degrees (or to your design)
- Using same drill bit, drill back legs at 16 degrees (or to your design)
- Drill side stretchers in middle at 12.7mm to accept centre stretcher
Top Tip - Before gluing any part of the chair, always dry fit first!
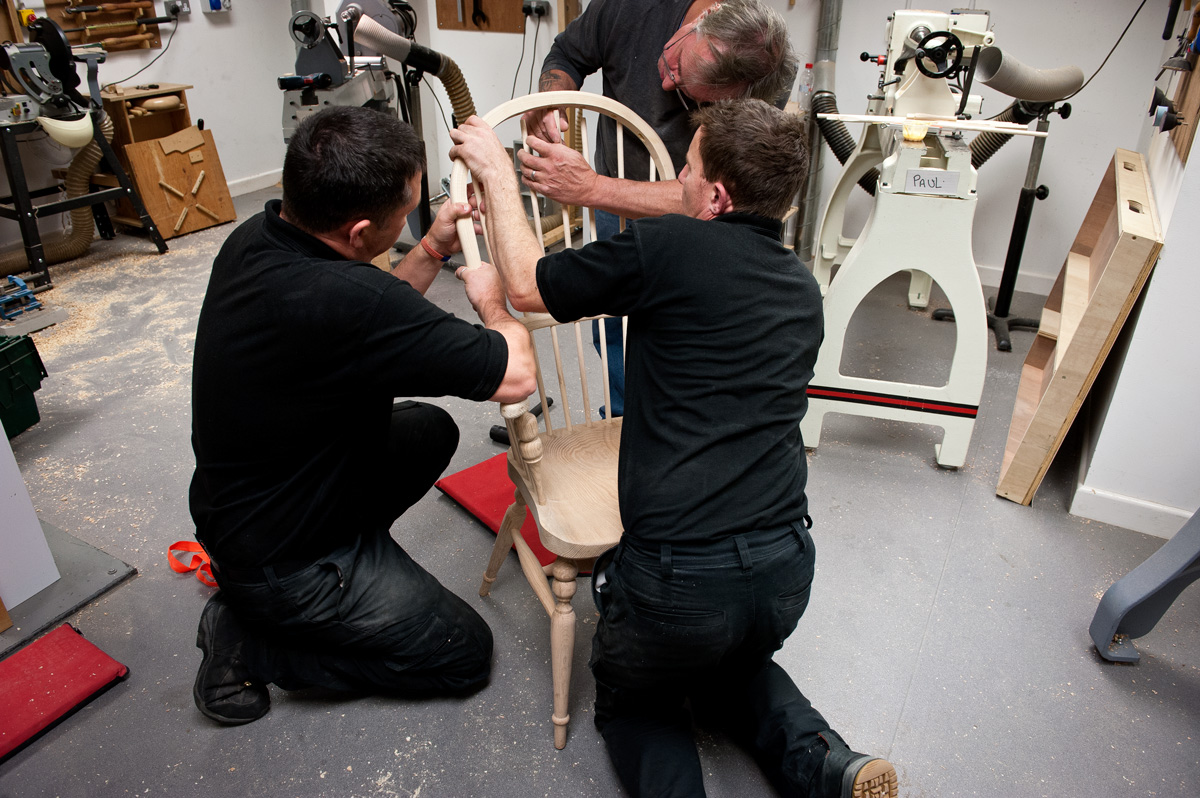
Step 4 - Assembly - Seat downwards
- Place the seat upside down onto a bench. Protect the seat top with a cloth between bench and seat
- Assuming dry fit has already been done - glue all pre-drilled holes of seat, legs and stretchers
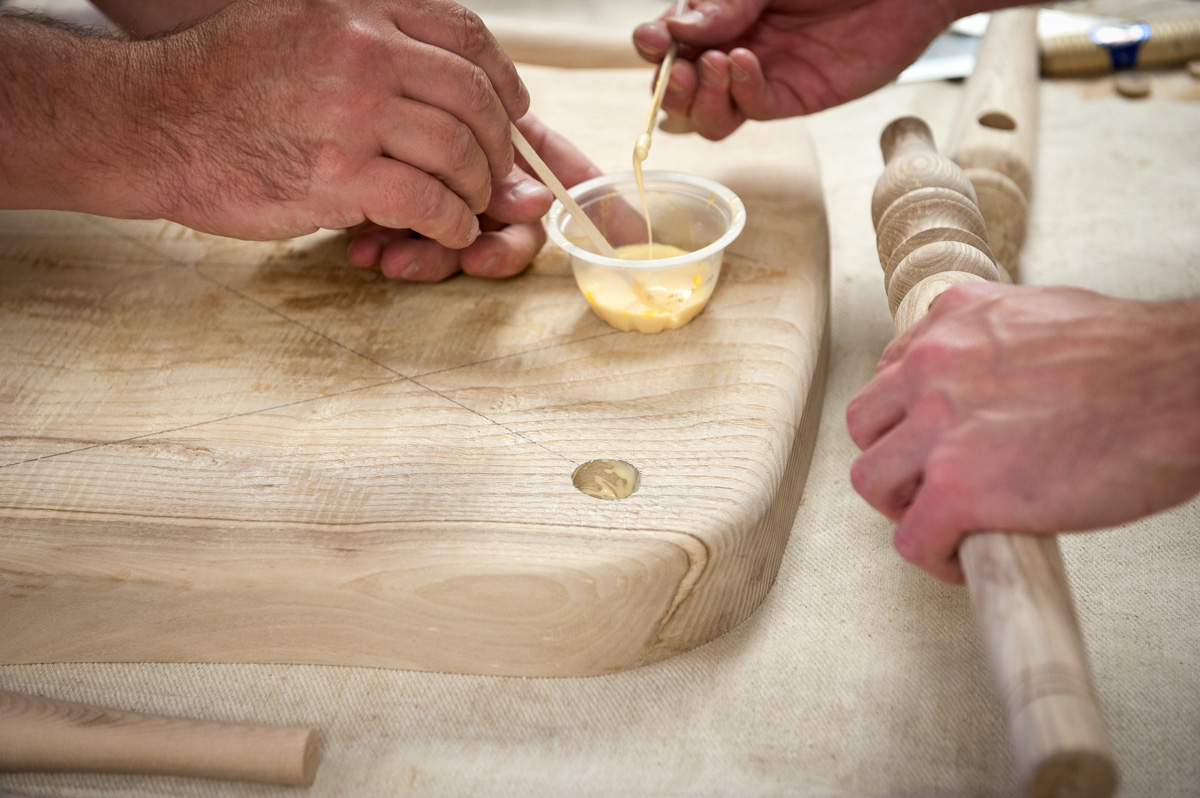
- Loosely connect one front and one back leg with stretcher
- Insert one front and one back leg (connected with side stretcher) into seat
- Effectively one side of the chair is complete
- Insert centre stretcher into side stretcher
- Take second front and back leg and connect with second side stretcher
- Insert to seat holes and centre stretcher
- Using deadblow hammer, tap in all joints
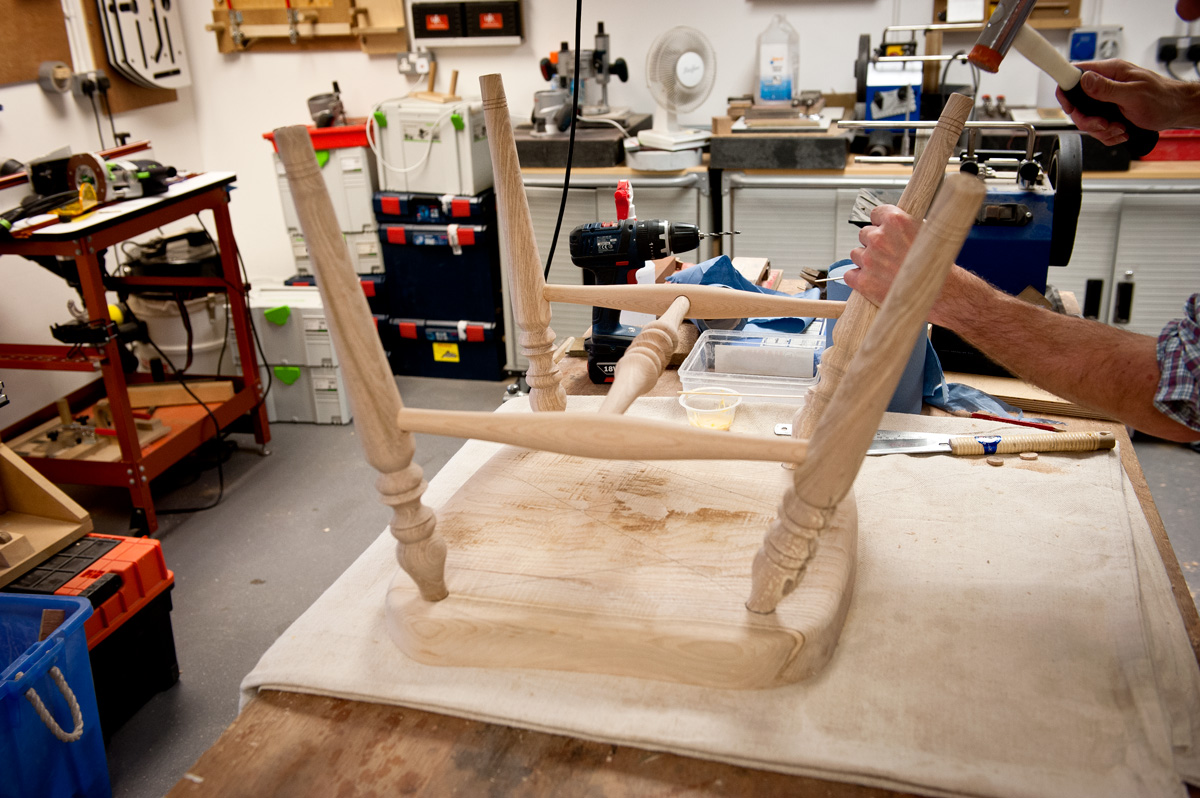
- Lever down front and back legs with ratchet straps
- Look at glue manufacturing times to see drying times (we leave overnight with Titebond II)
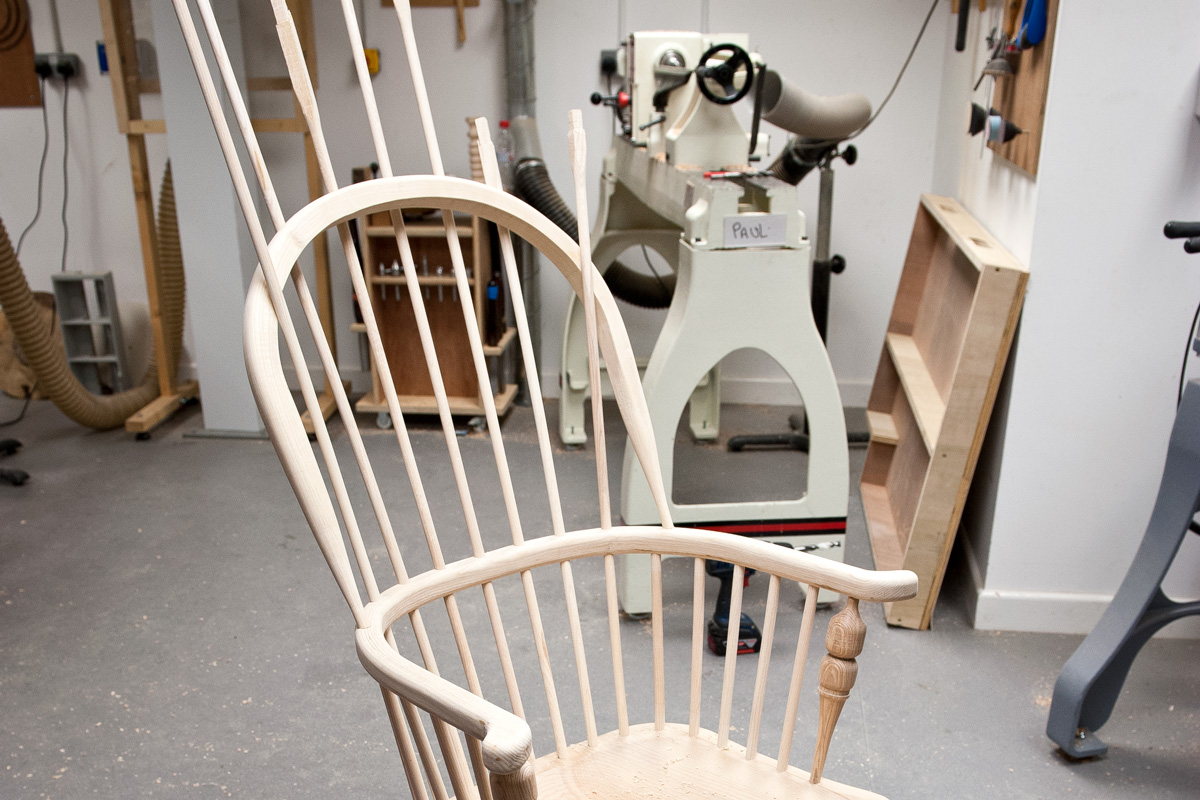
Step 5 - Assembling side sticks, arm bow and arm supports
Assuming dry fit has taken place...
- Glue up all side support sticks and arm support holes
- Tap in with deadblow hammer to secure
- Take arm bow and and glue up all pre-drilled blind holes
- Turn bow over and insert to sticks
- Tap home with deadblow hammer
- Glue back 7 holes and again tap home
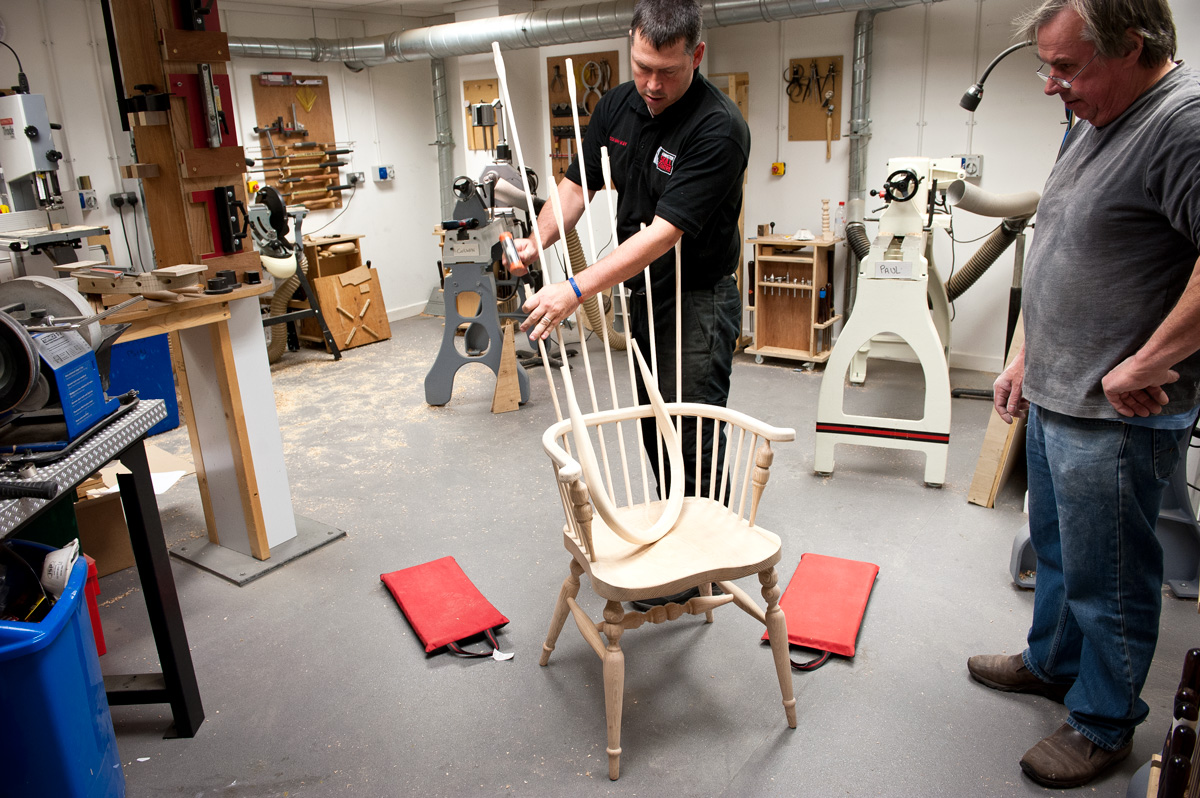
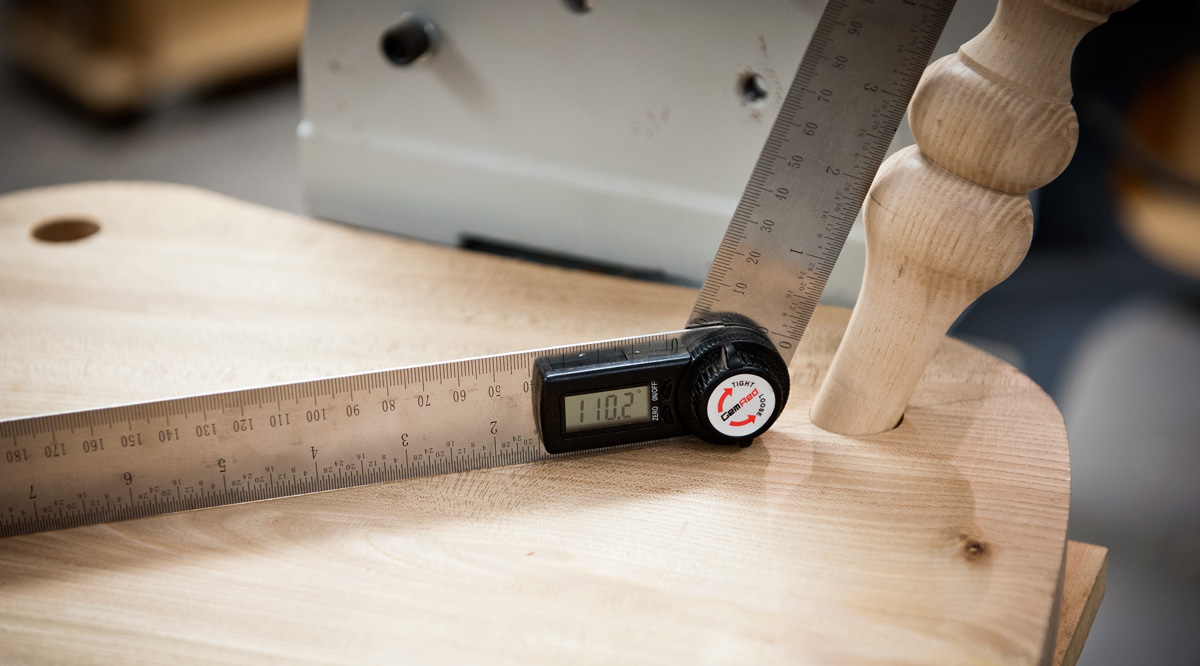
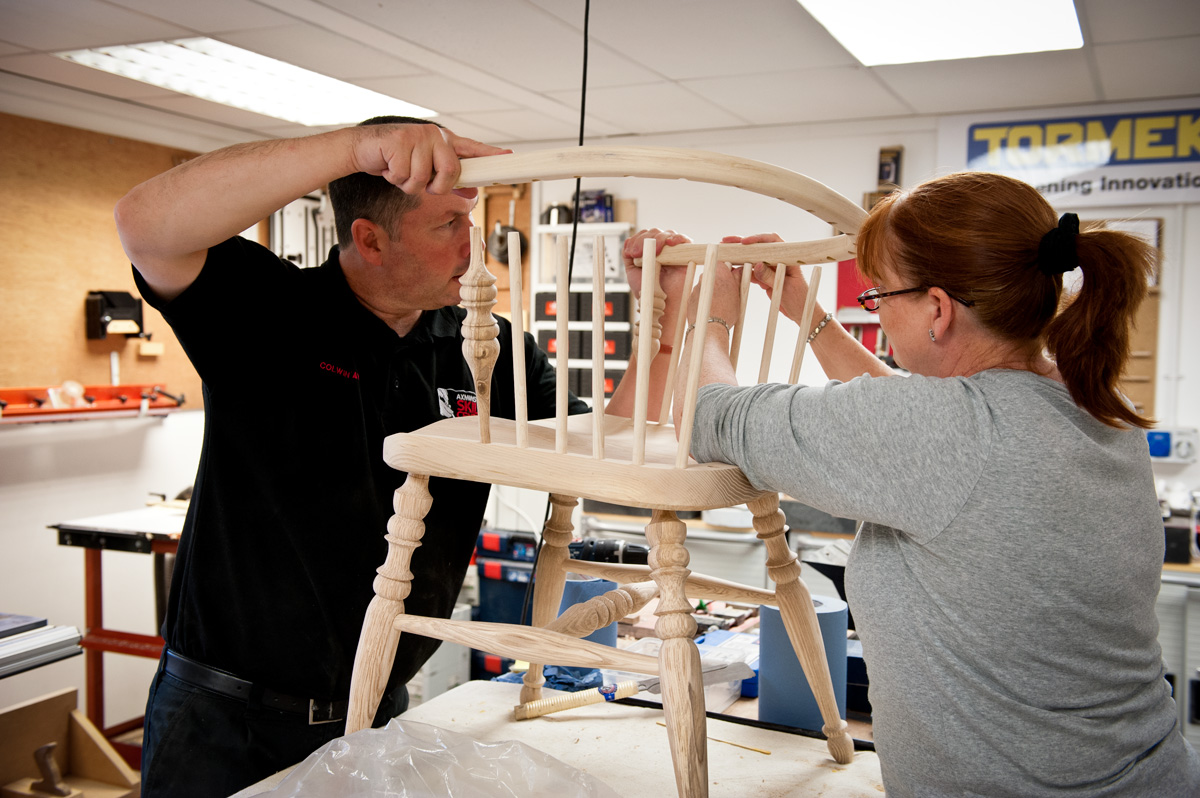
- Take back bow and offer up to sticks
- Using digital angle finder adjust to desired angle
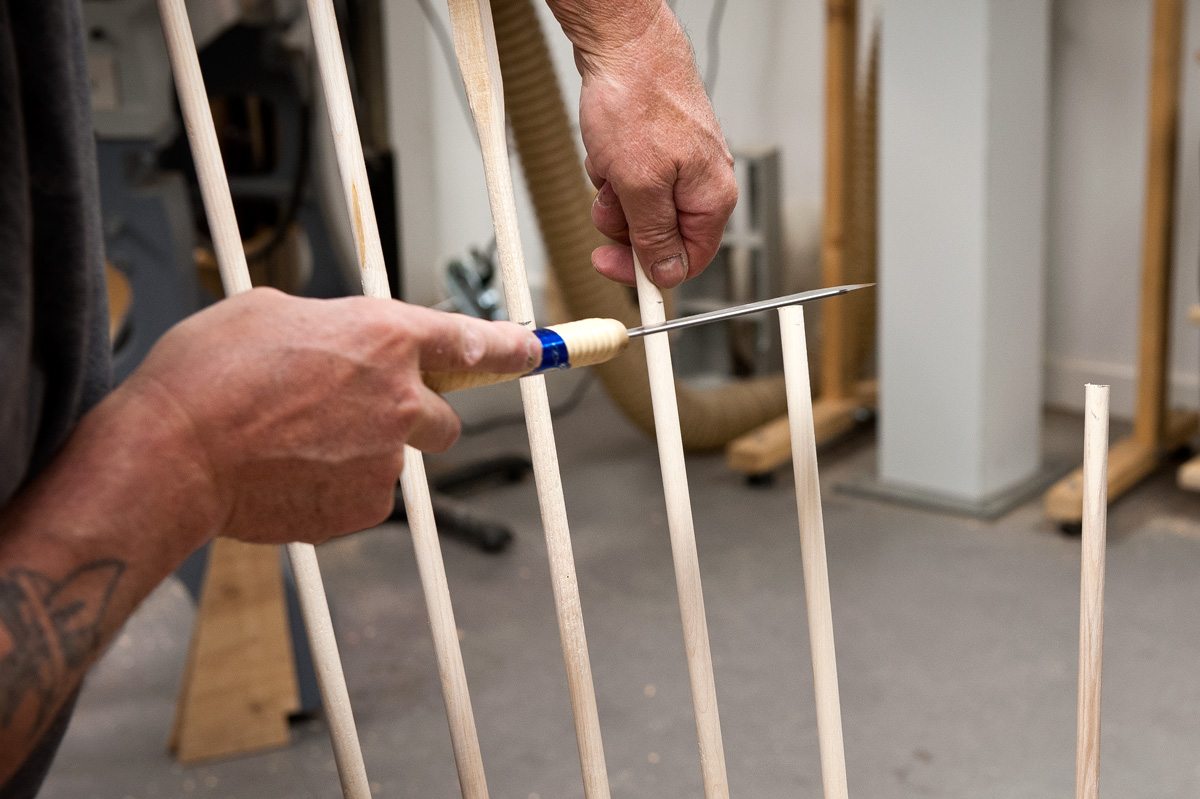
- Free hand (you may like to ask a friend to help with this part), using a cordless drill, drill the two 12.7mm blind holes for the back bow
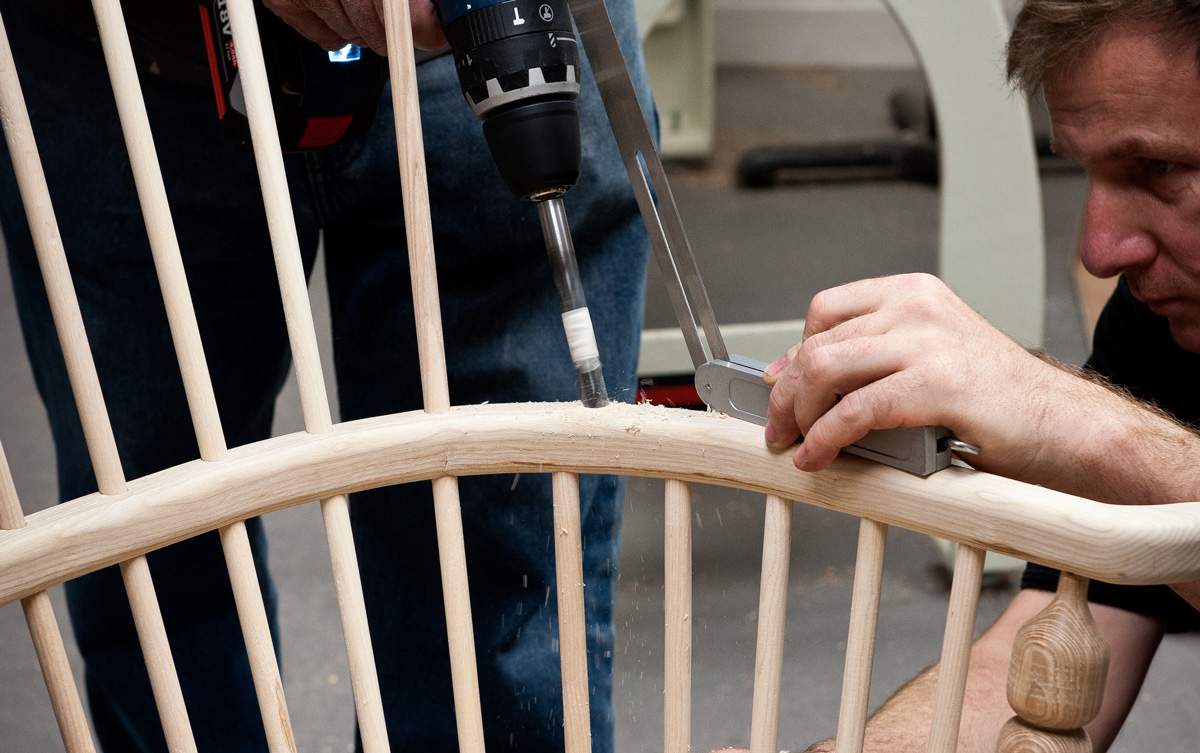
- Dry fit the back bow to the newly drilled holes
- Offer back sticks to the seat by eye
- Mark where centre is on top of arm bow
- Using centre mark drill blind holes into seat
- Dry fit back bow into arm bow
- Offer up sticks again and to back bow and mark off length
- Use a depth gauge to measure bow holes and add that to stick length
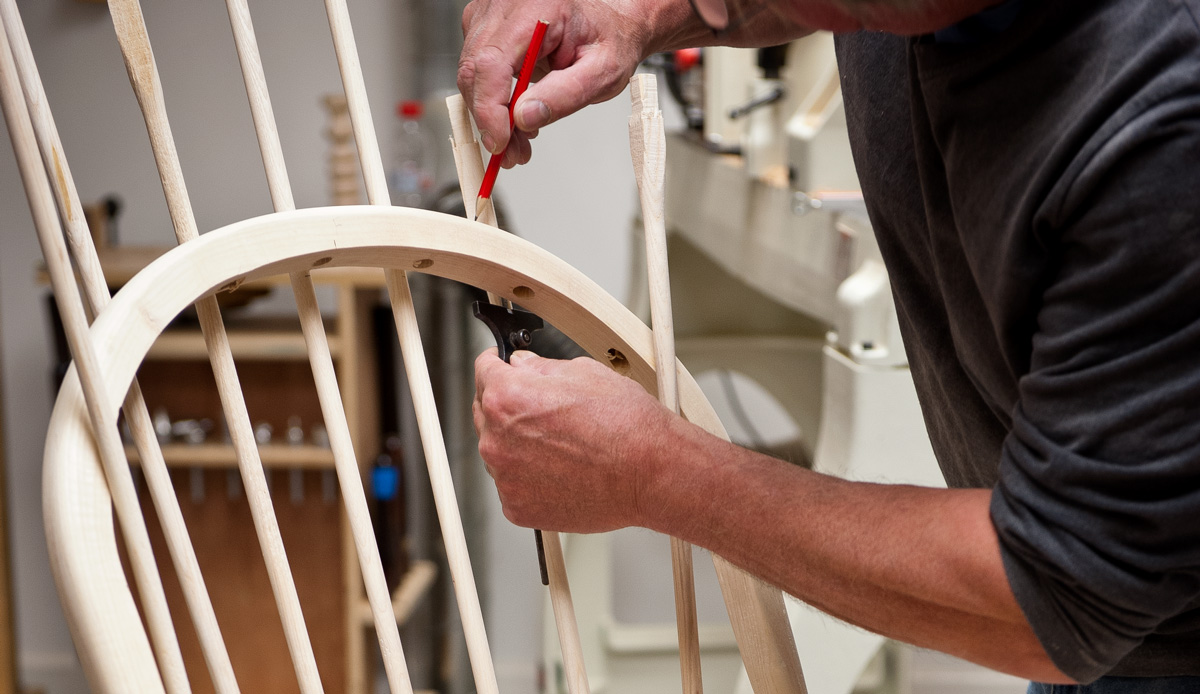
- Using Japanese pull saw cut sticks to length
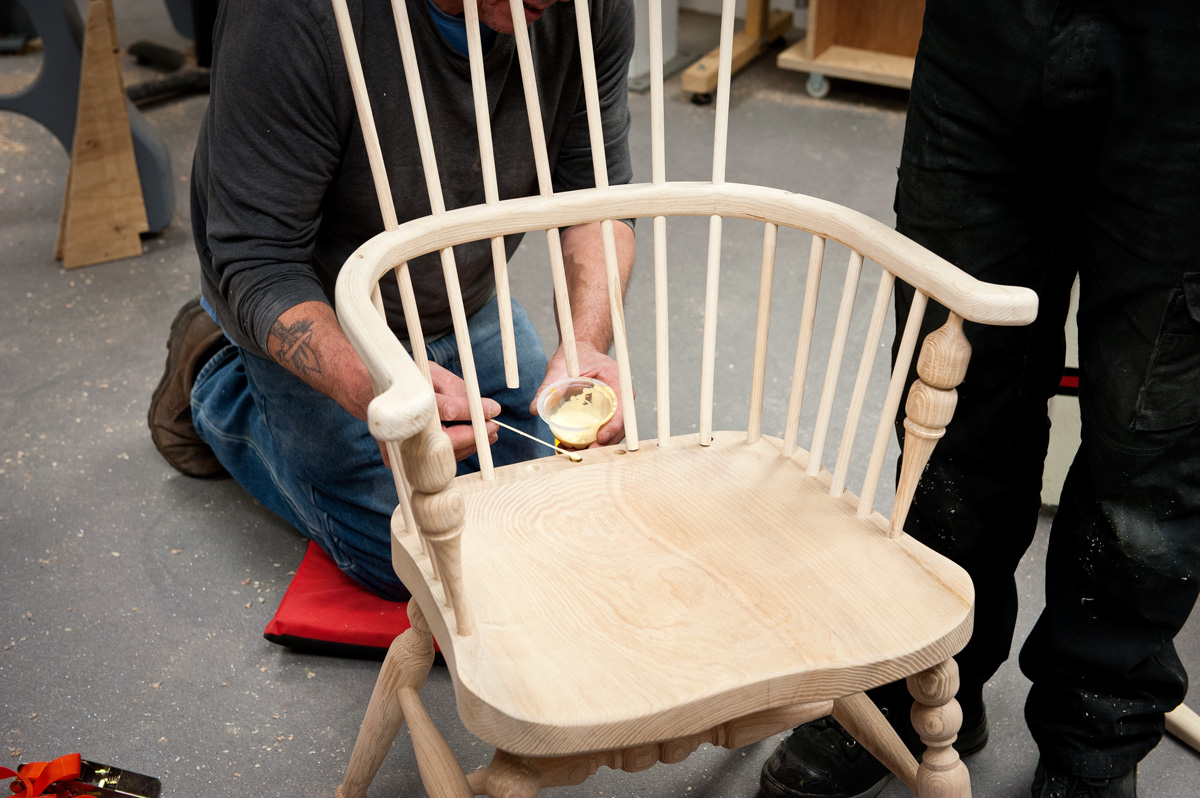
- Glue holes of back bow
- Assemble back bow to arm and to back sticks
- Tap home using deadblow hammer
- Strap clamp and leave overnight
Top Tip - Wipe off glue excess with warm water and cloth whilst glue is still wet
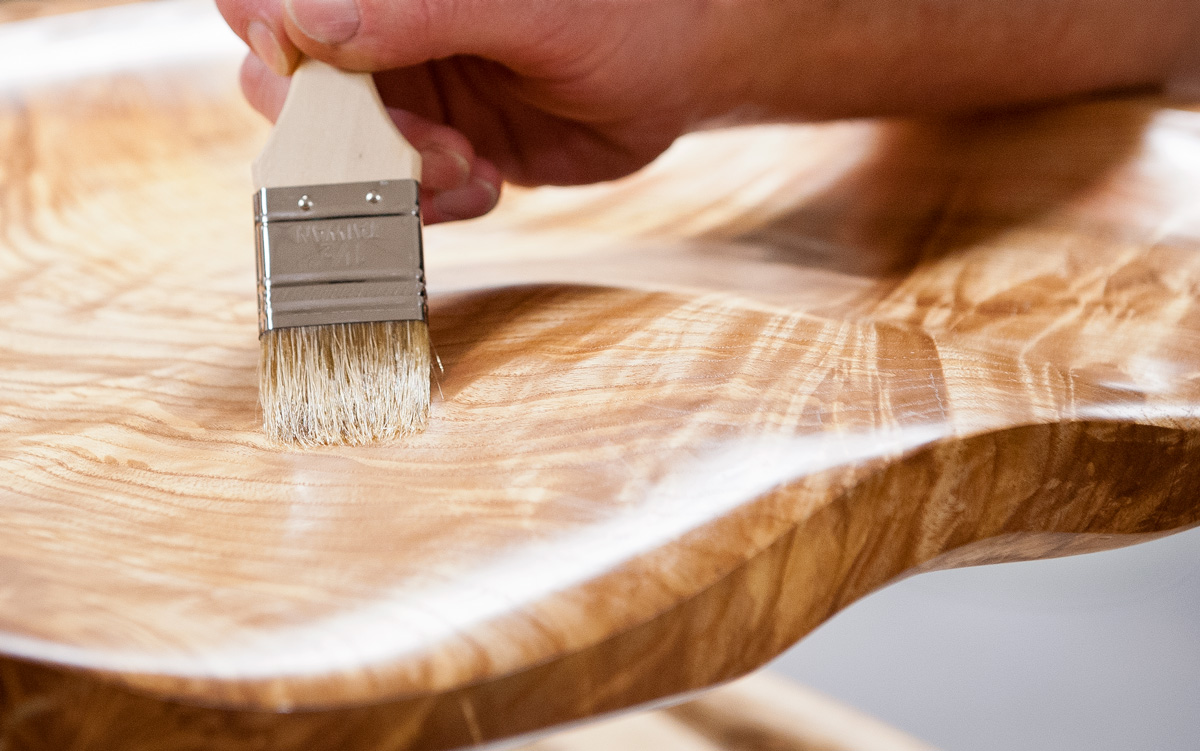
Step 6 - Finishing
- With a brush or rag apply finishing oil to chair
- This can be done quite liberally, but make sure to wipe any excess oil with a rag to avoid pooling
- Leave to dry (read finishing oil instructions)
- Lightly de-nib (these are the fibres in the wood which become prominent after applying finishing oil) by hand using 600 grit abrasive
- Continue to apply very light coats oil until your desired finish has been achieved
- It is important you leave it 24 hrs (or see finishing oil guidelines) between coats
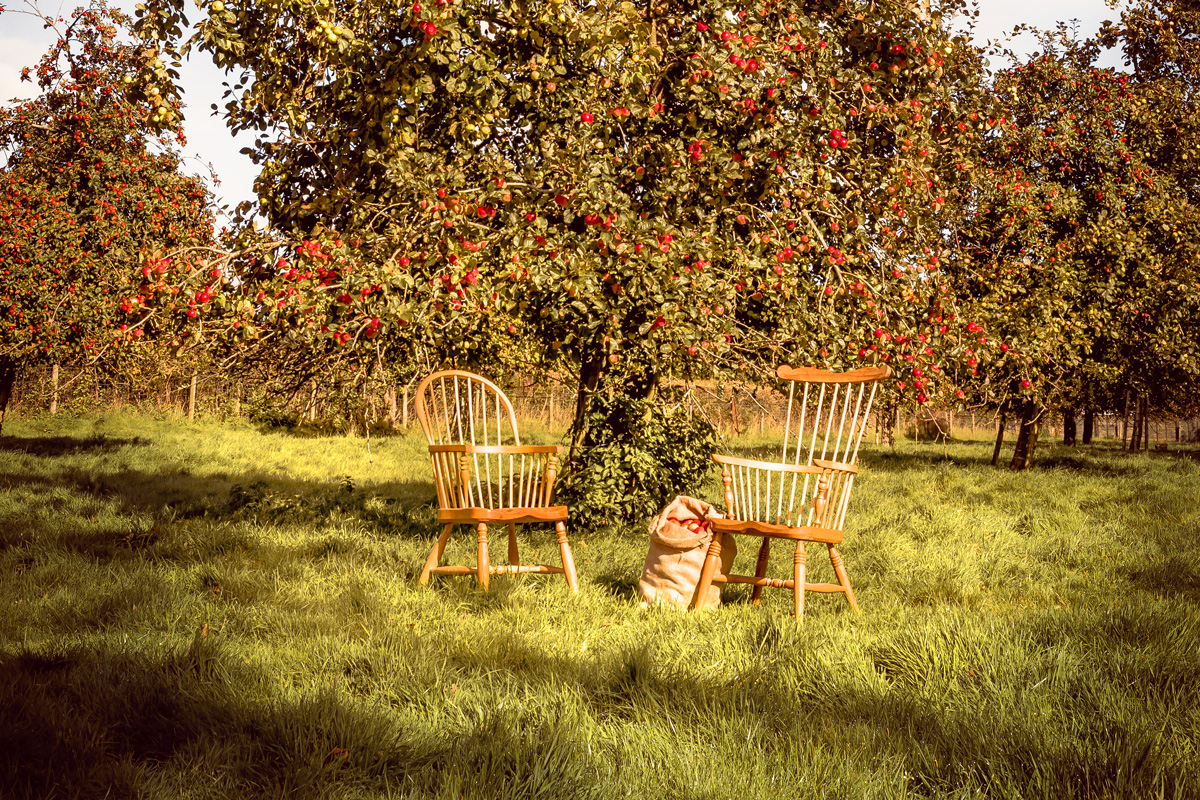
Step 7 - Enjoy
Sit down, pick up book and enjoy!
Hi Tom, what kind of wood did you use for the seat? Thanks Kerstin
Hi Kerstin, we predominantly use Ash for the seats. However, we have used both Elm and Beech in the past. Any other questions just ask.