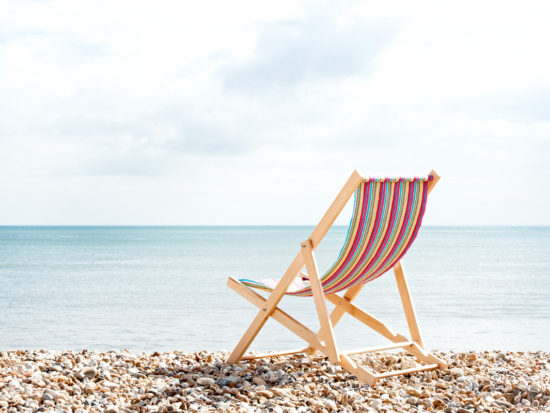
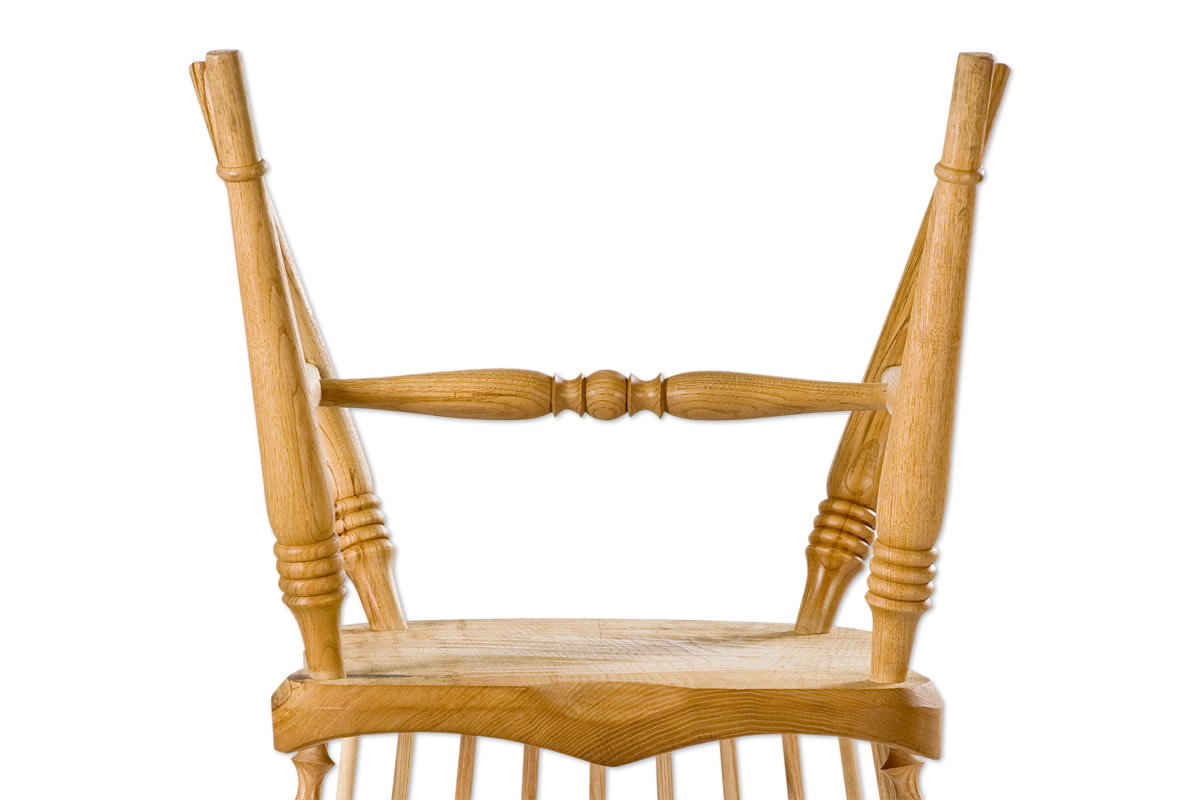
How to make a Windsor Chair step-by-step: Part 2
After completing all of our legs, stretchers and arm supports in Part 1, it’s time to focus on the seat.
There are very few things in life that are more satisfying than making your own chair. From the design to the making, the fruits of your labour are truly rewarded.
About this project
This four part project will give a step-by-step instructions on how to make a traditional Windsor chair. It will list all tools and materials you will need at the beginning of each part. Good luck and happy making!
Before we get started
Undertaking the construction of a Windsor chair is no mean feat and having some experience of woodturning and working with hand tools is essential. We not only offer a complete 5 day Windsor chair course, where you take home a chair at the end of the week, we also offer two-day courses on Woodturning so you can hone your skills in advance.
Tool menu - Making and drilling the seat
You will need the following tools to complete Part 2:
- Bandsaw
- Pillar Drill
- 12.7mm Forstner Bit
- 25mm Forstner Bit
- 4mm Wood Twist Drill Bit
- Adze or Angle Grinder
- 2 x G Clamps
- Arbortech TurboPlane Blade
- Saburrtooth Carbide Discs
- Spokeshave
- Pullshave
- Cabinet Scrapers
- Japanese Rasps
- Mirka Ceros Sander
- Abranet Abrasives Disks
- Abrasives
- No 4 ½ Smoothing Plane
Materials list
- 2” thick by 19” square piece of ash
- MDF for the templates (sizing as above?)
- 9mm thick MDF half sheets are available
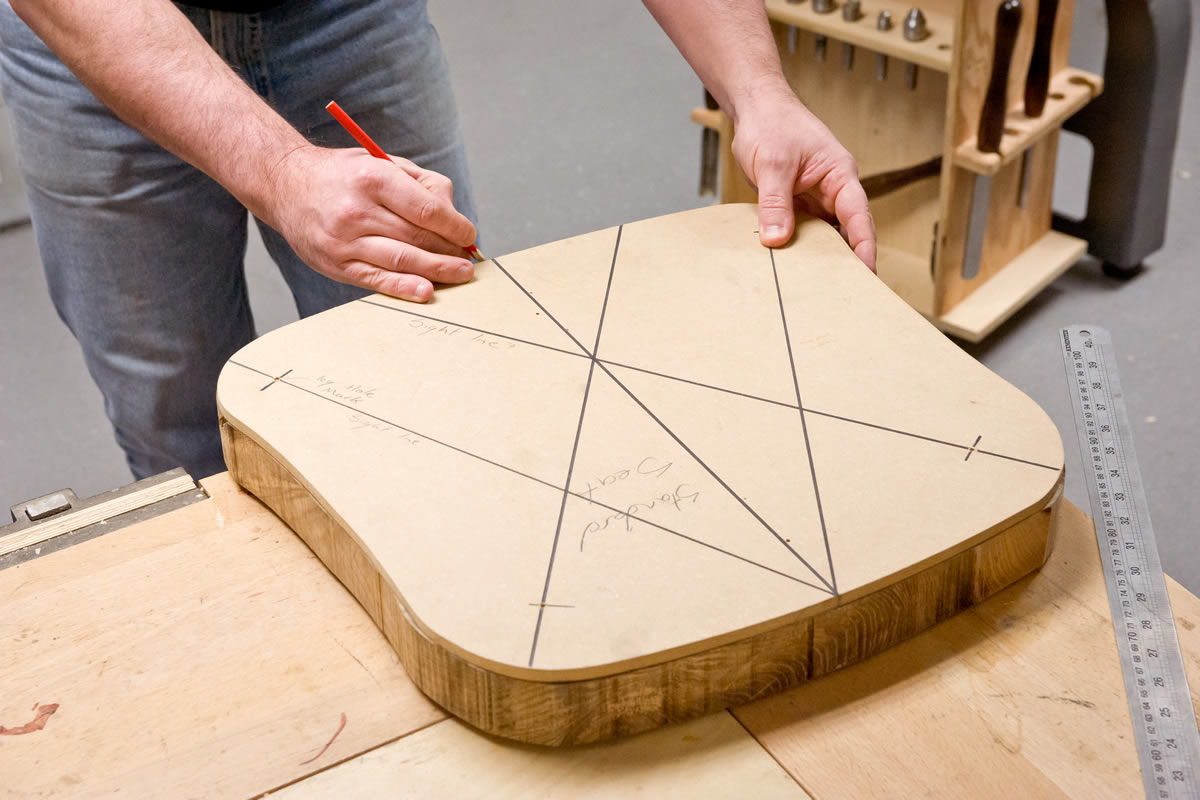
Step 1 - Create two MDF seat templates
- Mark out seat shape on piece of MDF to desired size and design
- Create an inner template for seat for shaping
- Cut out with bandsaw
- Mark out sight lines on template (the best way to do this is look at a chair you like the look of and copy it)
- Mark and drill 4mm holes in template for where you want your legs
- Draw around template on the ash seat blank
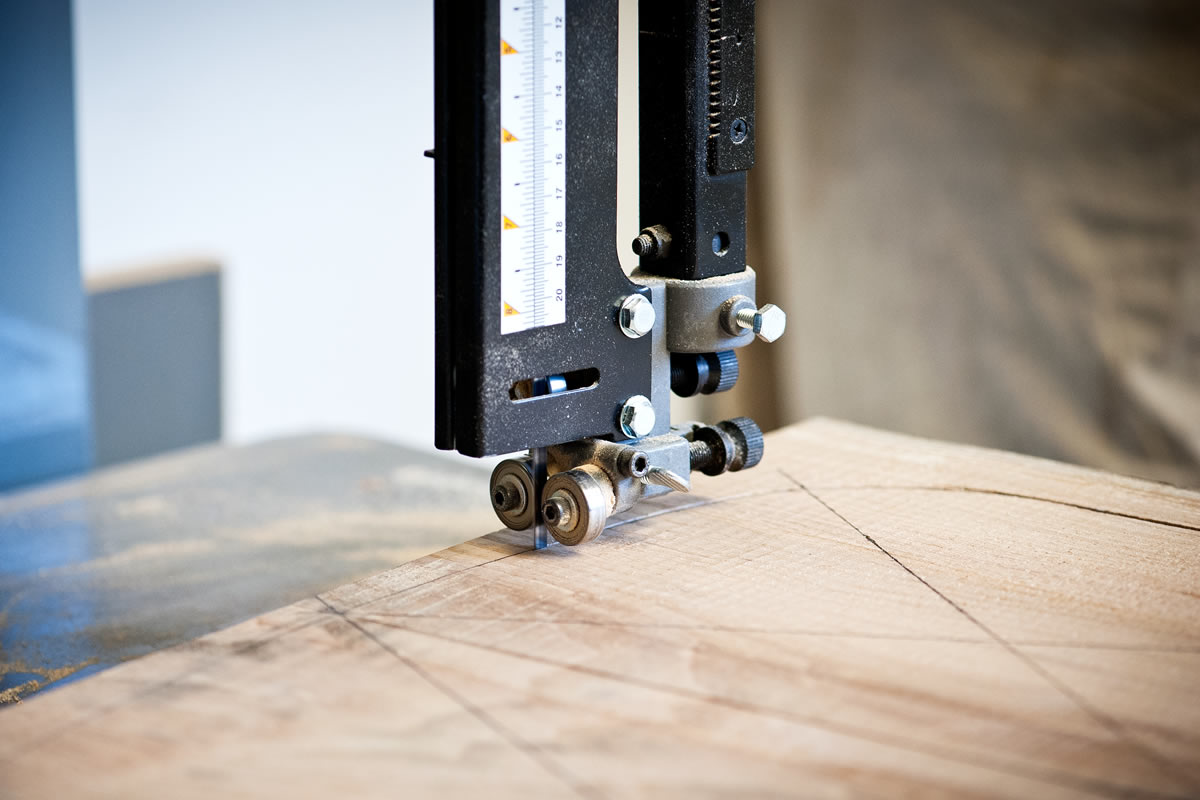
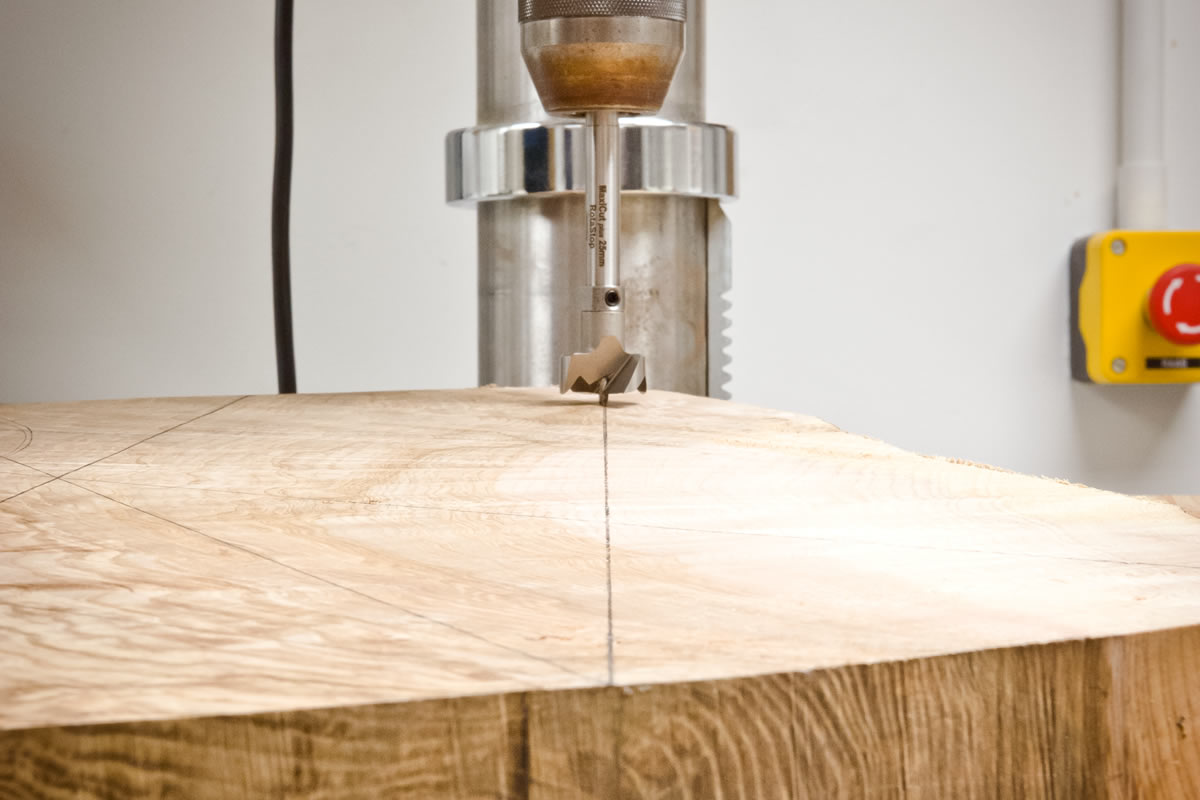
Step 2 - Cutting seat shape
Using a bandsaw, cut out your design, ⅜” 6 tpi blade is recommended due to tight radius around seat.
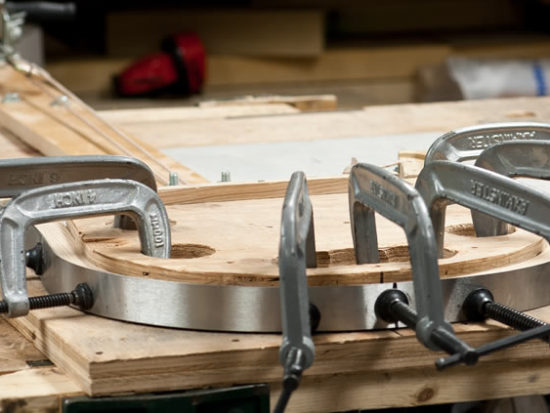
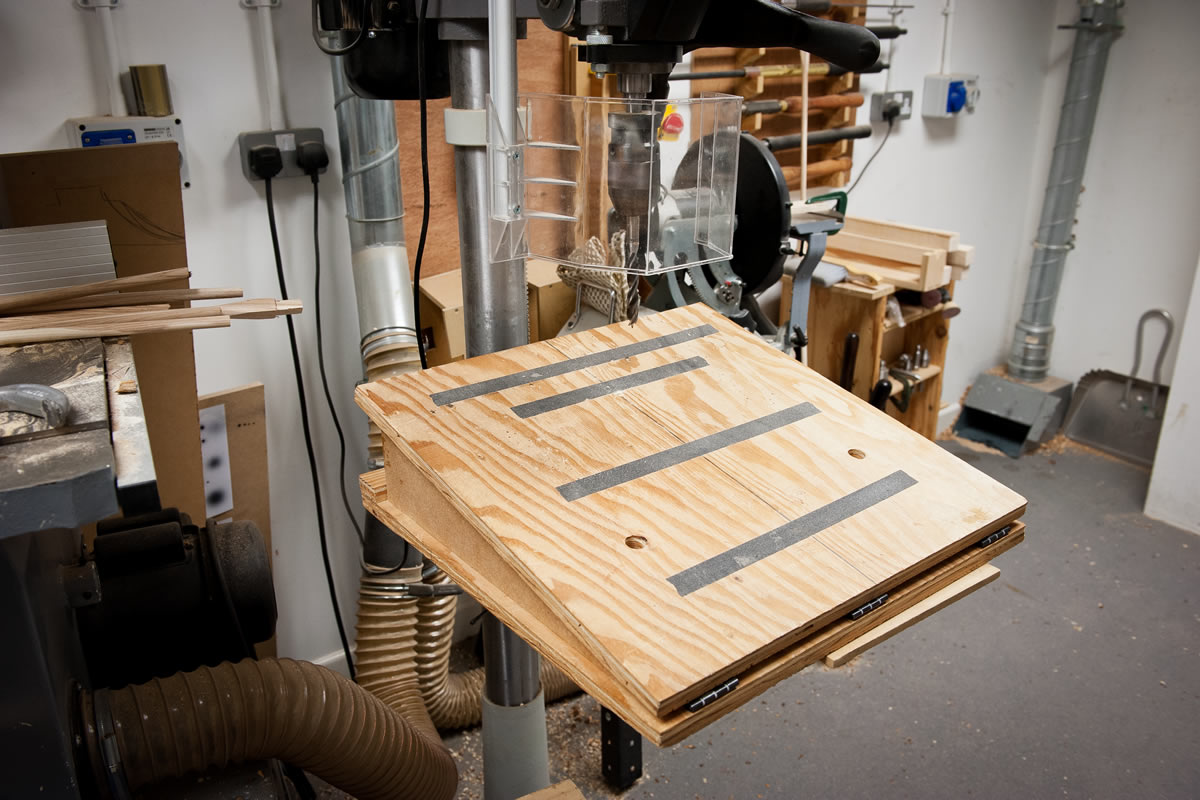
Step 3 - Make a hinge board jig for drilling angles
- Out of ply rig up a hinge board
- Cut angled wedges (these angles can be different depending on preference)
- 7 deg for front legs (Used on our chair)
- 20 deg for back legs (Used on our chair)
- 13 deg for arms
- 17 deg for side and back sticks
For the board you will need
- 2 x 500mm square ply
- 2 x standard hinges
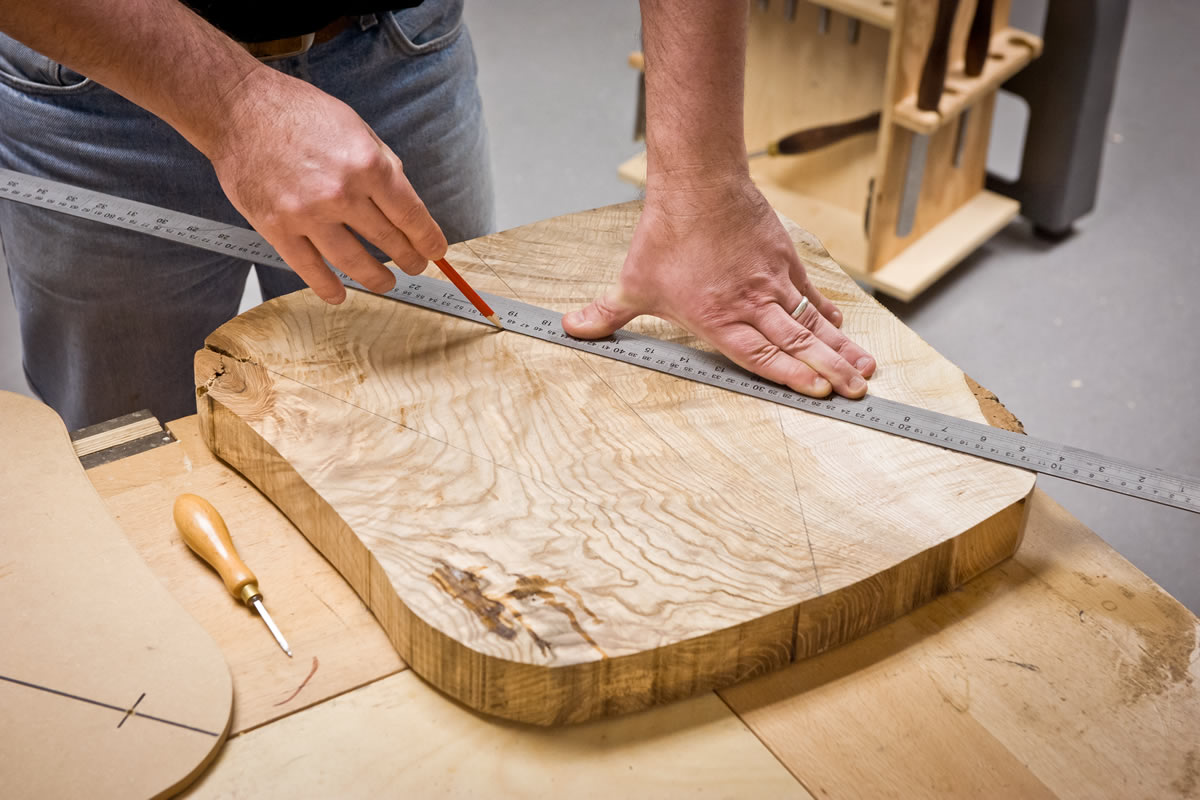
Step 4 - Sight lines and transferring them to your seat blank
Sight lines are very important in the design of your chair, getting them wrong can lead to a wobbly eyesore. Angles of the legs are purely personal preference, find a chair you like and copy those angles. Don’t have a preference? We use 7 degrees for the front legs and 20 degrees for the back legs.
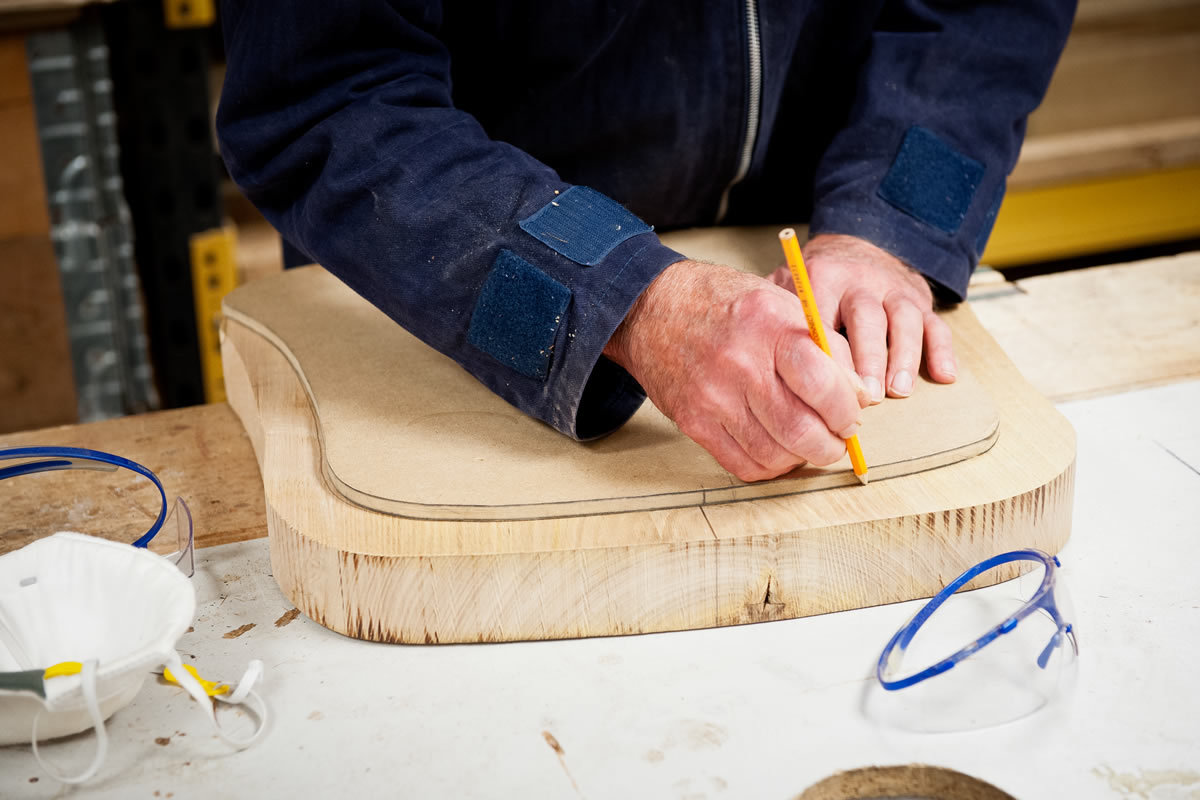
Place template on seat, find the centre and transfer markings on the seat.
Use a bradawl and the template as a guide, mark centre for the leg holes.

Using a rule, join up the markings with a pencil line, join lines through bradawl marks.
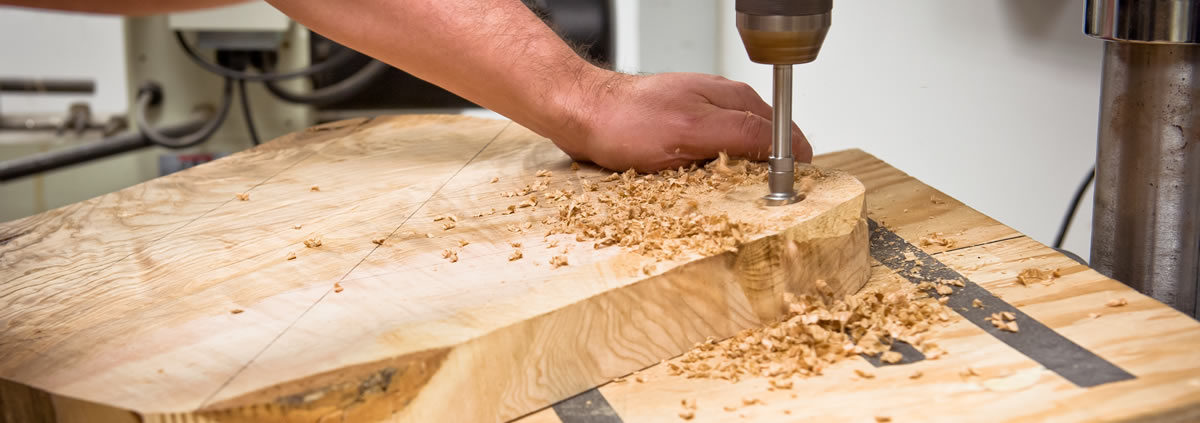
Set depth on pillar drill.
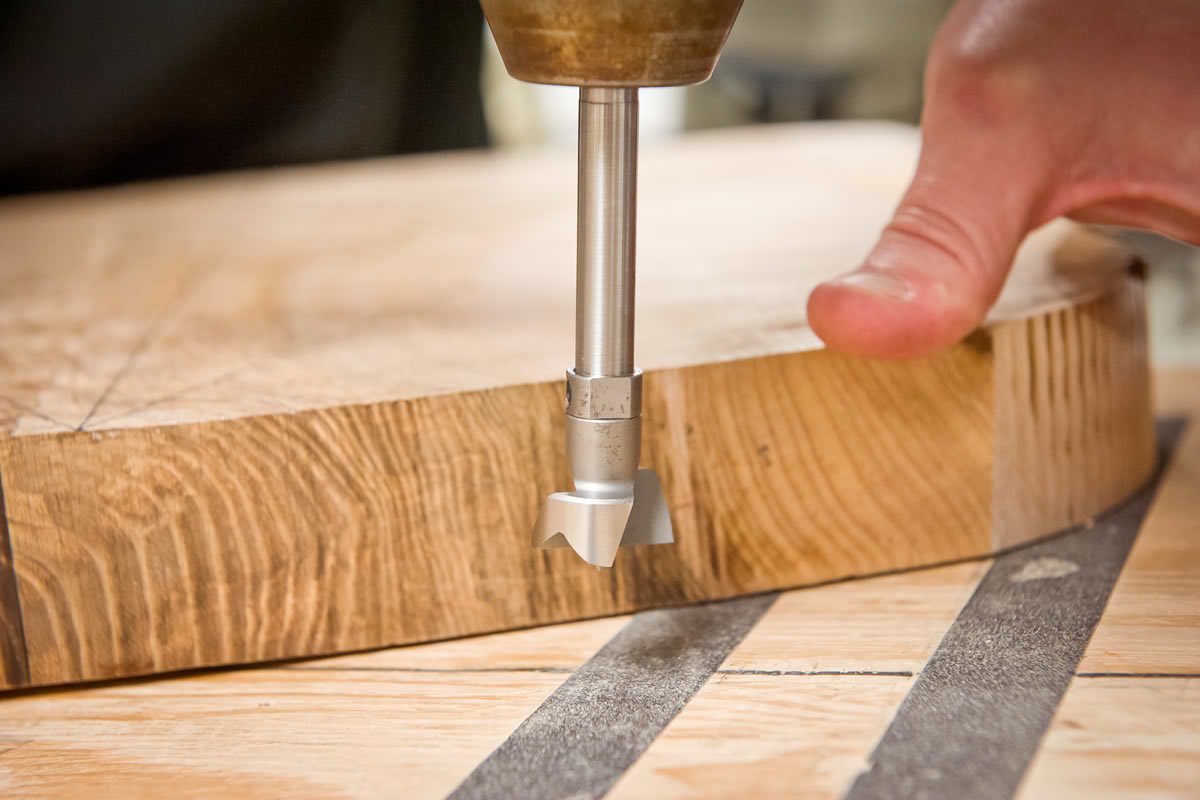
Line up sight lines with 25mm forstner bit.
Set hinge board at 7 deg and clamp seat to the board (used on our chairs) drill front leg holes.
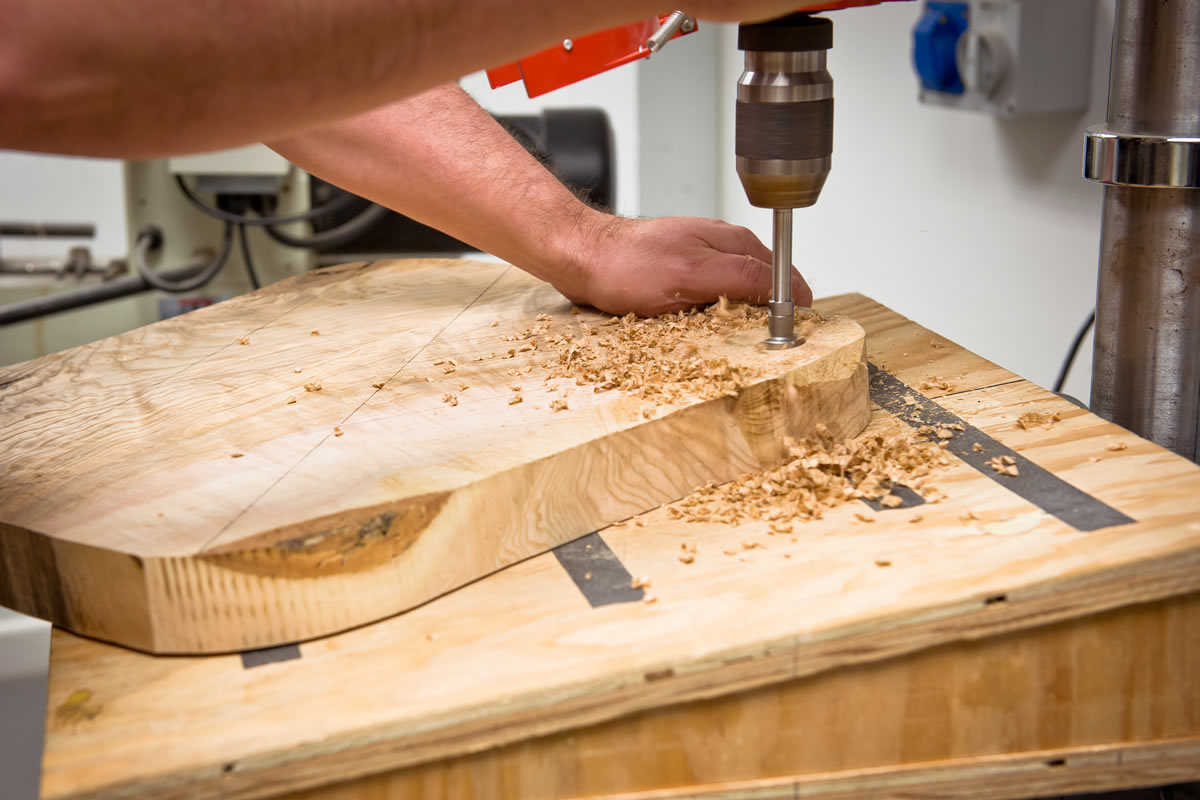
Set hinge board at 20 deg and drill back holes (used on our chairs).

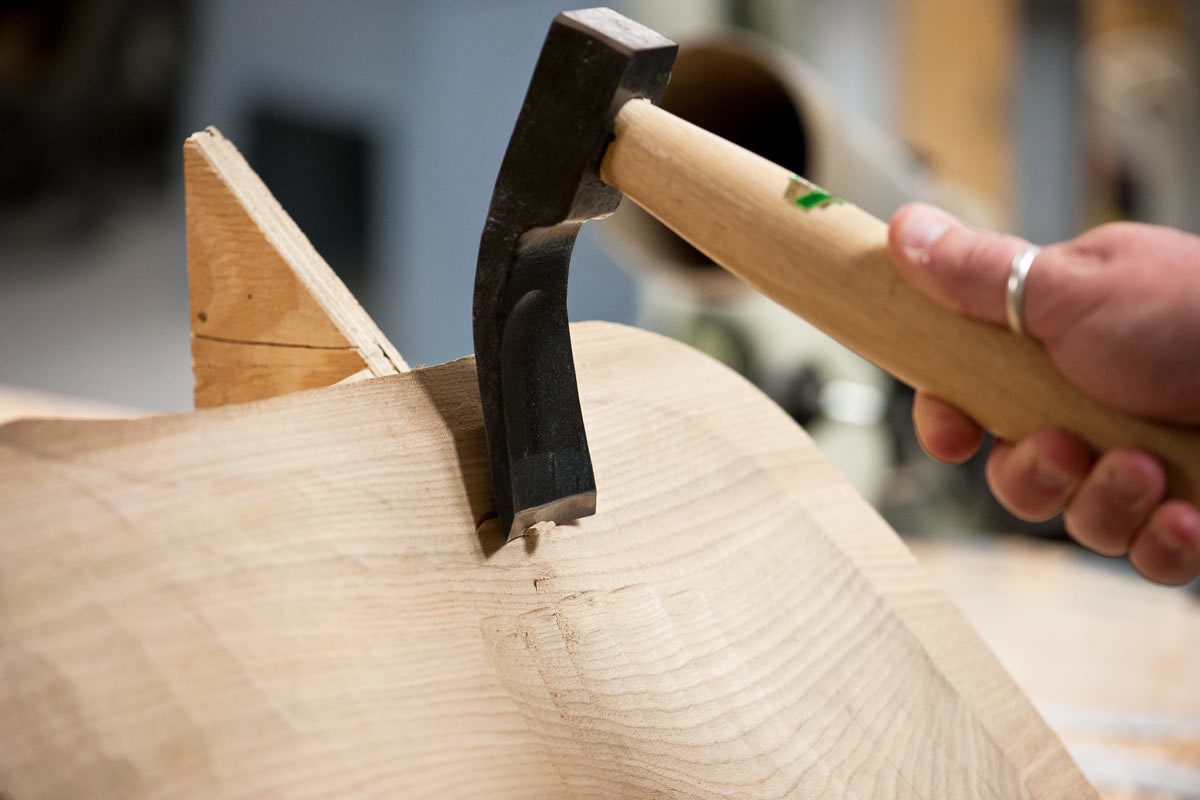
Step 5 - Shaping the seat
Traditionally the bulk of the material is removed with an adze, the modern (and quicker) way would to be to use an angle grinder and an Arbortech TurboPlane blade. Tidy and smooth with Saburrtooth fine carbide discs.
Step 6 - Continue shaping seat with hand tools
- Firstly - with pullshaves
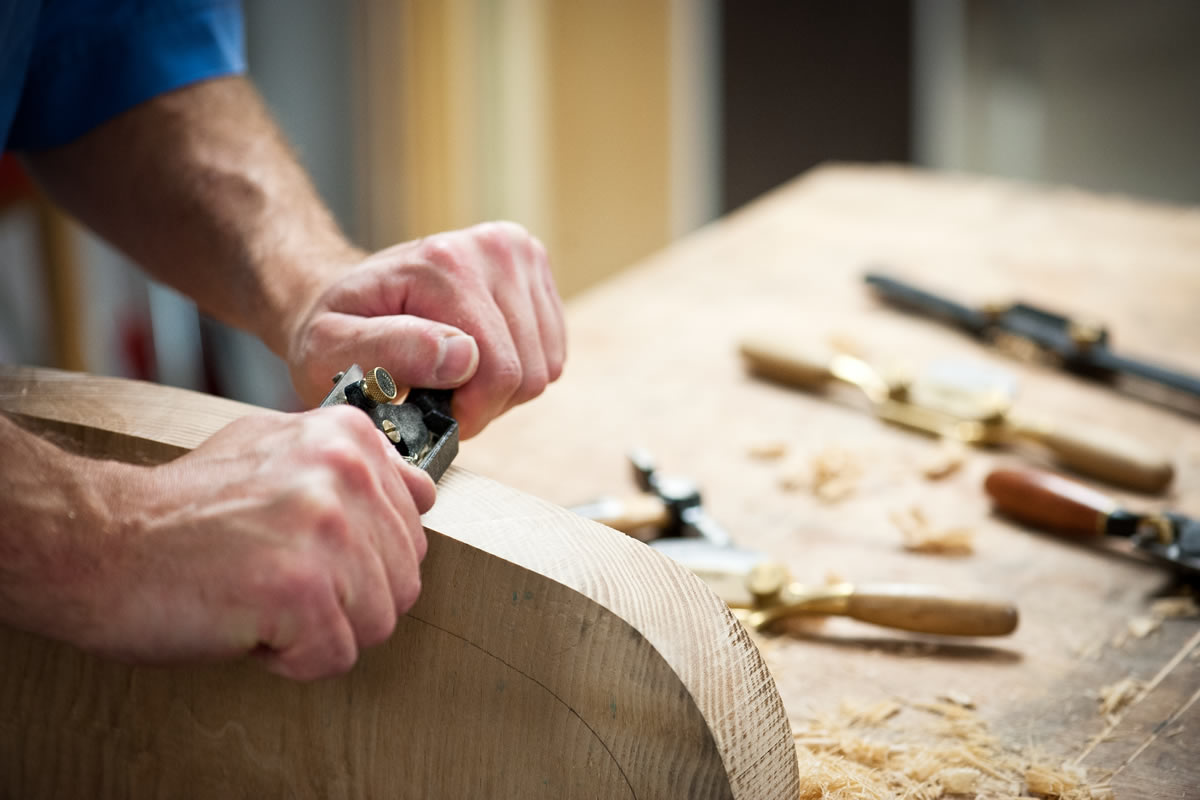
- Secondly - with spokeshaves
- Thirdly - with cabinet scrapers
- Finally, using a Japanese rasp, round off all the edges on reverse of the seat

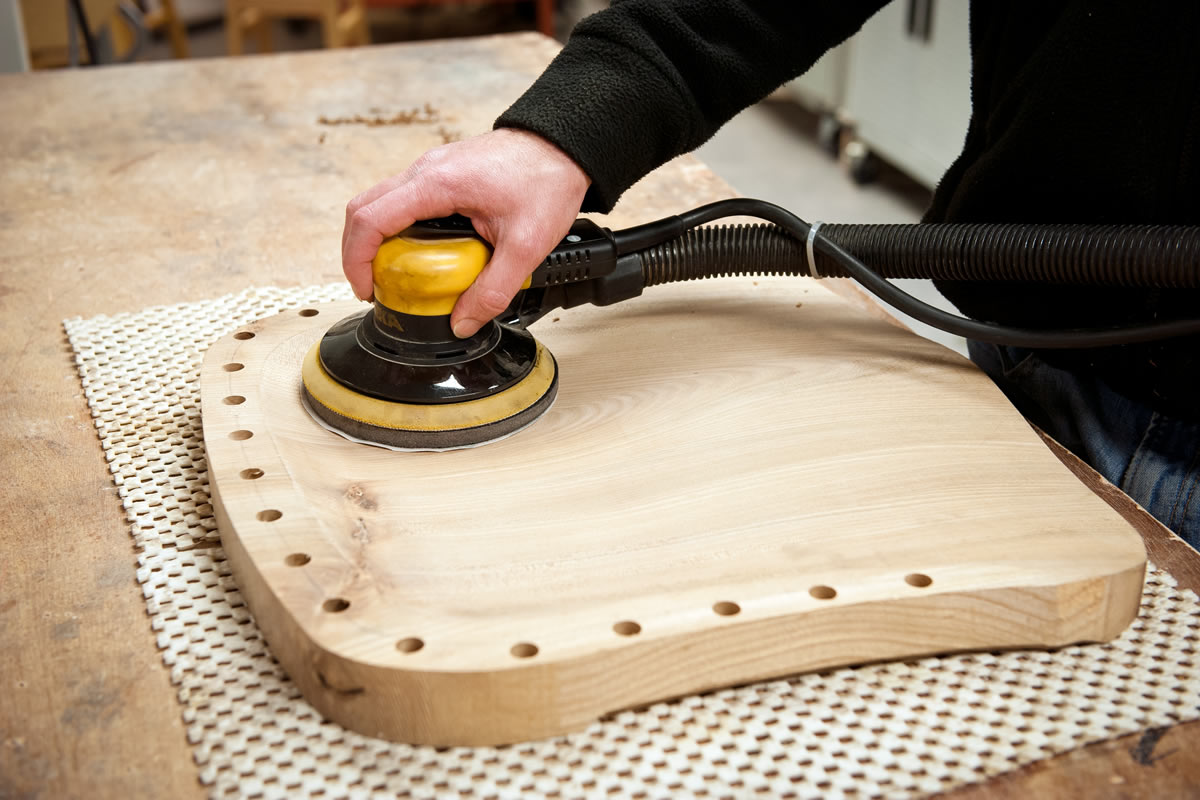
Step 7 - Sand seat back to finish
- Using a random orbit sander sand the seat back
- Start with 240 grit and finish with a 320 grit
Of course you can do this by hand, but you will need to start at 150 grit and raise to 400 grit. It will also take you 3-4 hours longer!
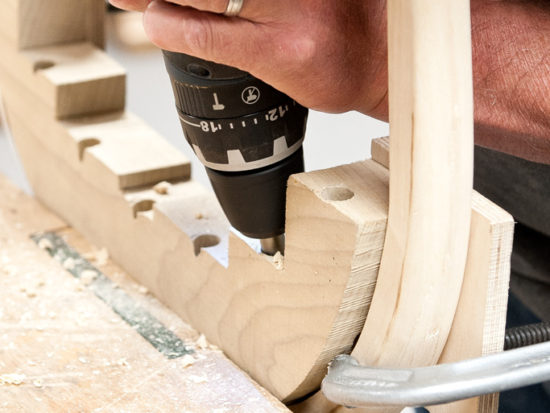
Step 8 - Drilling arm holes and sticks
We space our arms and sticks 47mm apart, this is again a personal preference depending on the look of your chair and how many sticks you want.
- Clamp hinge board at 13 deg using wedge on pillar drill
- Using 12mm Forstner bit drill both arm holes and side sticks
- Replace arm wedge with 17 deg stick wedge
- Using the same bit drill all back sticks

All done with these steps? Continue to Part 3.