
Step-by-Step: Picture Framing
Breaking down the art of picture framing step-by-step
With the right tools and a little woodworking know-how, making a square frame has never been easier.
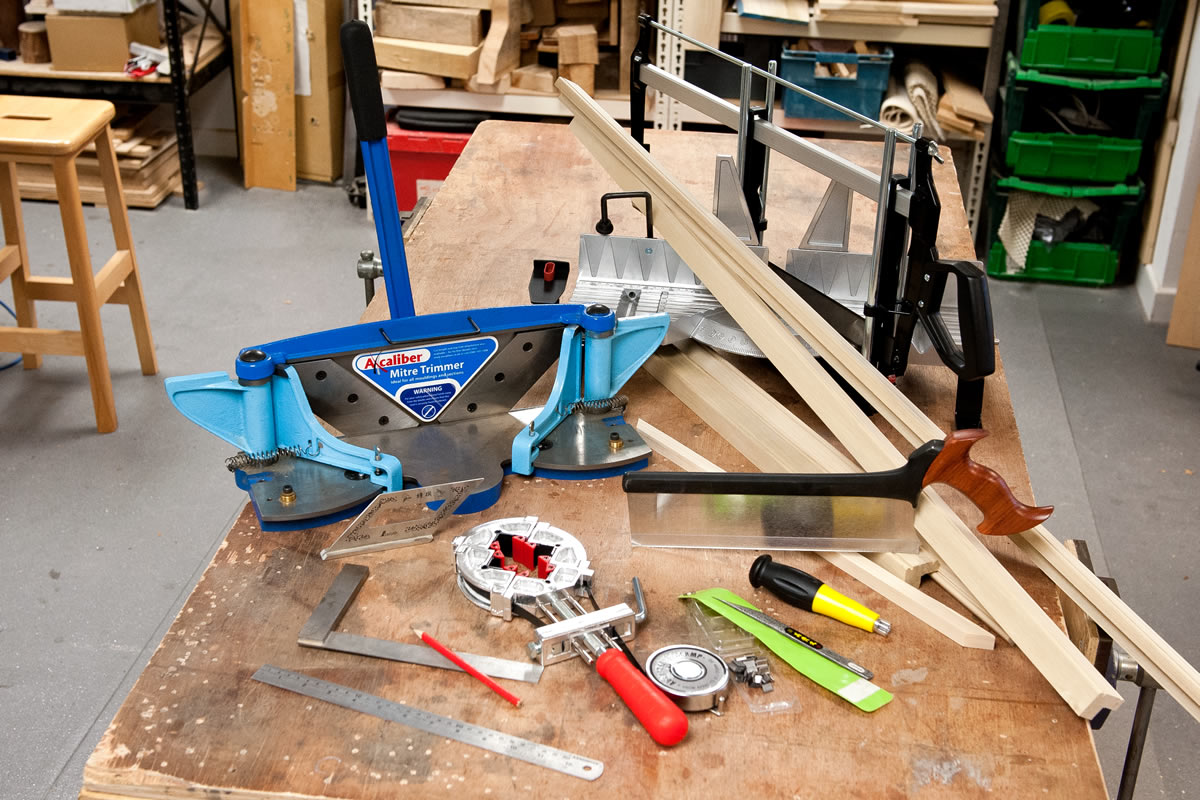
Tools needed:
Also needed:
Frame moulding (available from any good framing shop)
Back board
Pencil
Wood for support blocks
Vee nail insertion tool and vee nails
Frame point insertion tool and tabs
Step One:
Make a support block to the exact height of the underside of the moulding, this will support the wood when being cut and prevent damage.
Step Two:
Measure the picture you’re framing including any mount or surround. Take the frame size, plus double the moulding width and a little bit extra, then cut your four sides to size. Mark out onto the wood moulding and cut down roughly to size. This will make it easier.
Step Three:
Start with the top piece of your frame. Turn your piece of wood over and measure the width of the recess, and jot it down. Measure your mount and remove two times the width of the rebate from this length (allowing for a rebate on each side). Transfer this measurement onto the piece of wood, working out from the centre to ensure clean corners. Your mark should be small and will be where the inside of the mitred corner begins.
Repeat for all four pieces of wood.
Step Four:
Using a 45° mitre square mark out the mitre cuts, working outwards from your small marks. Don’t forget to make sure the angle directions match up on each corner!


Step Five:
Using a mitre saw secured to the workbench, (we have chosen the Nobex Champion mitre saw for its accuracy) set the angle to 45°. Place the pre-cut support block under the rebate of the moulding, cut the first mitred corner with the moulding face up.


TIP - You do not need to force the Nobex saw, by using a see-sawing action you can let the saw do the work.
Step Six:
Cut one longer length and one short length first, you will then be able to line up the remaining sides more easily to make sure the alignment is still accurate, then cut the remaining sides.


Step Seven:
Mount the Axcaliber MT1* to your workbench and set to 45° angle on each side. Still using the support block under the moulding and with the moulding face up, trim the edges of each mitred corner very finely at a time, until you’re left with a very sharp, accurate mitre on each side that matches up perfectly to it’s counterpart.
*For safety, only pick up the Mitre trimmer by its handle, the blades are extremely sharp underneath.
TIP - Before gluing up the carcass into the final position, dry fit it together first to ensure no issues arise in fitting.


Step Eight:
Line up each corner. Using a frame clamp, run the clamp around the square carcass (we have used the Axminster Trade Frame Clamp for its reliability and strength), placing the brackets on each corner. Before tightening up, adjust each corner to ensure they’re square.
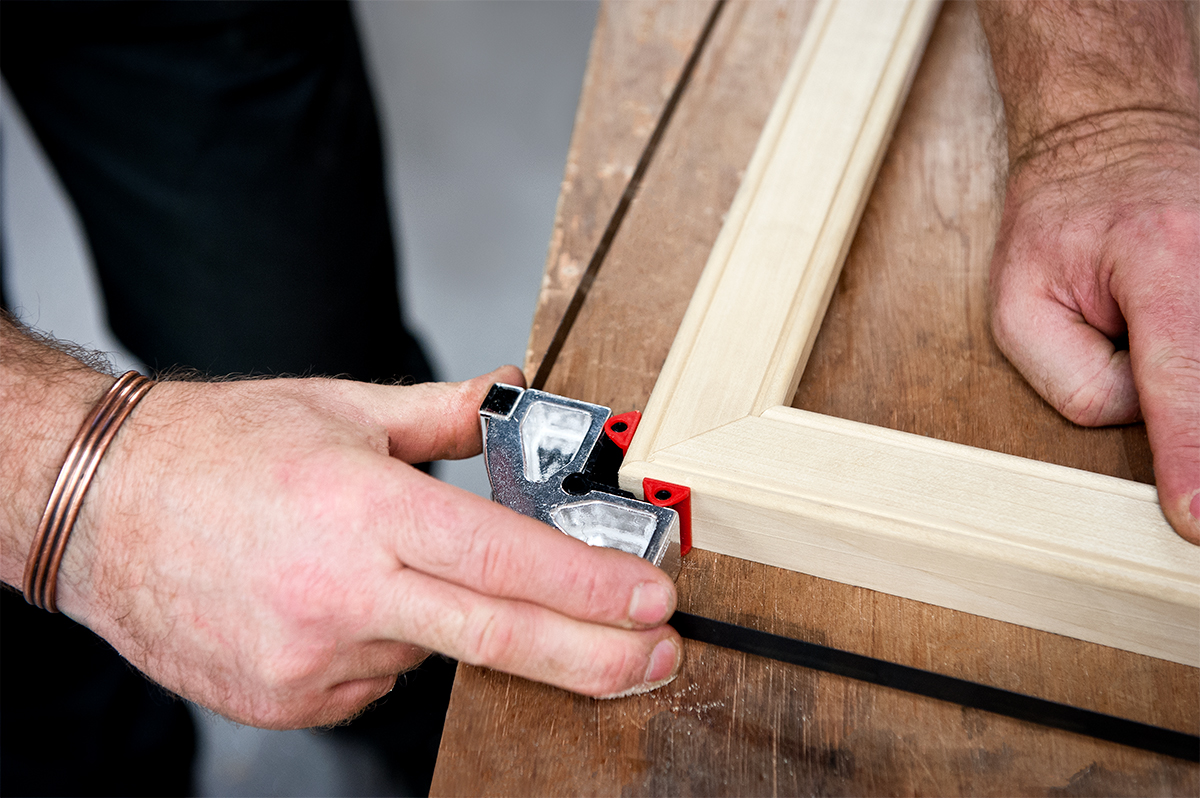
TIP - If the corners are not lining up accurately in the clamp, instead of moving the wood, wiggle the clamp corners to bring them in, you’re much less likely to damage the wood this way.
Step Nine:
Remove the clamp after dry testing. Place a thin layer of glue on one side of the mitre (we’ve chosen Titebond II), line up each corner and re-apply the frame clamp, place the brackets back into position and tighten up the frame. When tightening up the clamp, wind the thread back towards the clamp to gain more tension on a flat surface.


Keep your frame clamped for at least 24 hours to ensure a strong hold.
Step Ten:
While the frame is still securely clamped, turn the frame over and insert the vee nails to add internal structure. You can do this using a ‘vee nail insertion tool’, place the vee nail into the tool and press the tool firmly into the middle of the mitre - this must be central to the mitre joint for the nail to go in correctly. If you’re using hard wood, such as oak, you can carefully use a mallet for extra force.


Step Eleven:
After the glue is set, remove the frame clamp. The frame is now ready to take to a glaziers to fit the glass. Finish by placing a backboard on the back of the carcass, cutting to size if required and use frame points to secure in place. Frame Points are a small flex tab that insert into the back of a picture frame to hold the glass, picture and backing board in place securely. Using the Frame Point Insertion tool, push the tab into the back edge of the frame to hold the contents in place.
See our complete framing section for all tools used and extra accessories!


Really not very clear, especially to us who are in the early stages of woodworking. It assumes too much pre-knowledge. Step One " .... to the exact height of the underside of the moulding..." I don't get that at all.