
How To Make a Wooden Phone Stand and Speaker

What you'll need
In this How To project, young woodworker, Gabriel Clark, shows you how to make a simple yet cool wooden smartphone stand and speaker.
Watch our child friendly video tutorial, as he shows you how to make this portable speaker with just a few scraps of wood and some simple hand tools. Or follow our detailed step by step guide below, if you access to basic workshop machinery.
Wooden Phone Stand and Speaker
Requiring zero electricity, the design employs natural acoustics to amplify the sound from your phone's speaker, while safely cradling your phone at the same time. What’s not to love? Enjoy hands free music at a comfortable decibel level with our latest How To project!
Part 1 – Get organised
Gather together all of your materials and tools needed. We chose some Tulip wood offcuts.
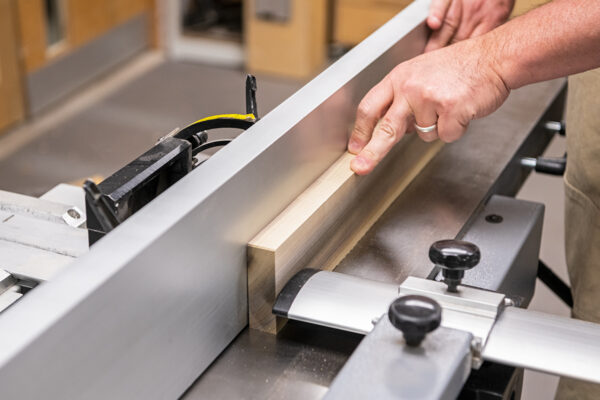
Part 2 – Size materials and plane
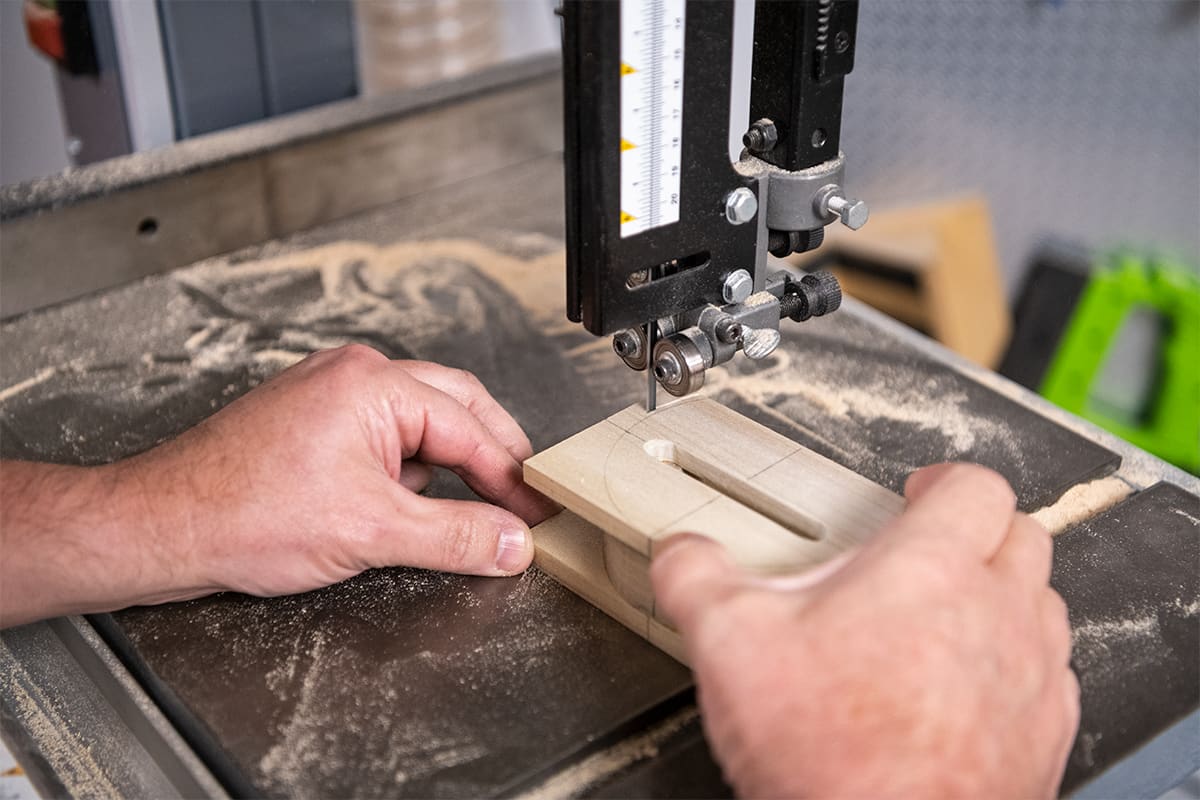
Rip down to size either on a bandsaw or table. If you don't have either, you can adapt the plans to suit the size of timber you can buy pre-cut. Here's the rough sawn timber, cut and ready for planing.


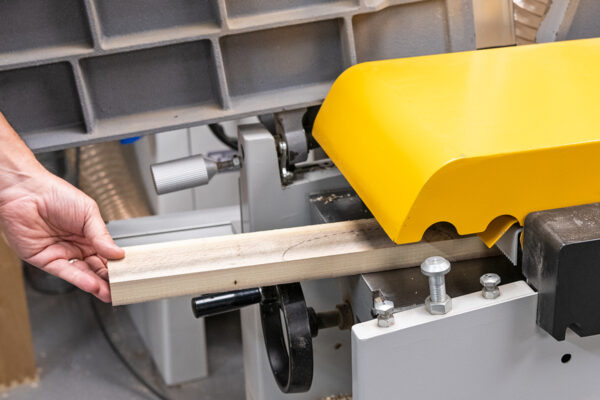
Part 3 – Thickness the timber
Next, because the pieces will be cut into small lengths, go straight into thicknessing the timber down to size. There's no need to surface plan first. Here, it is important though that you edge one side to work off of. If you do not have a planer, just use a hand plane instead.
If following our template, please see the sizes below.
10mm top and bottom
25mm centre section
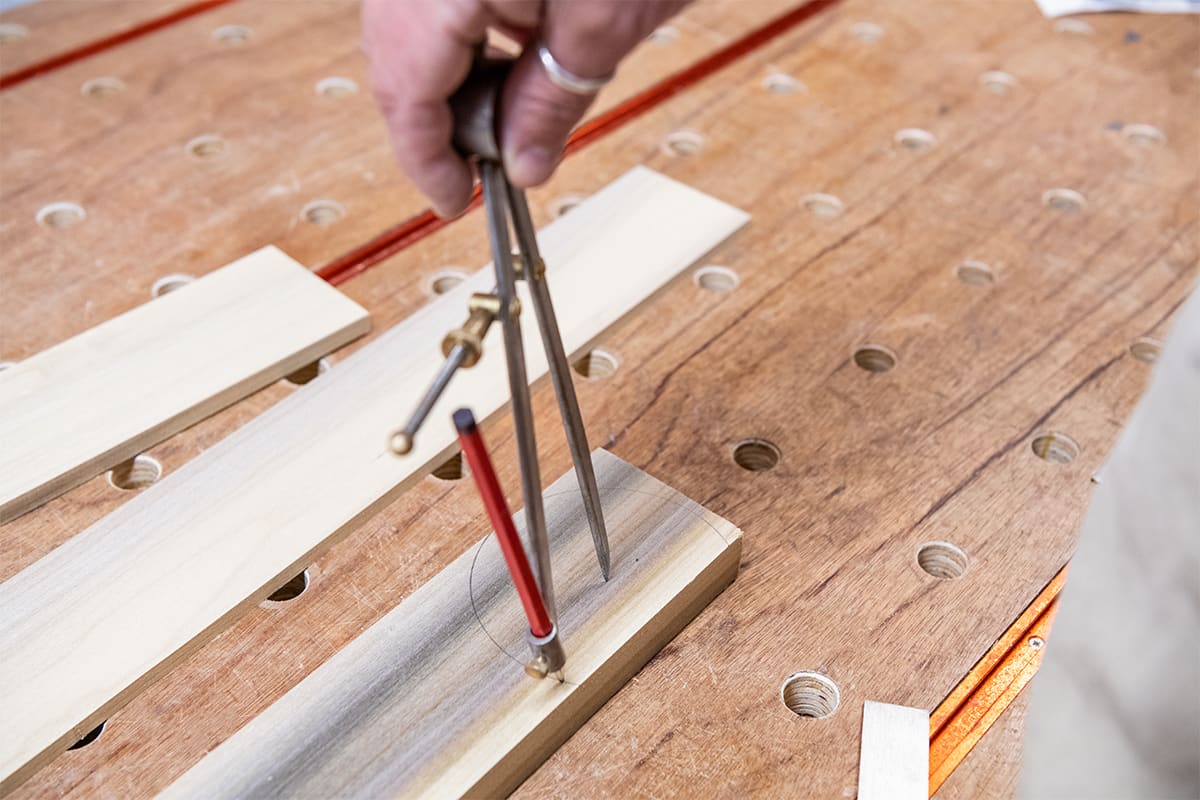
Part 4 – Mark out
Now it is time to mark out the shape with a set of dividers or compass. Alternatively, use the drawings in this how to to create your own card template.
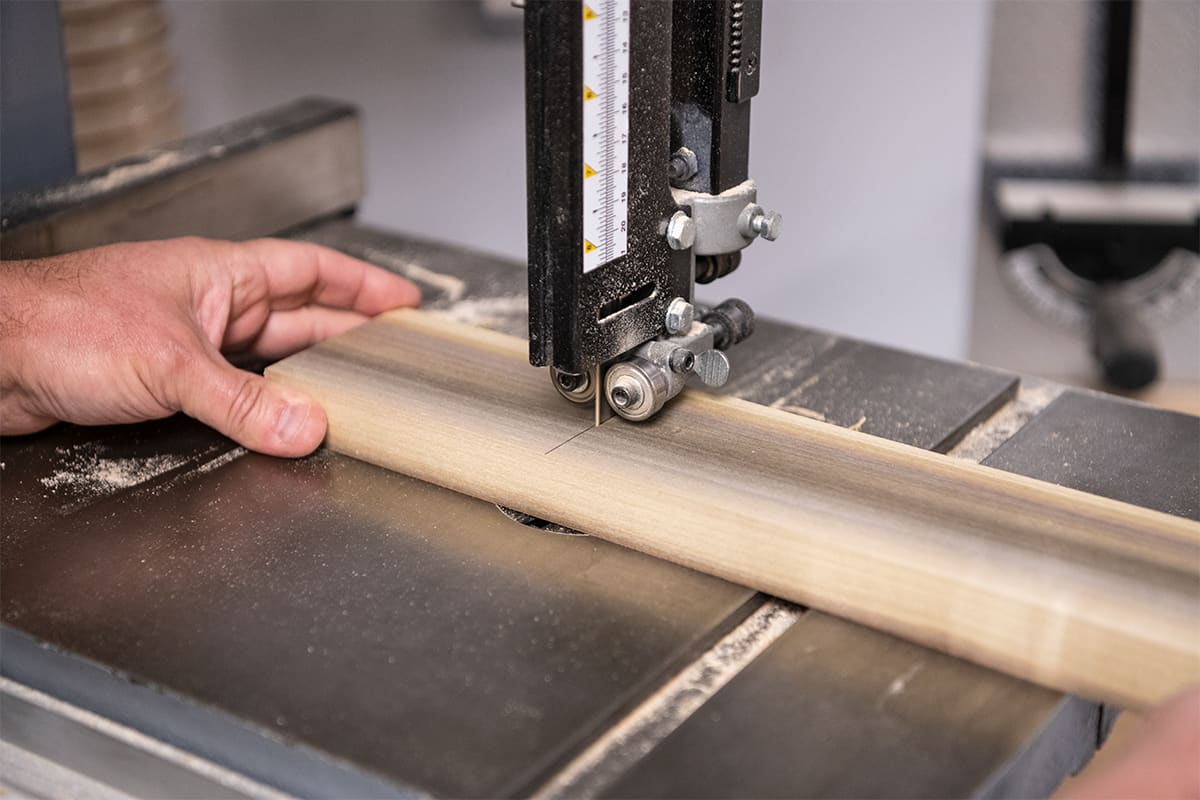
Part 5 – Cut to length
Next, cut the centre of the phone speaker to length using a bandsaw or hand saw.
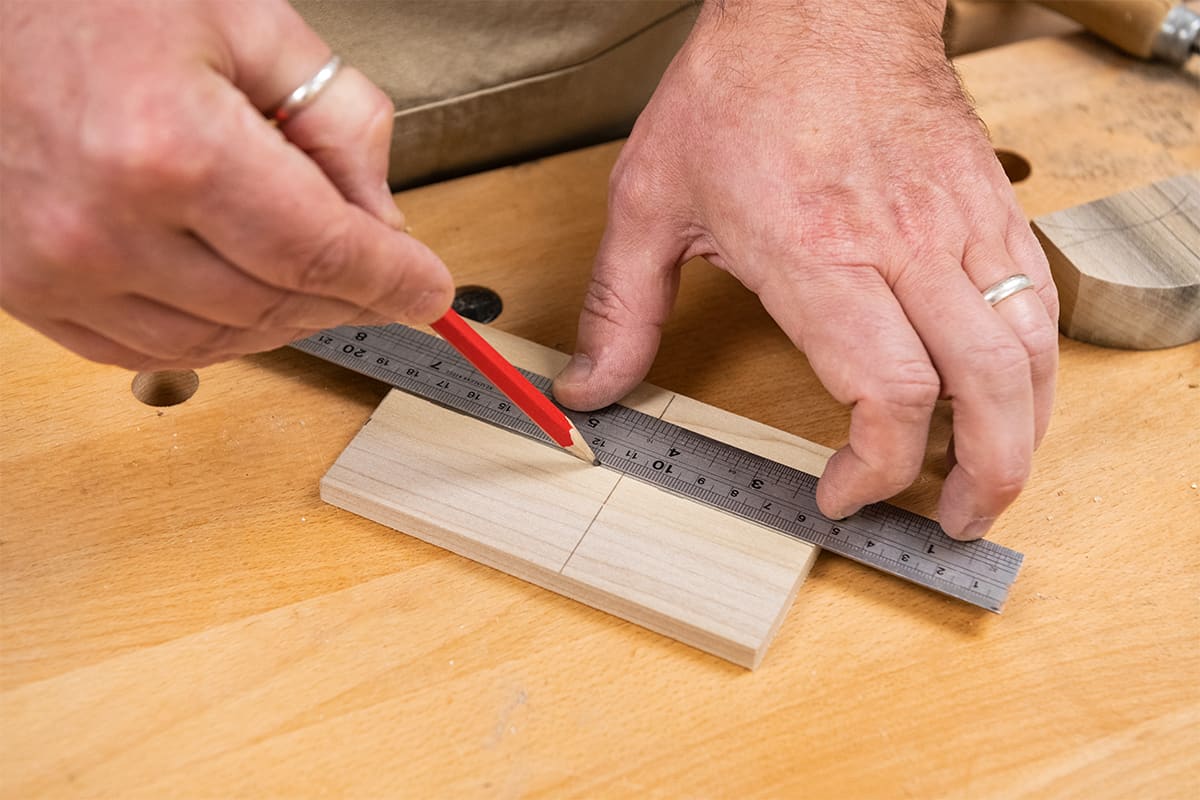
Part 6 – Mark out
Mark the centre line along the grain. Now mark the centre line across the grain in preparation to mark the shape of the phone stand (speaker).


Part 7 – Measure
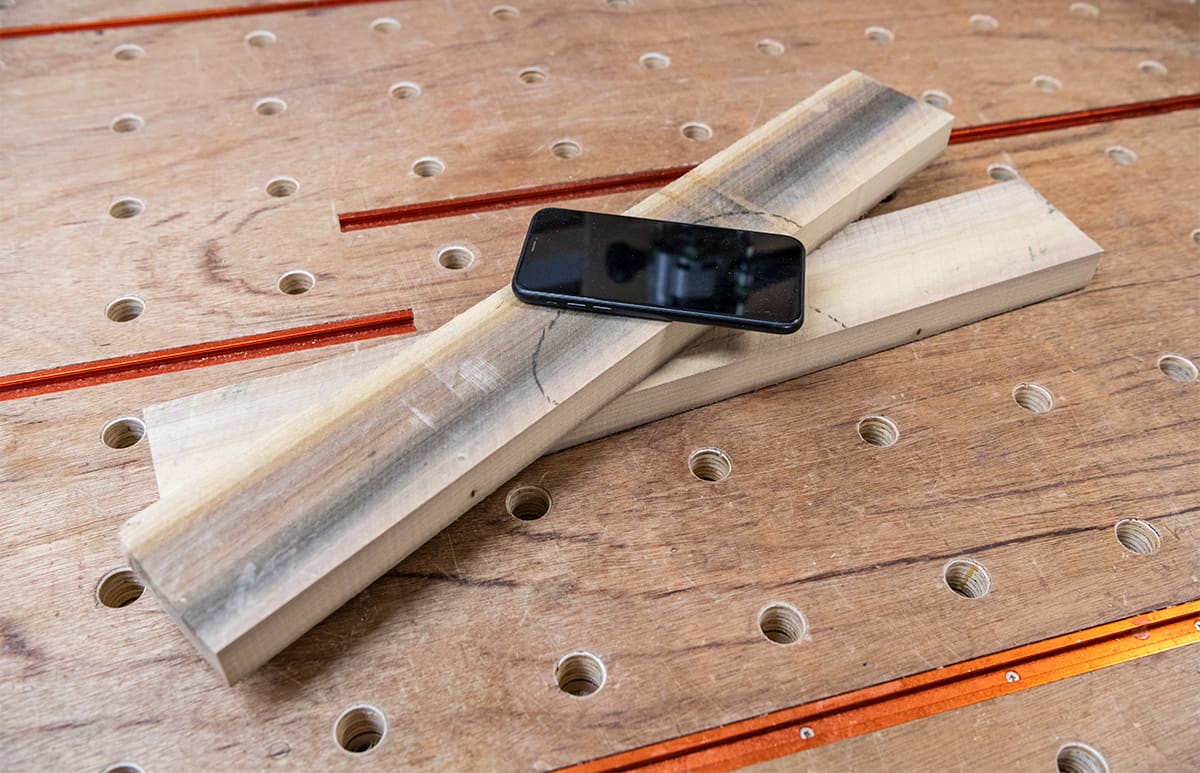
Measure your phone for thickness and width. Then position and mark.
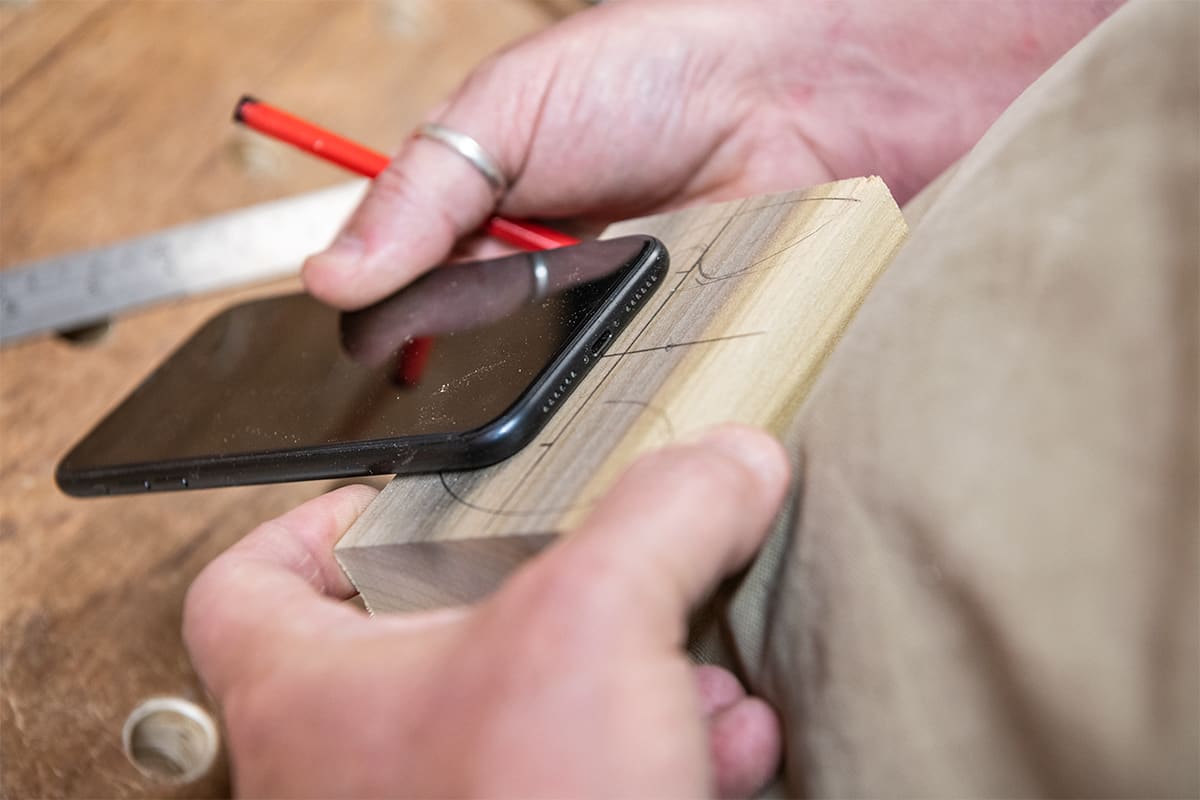
Part 8 – Mark out
Use a teacup to mark out the curved speaker lines. Make sure everything is clearly visible before going to the bandsaw.


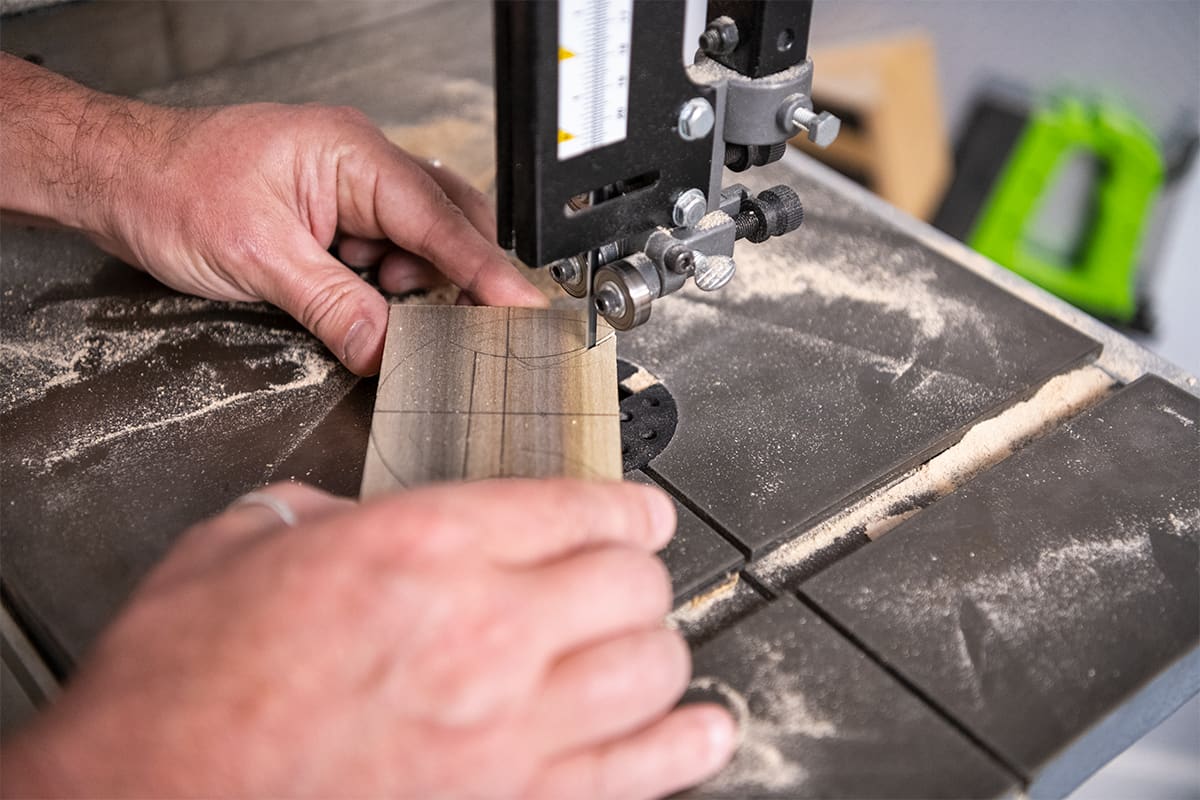
Part 9 – Cut the centre
Cut the centre to shape using a bandsaw, scrollsaw or handsaw.
Part 10 – Sand
Sand the centrepiece to a good finish on the disc sander. For the areas you cannot reach use a rasp and file then use an abrasive.


Part 11 – Top section
Now is the time to start on the top section. Firstly, mark out according to the line drawings. Please do not worry about the bottom section as this can be cut cut later. There's no need for it to be marked out
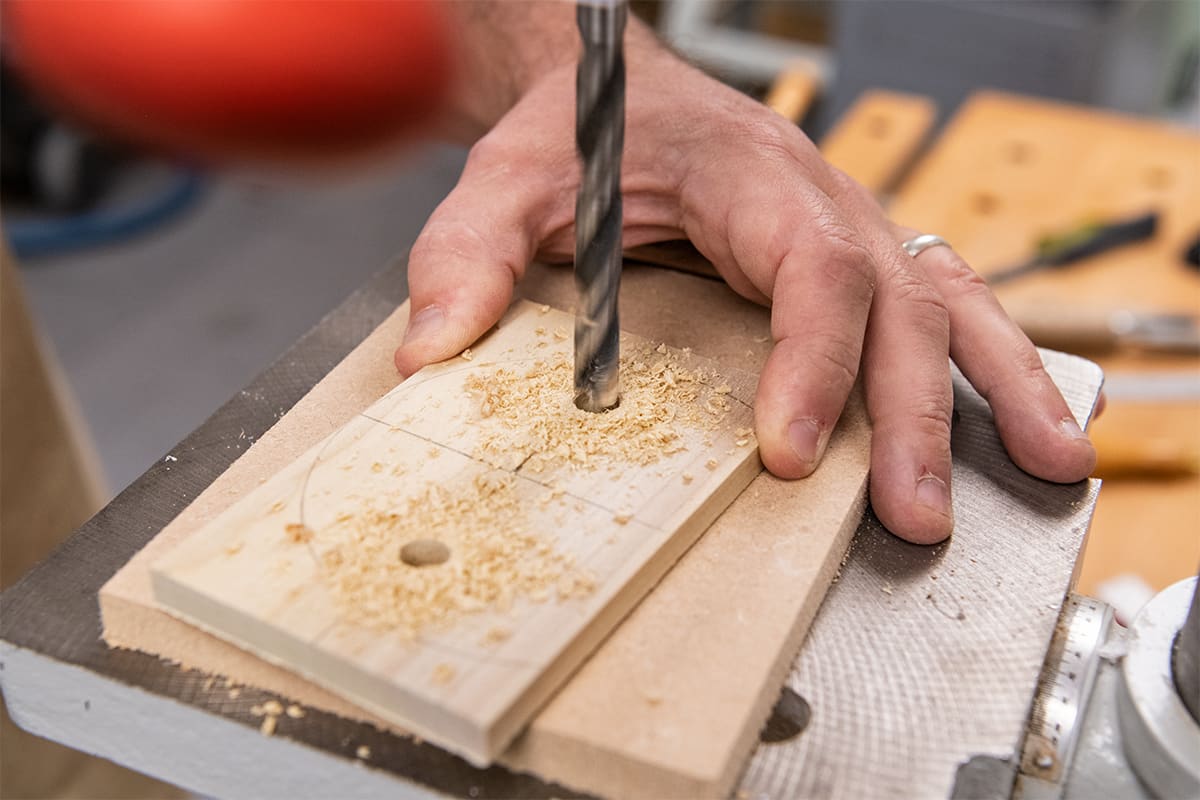
Part 12 – Drill holes
The top section will have a slot cut out to take the phone. To make your phone stand and speaker function as intended, measure the size of your phone to ensure accuracy. In our example, our wooden phone stand required a 10mm slot. With this in mind, we began by using a 10mm lip and spur bit to drill two holes at either end of the slots. These holes also act as start points for the coping or scroll saw.
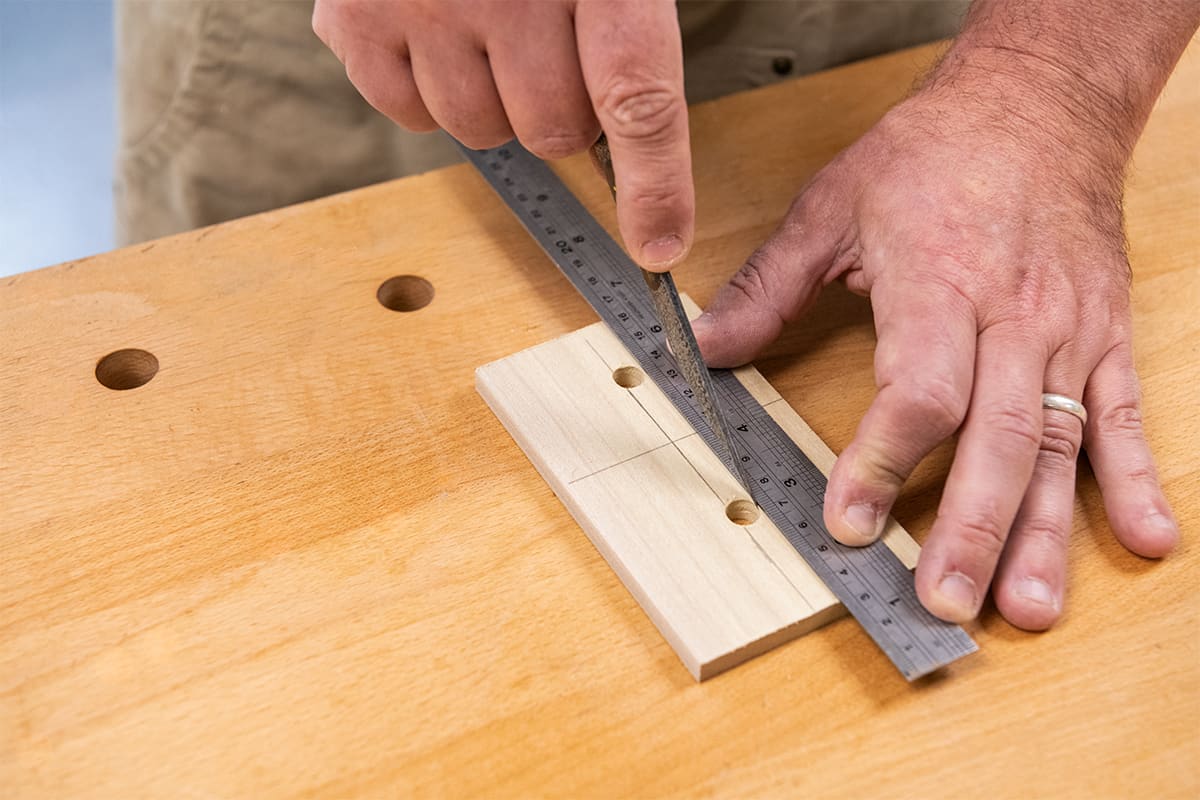
Part 13 – Marking cut lines
Next, join the holes up with a cut from a marking knife on both sides of the timber to mark out the positions of the saw cuts. This will allow you to achieve ultra clean cuts.
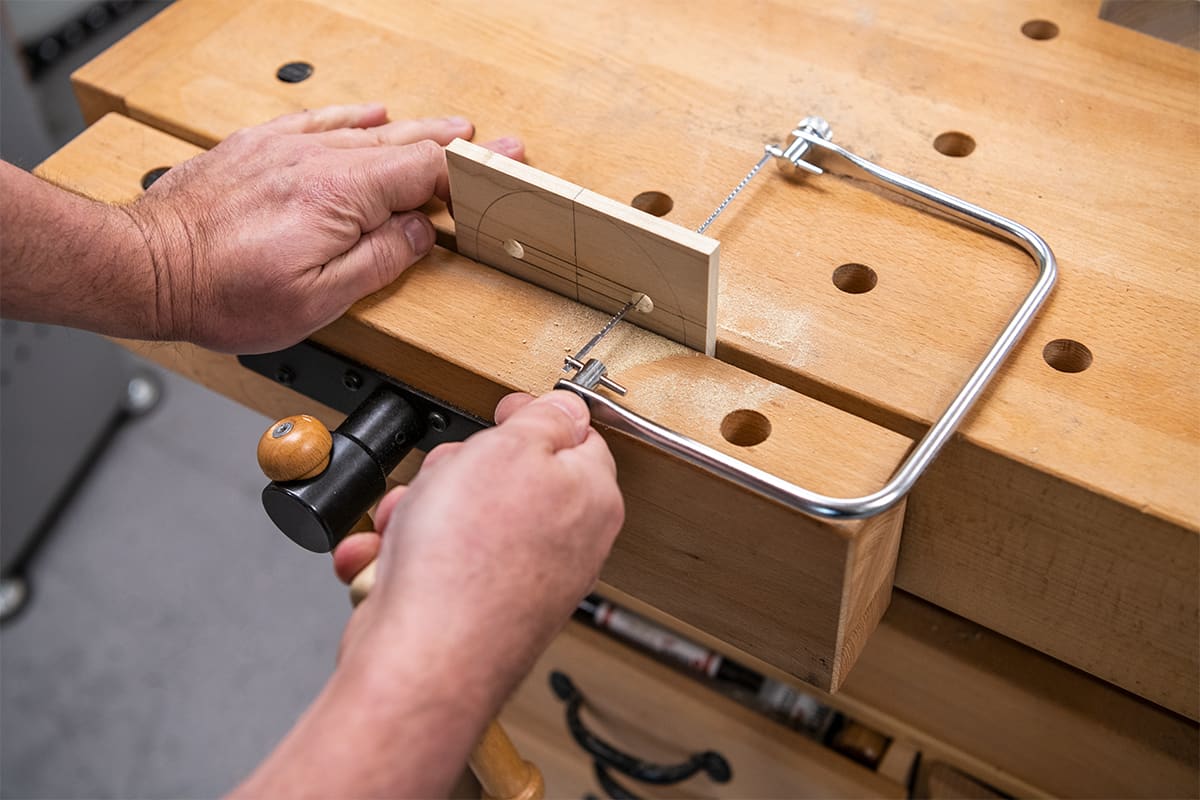
Part 14 – Cut to lines
Using a scroll saw or coping saw cut to your marked lines.
Part 15 – Sand
Use a fine rasp then file to clean out the hole before you move onto an abrasive. Next, use a rat tail file for the rounded edges of the slot. To support the timber all the time, use a bench vice. It is ideal for such projects.


Part 16 – Glue and clamp
As the base has no slot, it can now be glued straight to the centre section. Next, add some glue to the top of the centre section. Make sure it is not visible through the slot of the top. Now, add the top section and clamp in the vice until the glue has dried.


Once the glue has set, go back onto the bandsaw or scroll saw to remove the waste wood from the edges of the piece before you sand.
Part 17 – Sand
Tidy the edges using the disc sander. Move through the grades to get a good finish. Clean up any rough areas by hand sanding.


Part 18 – Finish
Finally, finish with you desired finish. In our example, we used finishing oil.


Discover more…
If you’ve enjoyed reading this article, why not take a look at all of our How To projects and see what sparks your woodworking interest?
Get connected!
Follow us on Instagram and Facebook to stay up to date on all the latest projects.


I like it.
Thanks Hannah.
Thanks for the feedback.
Hope you have fun making it.
Thanks
Hannah
That’s my weekend sorted!
Hi Andrew,
Hope you had fun making it!
Thanks
Hannah
You give instructions to thickness the wood but no information as to what thickness any of the pieces should be
Hi,
Please see the sizes below. Hope this helps!
10mm top and bottom
25mm centre section
Thanks
Hannah
That looks to be a fun and useful project - but how thick are the top, middle and bottom pieces?
Hi Philip,
Please see the sizes below. Hope this helps!
10mm top and bottom
25mm centre section
Thanks
Hannah
What is the thickness of the parts
Hi Barry,
Please see the sizes below. Hope this helps!
10mm top and bottom
25mm centre section
Thanks
Hannah
Hannah, I think you are very patient (Part 3).