How To Make A Router Table Spline Jig
Want to dress up your mitred corner joints and add strength, too? Follow our 13 simple steps to creating your own router table spline jig and see the results for yourself.
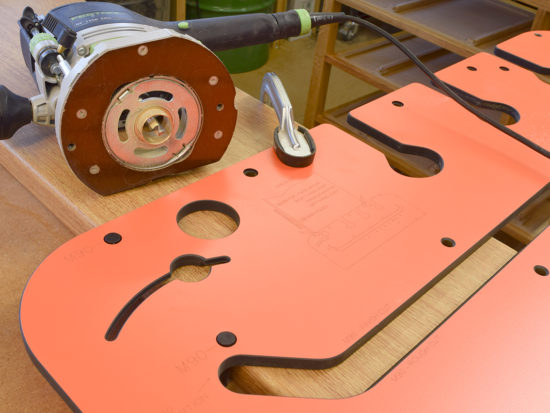
This simple jig is a very useful accessory for any router table. The spline jig enables mitre joints to be reinforced with a spline, usually of a contrasting material.
The spline jig is used in conjunction with a wing cutter and arbour and different sized cutters can be fitted to produce either a thick or thinner spline. Using a thinner base board on the spline jig allows greater vertical adjustment when positioning the splines. The spline jig is easy to make, but needs to be made accurately for consistent results.
What you'll need
13 Simple Steps To Making A Router Table Spline Jig
Top Tip!
In use, pass the work in the spline jig once only from right to left. A repeat cut may not follow exactly the same path, resulting in a wider slot.
Step 1
Prepare the base of the spline jig. It is important to remember that the edge that bears against the router fence should be planed straight.
Step 2
Measure half way on the straight edge and mark line across the middle. Black biro is used here for clarity.


Step 3
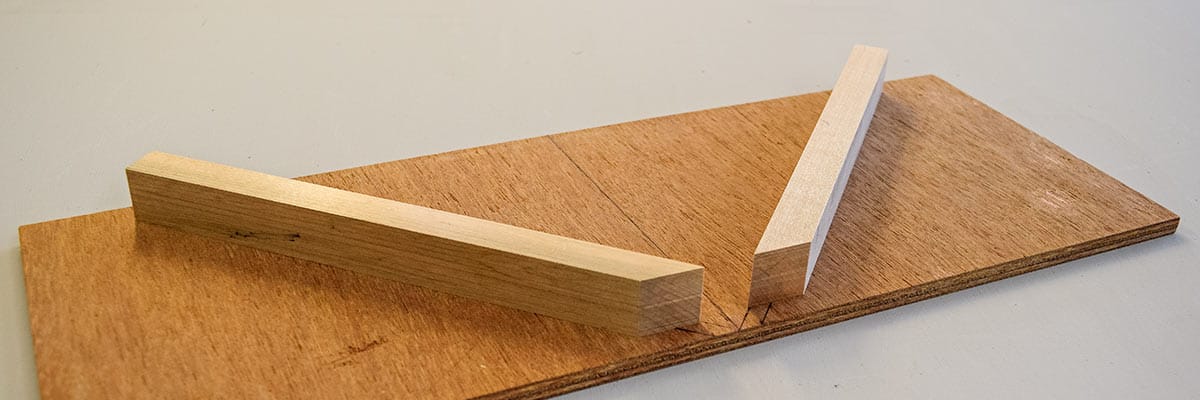
Mark a 45° mitre on each hardwood fence.
Step 4
Cut off the waste, and sand the mitred end on the disc sander.


Step 5
Mark off a line each side at 45° and 10mm away from the centre line.
Step 6
On each line, mark the positions of three screw holes and drill with a 4mm drill.
Step 7
Countersink the reverse side.


Top Tip!
Ensure that the countersinks are sufficiently deep so that the screw heads won’t foul the surface of the router table.
Step 8
From the point where the centre line meets the edge, mark off another pair of lines at 45°, thus forming a broad ‘arrow’. These lines locate the sides of each fence on the base board.
Step 9
Place each fence in turn along a line, leaving the mitred face around 10mm from the edge of the router table spline jig. Mark off and cut to length; use the disc sander to clean up the end.


Step 10
At this point, clamp one fence in position, ensuring that it’s at 45° to the front edge. Insert one screw and adjust the fence position if required.
Step 11
When the fence is in the correct position, secure it with another G clamp and drive in the remainder of the screws.
Step 12
Position the second fence and clamp to the base board, ensuring that the internal angle is 90°. Drive in the three screws.


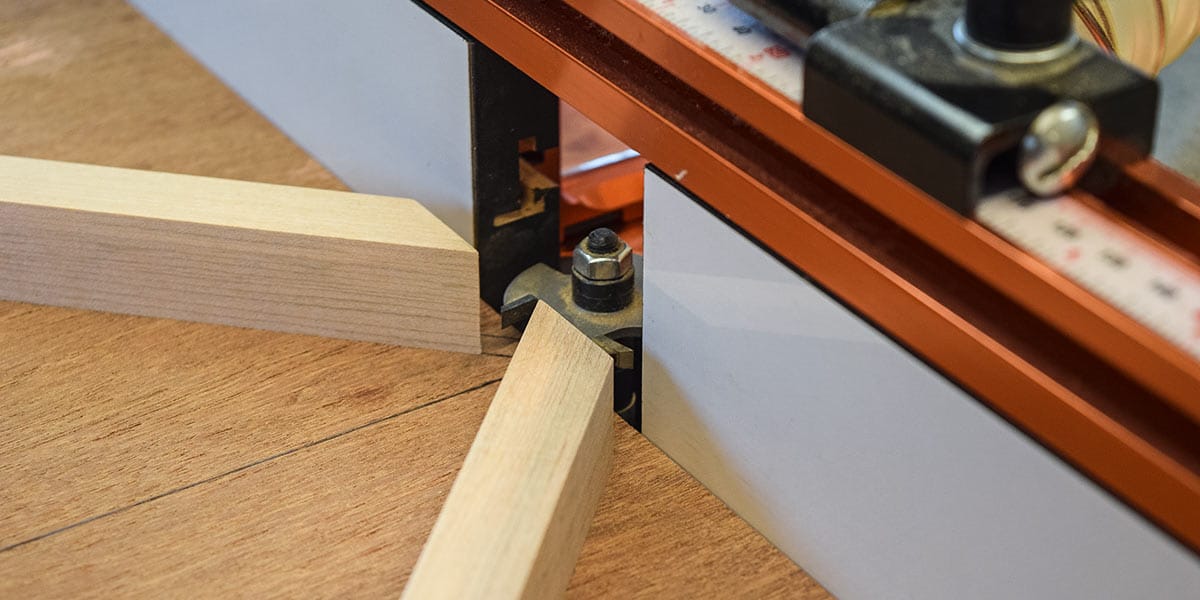
Step 13
Completed router table spline jig and in use and on the router table.
New to woodworking?
Learn How to Set Up Your Router Table and discover Ten Top Tips To Improve Workshop Efficiency.