Decorating A Wooden Bowl With Chroma Craft Stencils
What you'll need
Effortless colouring that’ll get your projects noticed
Decorating a project, especially one you have already spent time creating, can be nerve-wracking. By following our step-by-step guide you’ll see how easily you can embellish your designs using Chroma Craft Stencils. Available in a wide range of designs, the stencils are self-adhering, flexible and translucent meaning they can be used on complex shapes and allow absolute accuracy when layering colours. Part of the Nick Agar signature series of finishes, these stencils will add striking detail and texture, transforming your designs into works of art.
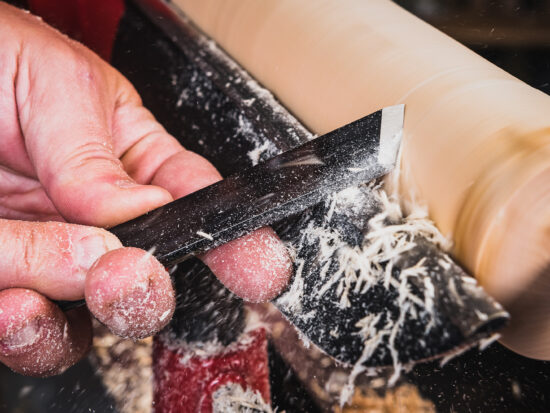
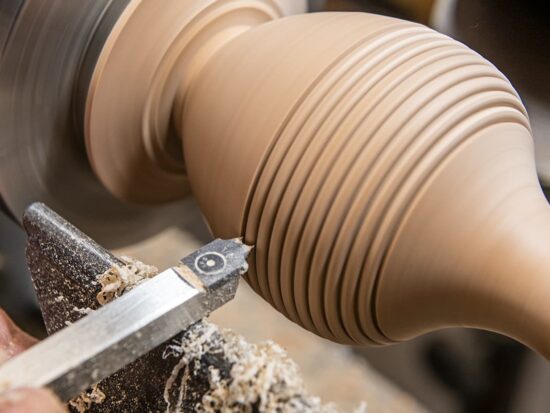
Step 1 - Preparation
Your wooden project must be finished ie the final sanding has been done.
Chose colours that will compliment your material. For lighter woods, darker colours such as red, green, blue and purple work well. Whereas lighter colours have a greater impact on dark woods.
Your working area must be free of dust to avoid any particles settling on the drying paint.
Step 2 - Lay out your design
Carefully peel off the first Swallowtail Butterfly stencil and place it on your project, using light pressure make sure it's laying flat and all edges have adhered to the surface. Chroma Craft Stencils can be wiped clean and reused so take care of the stencil and backing sheet.


We have chosen to mix up the sizes and place them randomly but you can also cluster them and use the same size. The beauty of the Chroma Craft Stencils is that they can be repositioned again and again, giving you maximum flexibility when creating the layout.
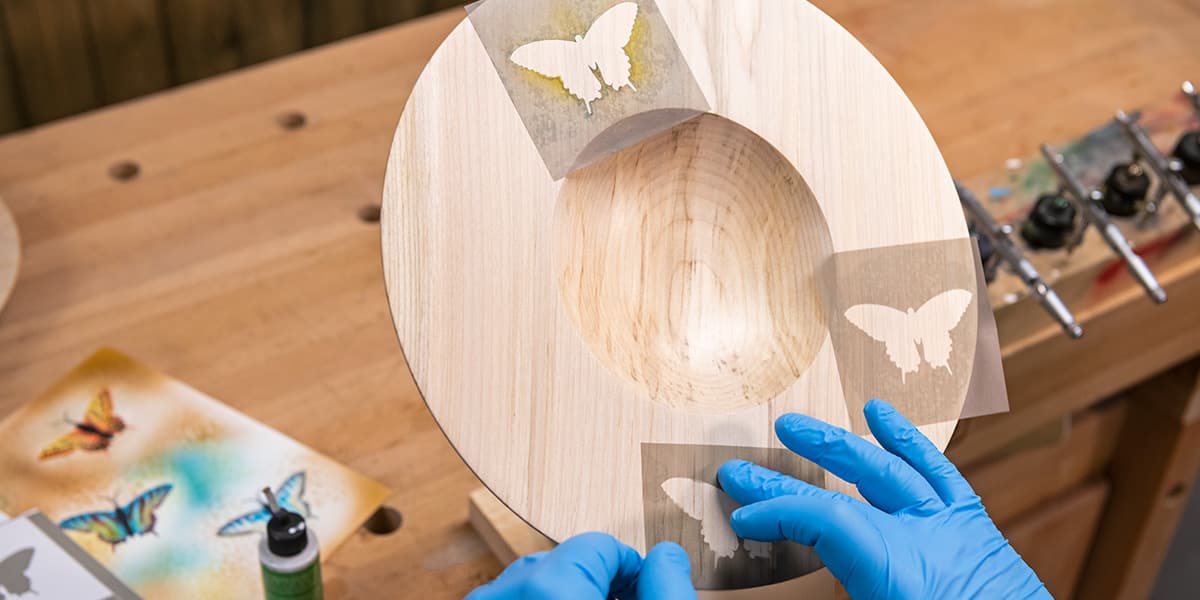


When you're happy with the placement, cover all exposed areas of bare wood with masking tape and paper. Make sure to cover the centre of the bowl.
Step 3 - Colouring
Starting with your primary colour, fill the stencil, concentrating particularly on the edges to give greater depth to the butterfly.
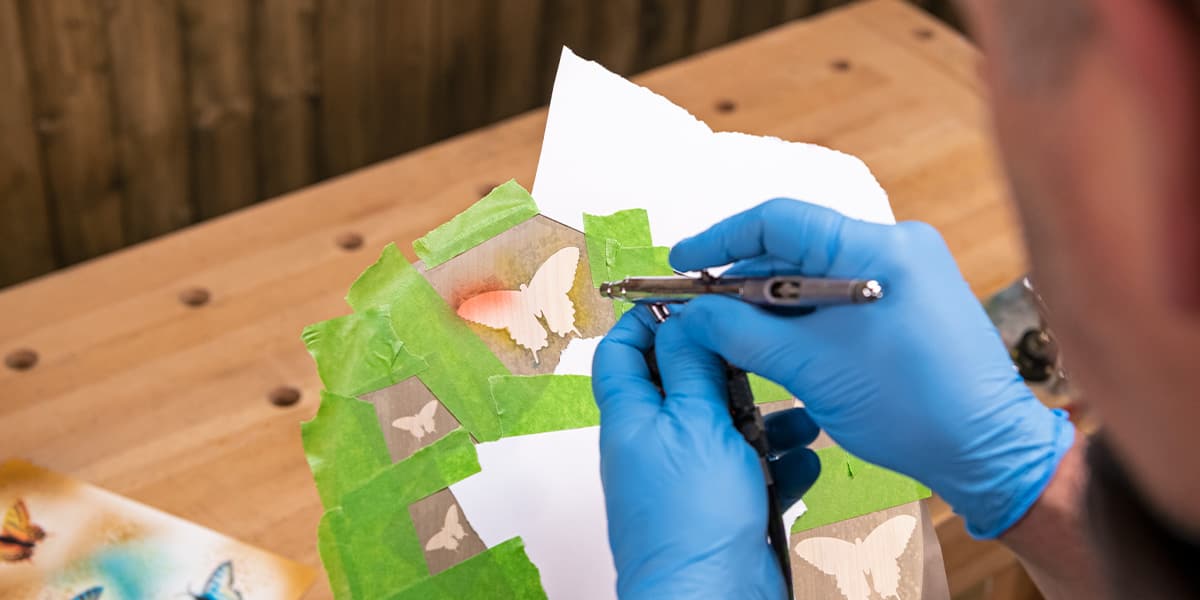
Now add your second colour and let them blend together.
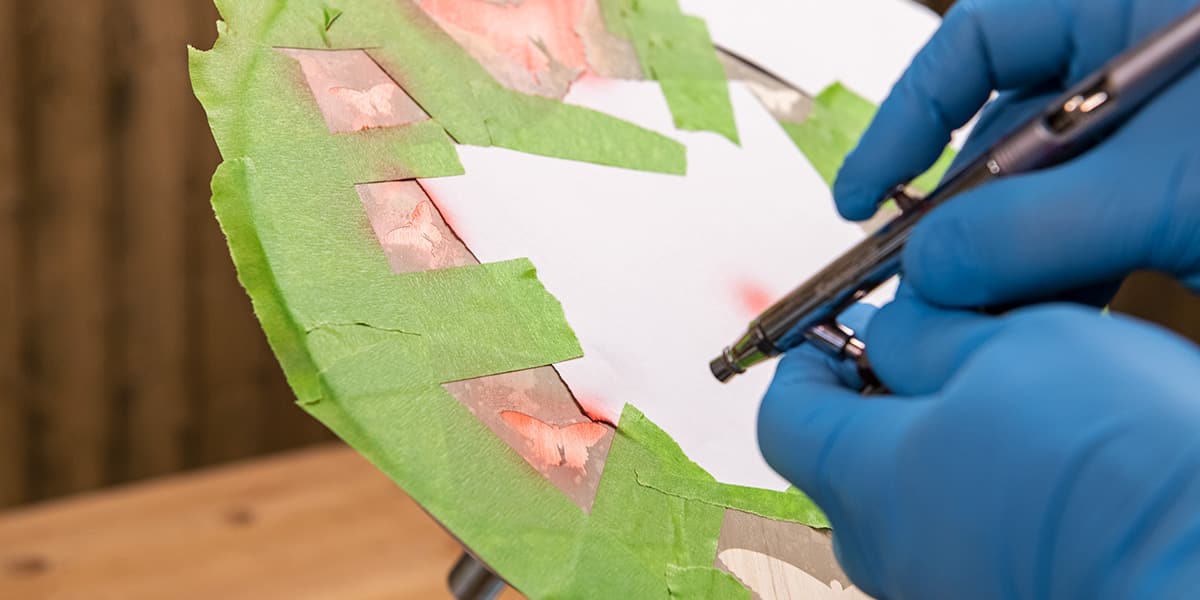

Using the black stain, trace around the edges of the stencil. This will give the image a three-dimensional element, really helping to make the design come to life.
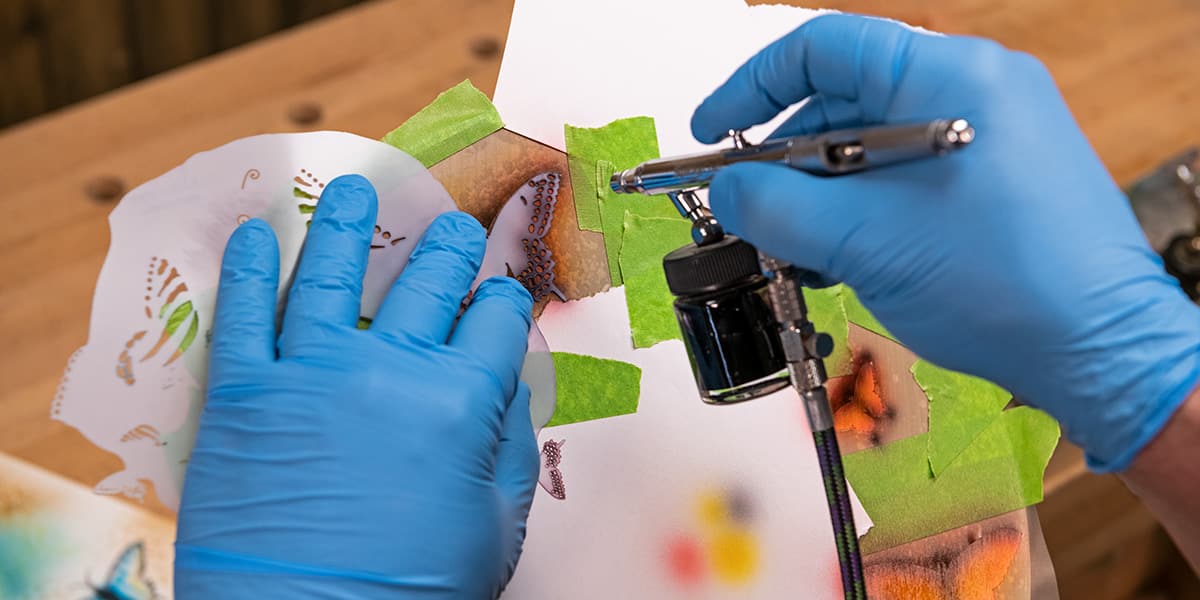
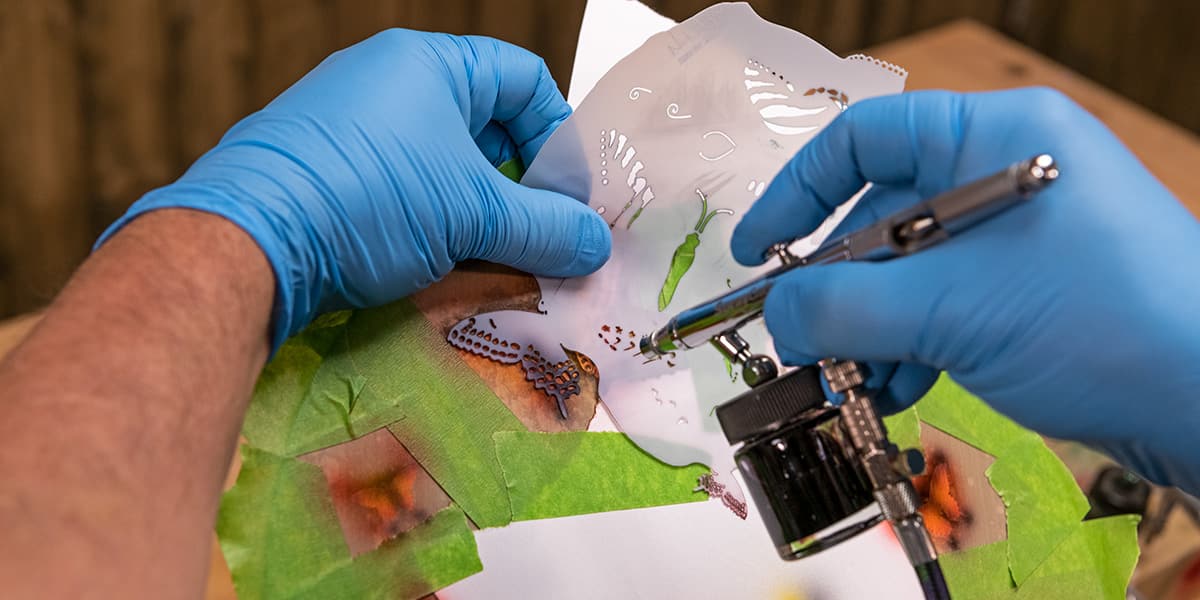
Using the Swallowtail Infill Stencil, match the size of the butterfly and spray through the stencil. Continue using the black stain to add the detail. Don’t spray too heavily or in one place for too long - you want the spray to be dry as soon as it hits the wood, so lots of light coats are better than one heavy one.
The infill stencils are reversible so turn them over to do both sides of each butterfly. Make sure the paint on the stencil is dry to avoid mixing colours.
When all the detail has been added, take off the masking tape. Be careful not to disturb the Peel-Off stencils.
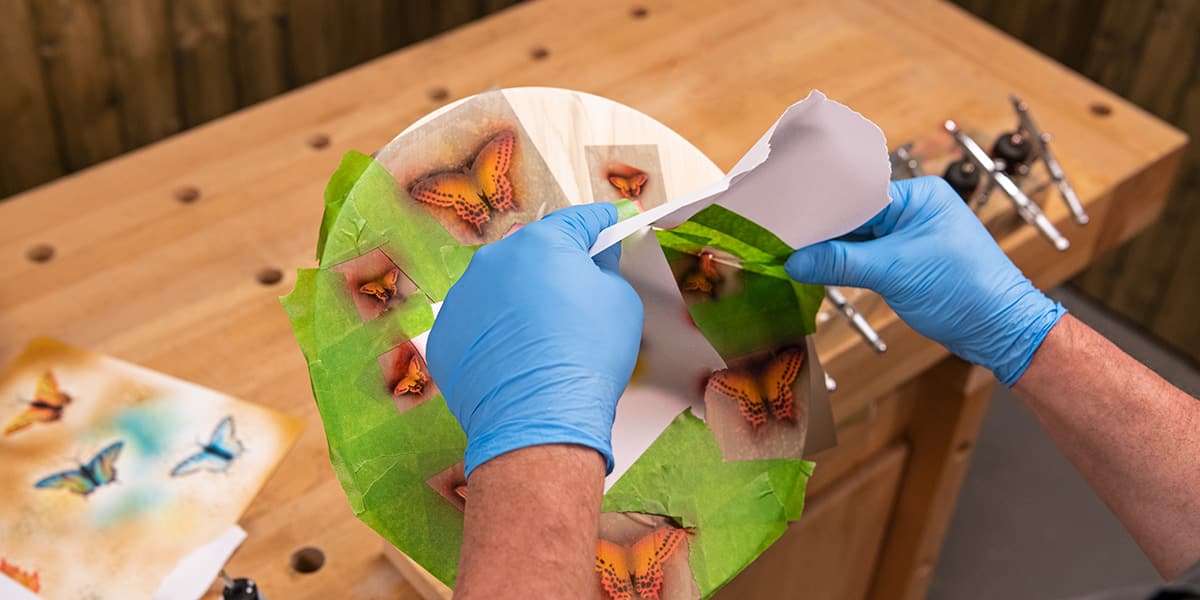
Once all the masking tape has been discarded, carefully remove the Peel-Off stencils. Wipe them clean using a bit of Methylated spirit on a tissue, before the meth dries wipe them again with a clean dry tissue. Return the stencils to the backing sheet.


Using the Infill Stencils add the antenna and body detail. Be careful not to overspray as the masking tape is no longer there to protect the bare wood


Step 4 - Finishing


With a small artist's brush add the white highlights, this is an important part not to skip as it really helps to bring the design to life. There isn't an exact position for these but we find it most effective to put a small white dot on every bit of black detail.


There you have your finished uniquely coloured bowl. And the good news is that these stencils can be used with any combination of techniques including airbrush, dauber or roller with dyes, paints and markers. And what’s more, they're reusable so you can create again and again!
Get in touch
If you have bought any of the Nick Agar Signature finishes from Chroma Craft, we would love you to share with us your creations! Share your pictures on social media, either Facebook, Twitter or Instagram, tagging @axminstertools.