How To Make Multi-Purpose Storage Units
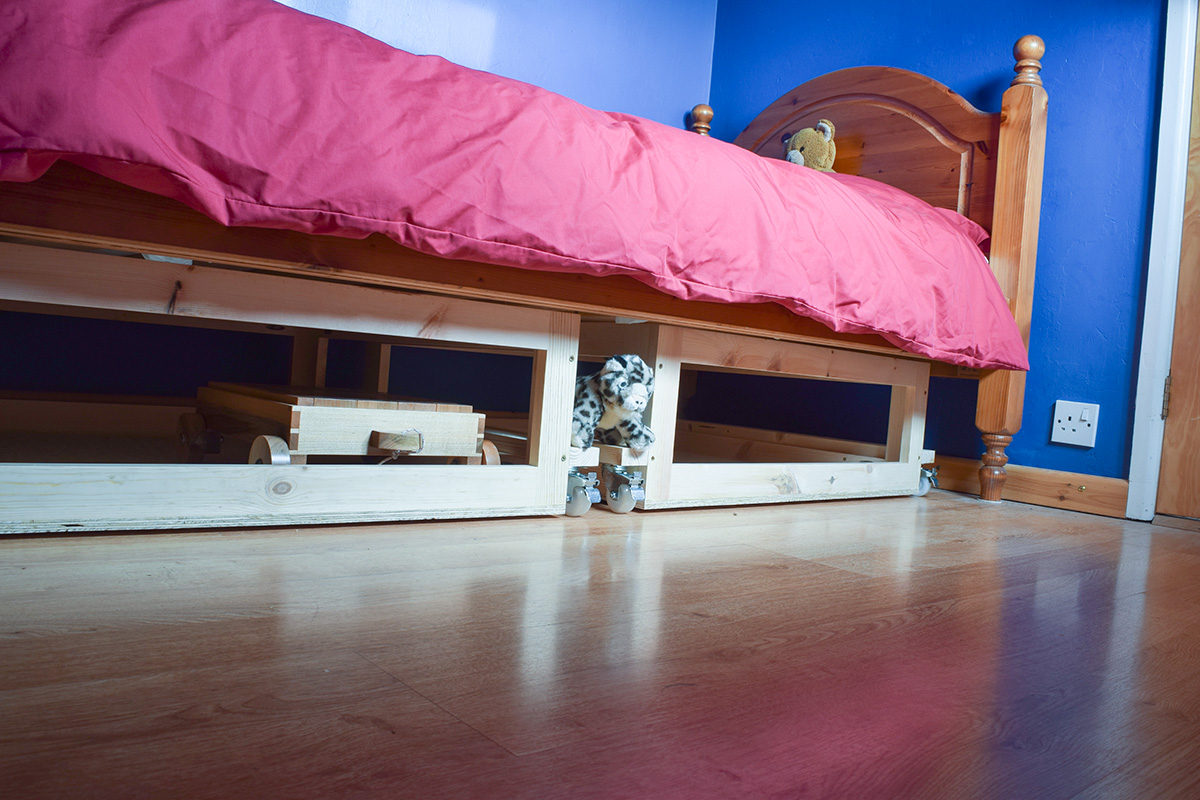
Storage units of any sort are always a welcome addition in the modern home and using the UJK Technology Pocket Hole Jig, they can be made to suit any area of the house; under a workbench in the garage, or perhaps the utility room. In this particular instance, a pair have been specifically designed to fit and roll underneath a single bed. Exterior rails for the castors allow maximum depth of storage. The timber has been cut to length on a Power Tool Table; other methods are itemised.
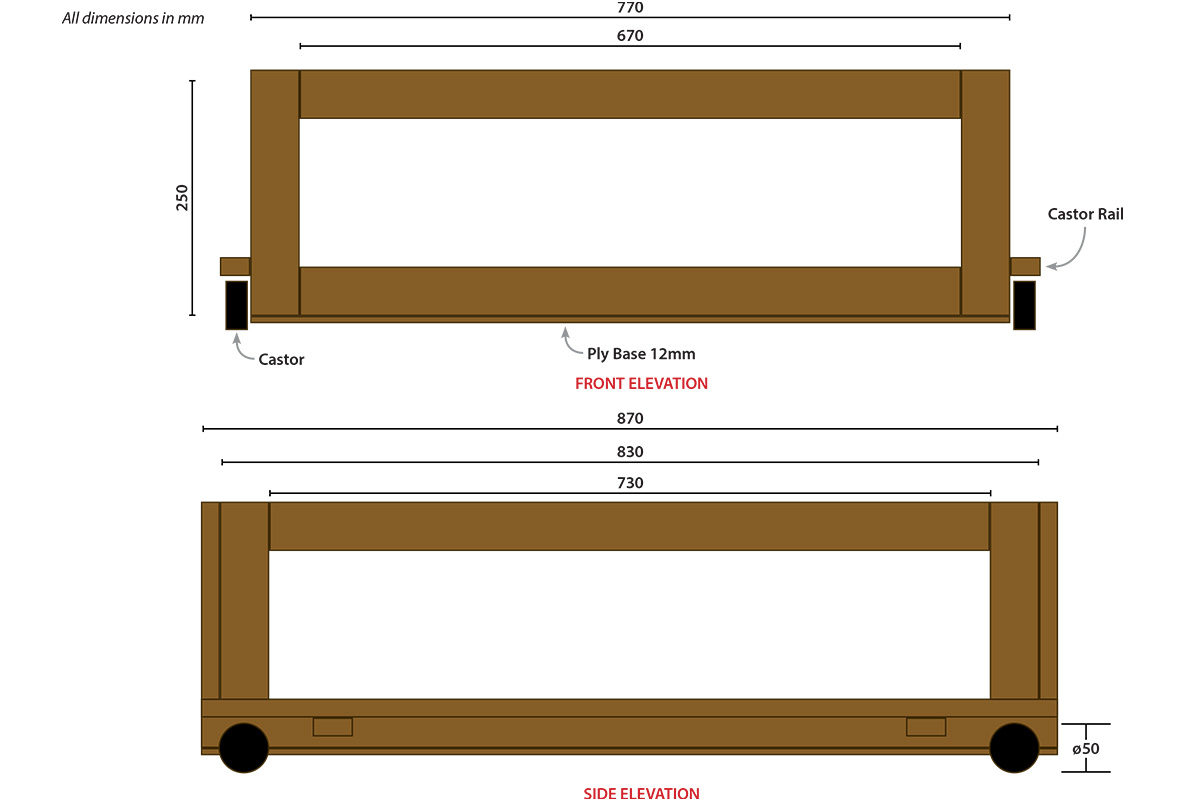
Dimensions given are for the unit(s) to fit underneath a single bed. Alter the dimensions to suit your particular application and purchase, or machine timber to size.
What you'll need
Method
Step 1
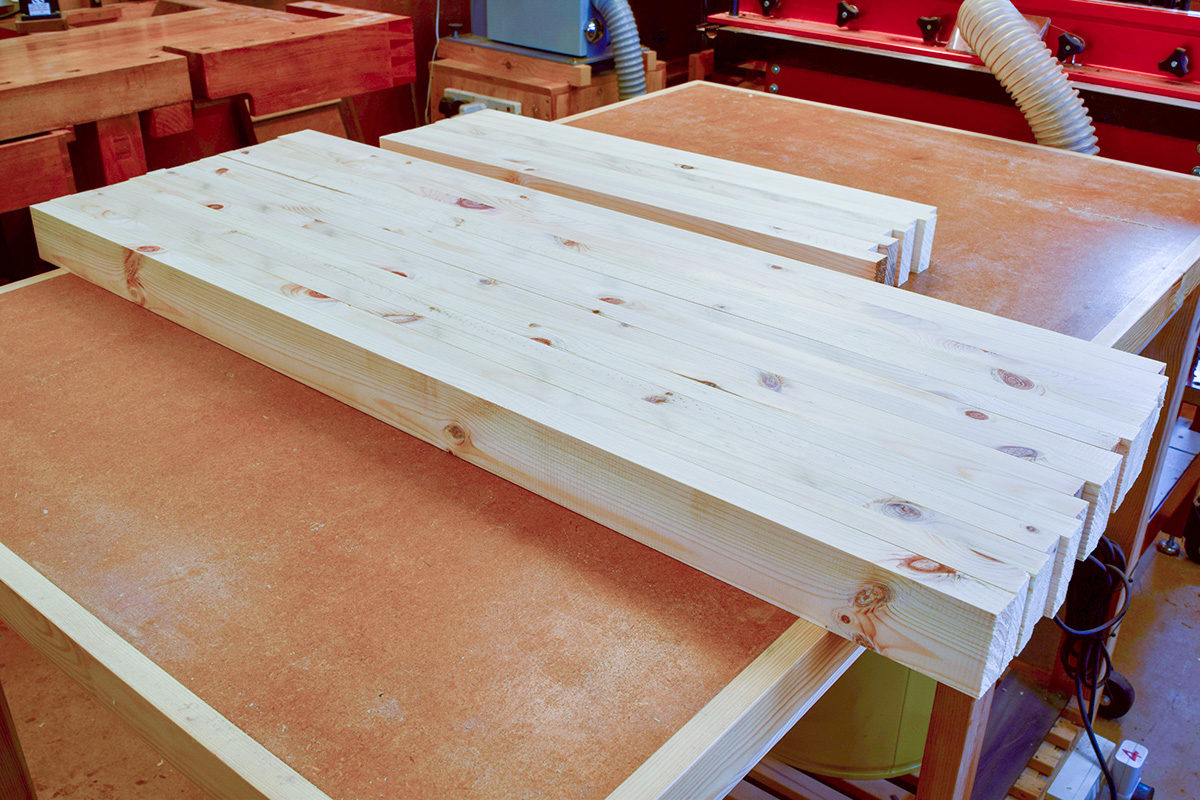
Machine all material for frames to 50 x 20mm. Leave extra long.
Step 2
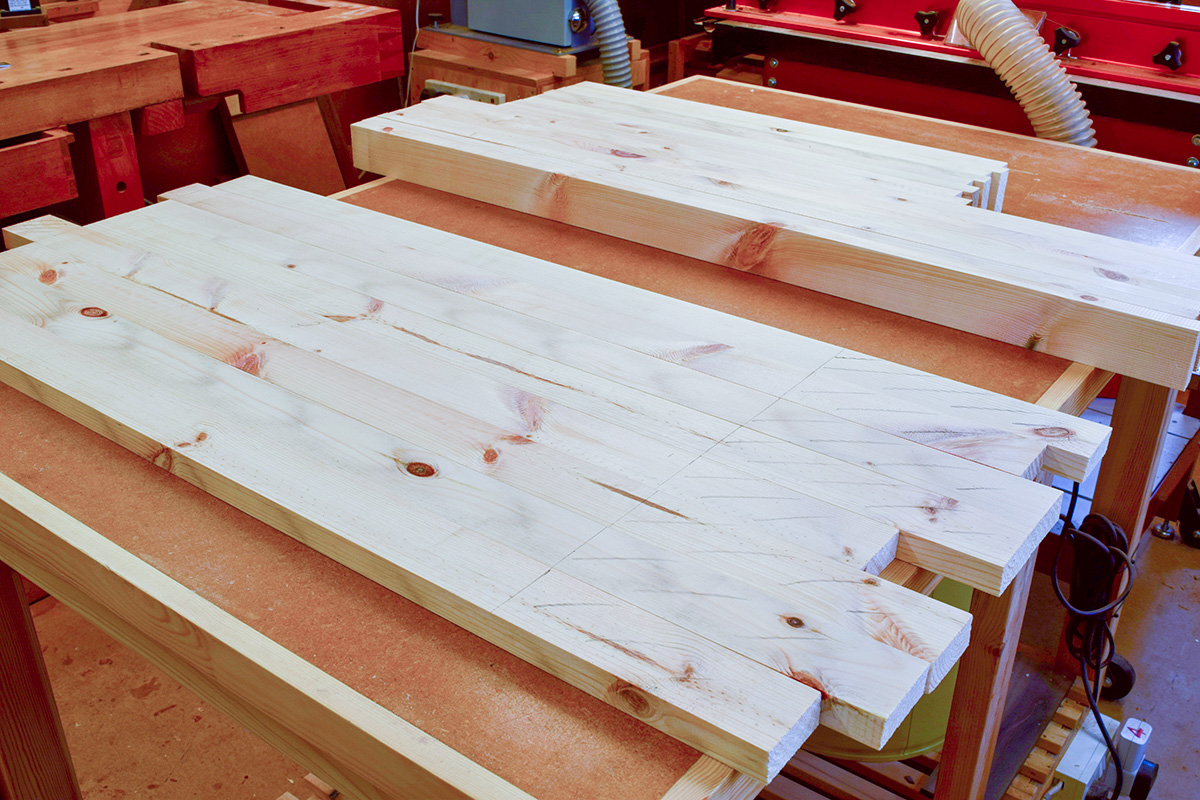
Mark out material to length. 8 pieces at 670mm, 8 at 730mm and 16 at 250mm.
Important!
Avoid knots at the ends of the pieces where there will be PH joints.
Step 3
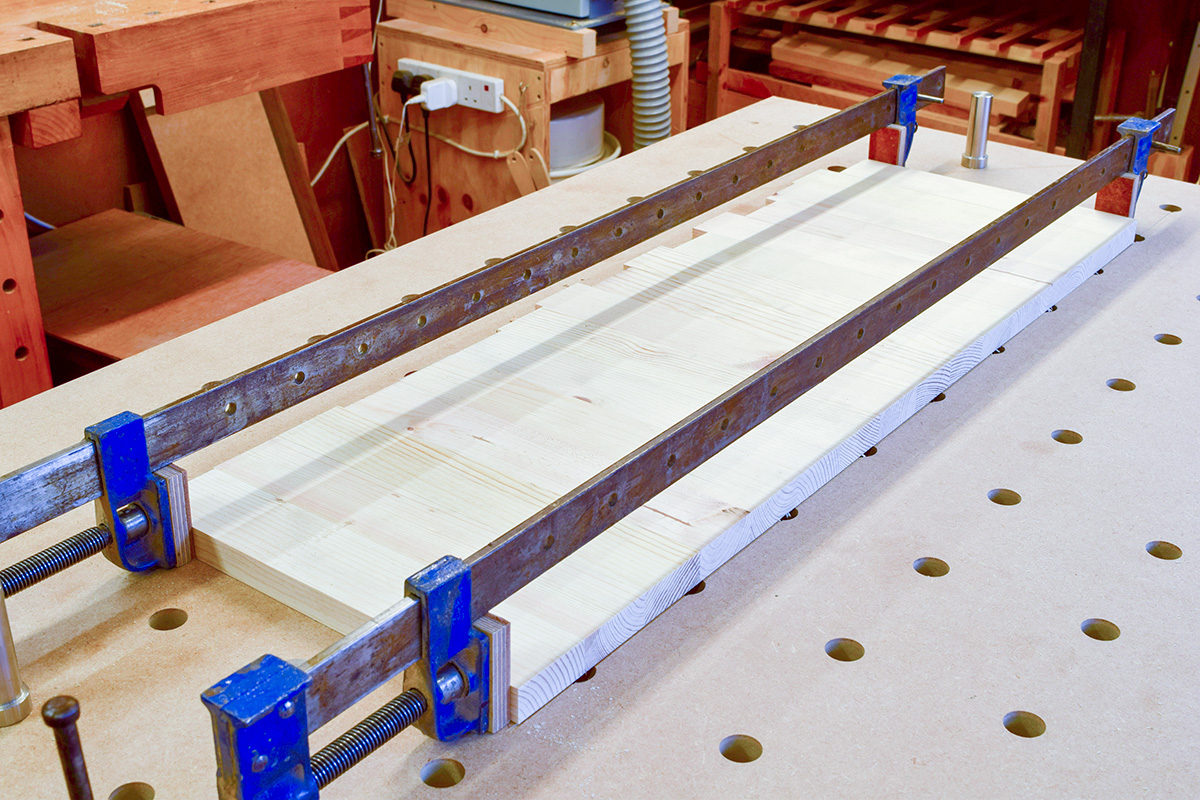
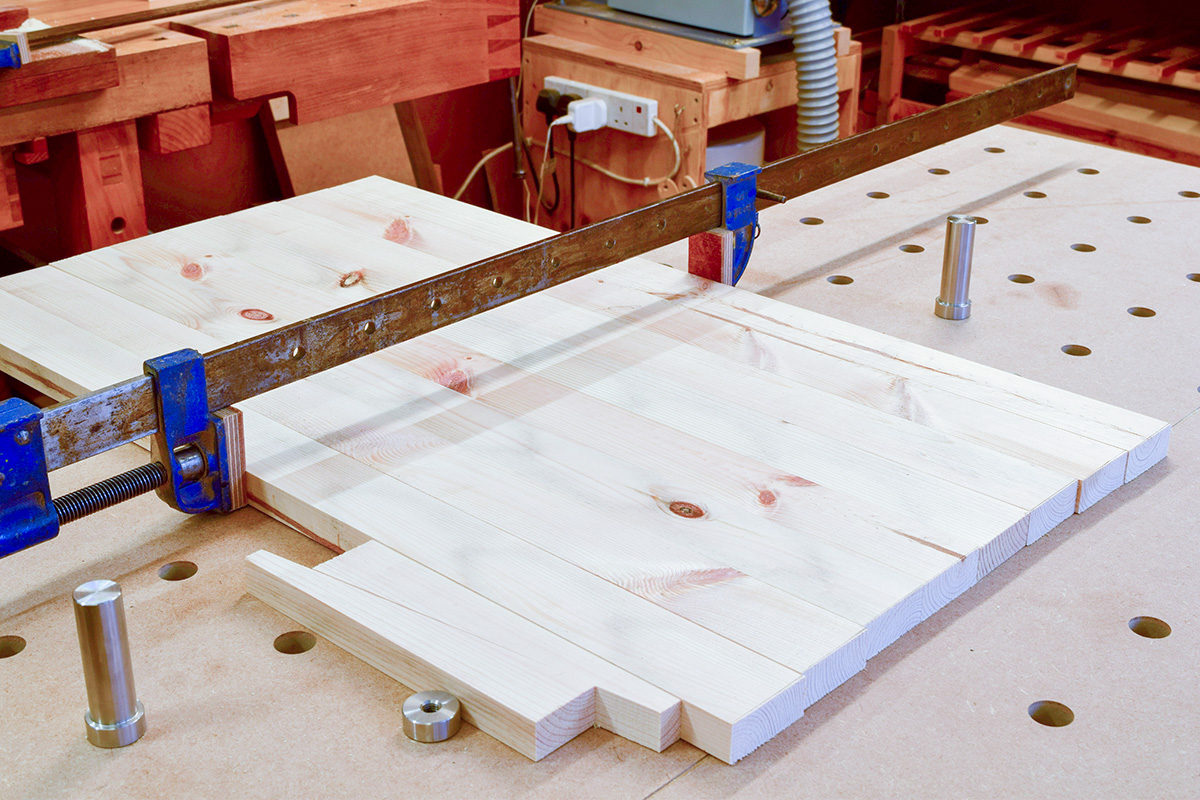
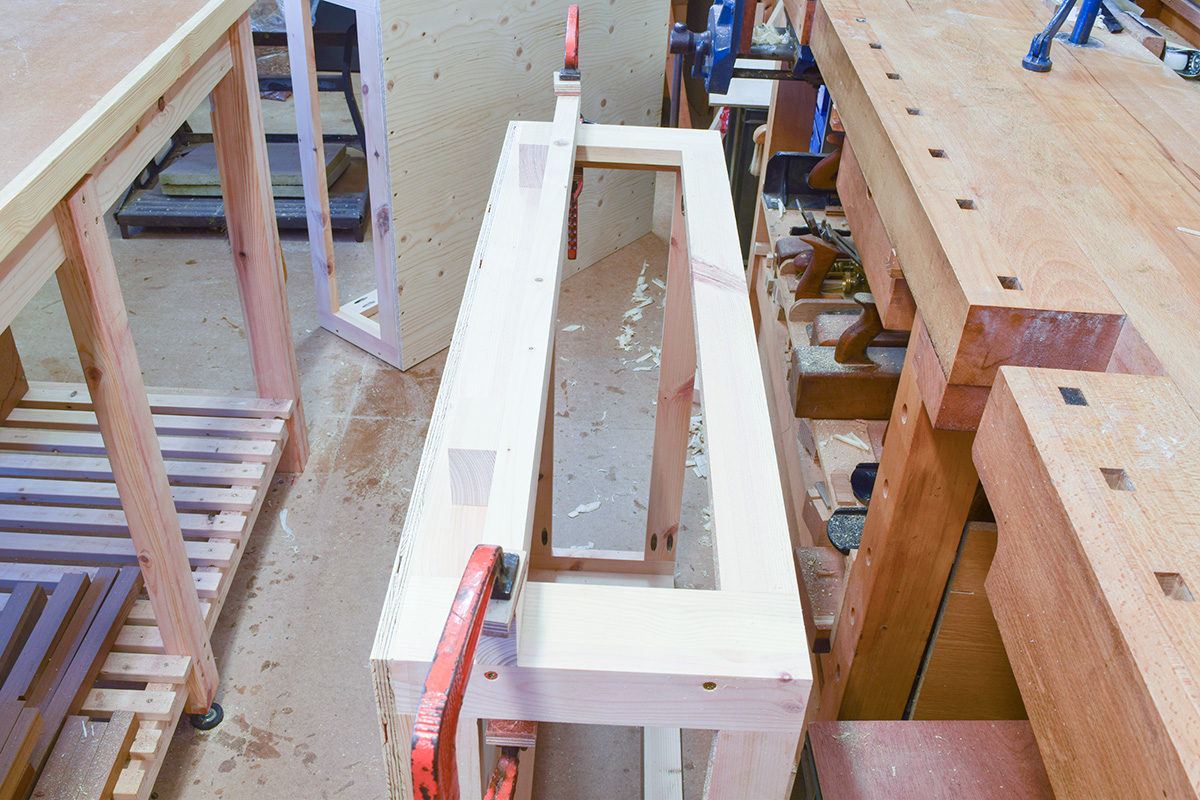
To cut material to exact lengths use the Power Tool Table, UJK Technology multifunction Workbench or a Table Saw. Clamp material together, use a pair of folding wedges (arrowed) to secure wood against the bench dogs.


Step 4
Do NOT remove first sash clamp. Remove folding wedges, and add a second sash clamp along the opposite side.
Step 5
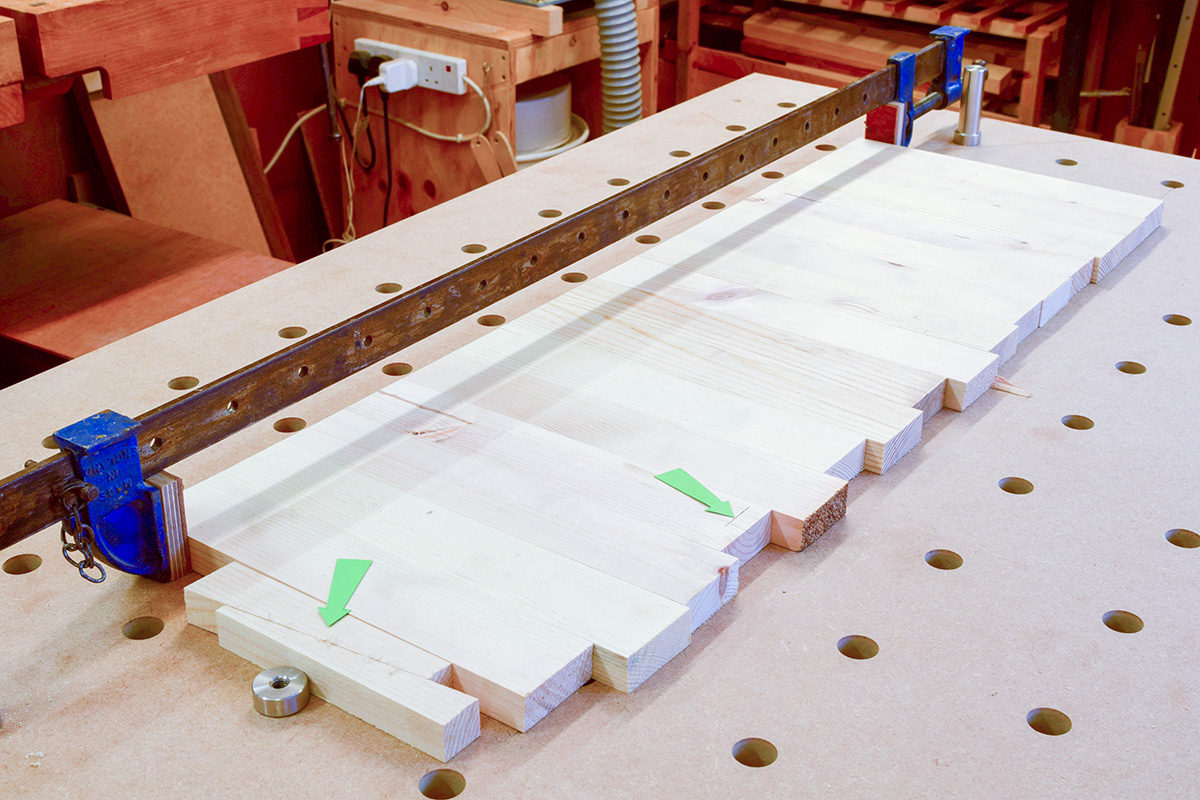
Remove the first clamp on the LHS, turn the stack of wood through 180°, reposition the folding wedges and mark out to length (arrowed).
Step 6
Cut all pieces to length.


Step 7
Repeat Steps 3 to 6 on the eight pieces of 730 x 670mm length.
Step 8
Set drilling depth by using collar on drill shank and a 2p piece.
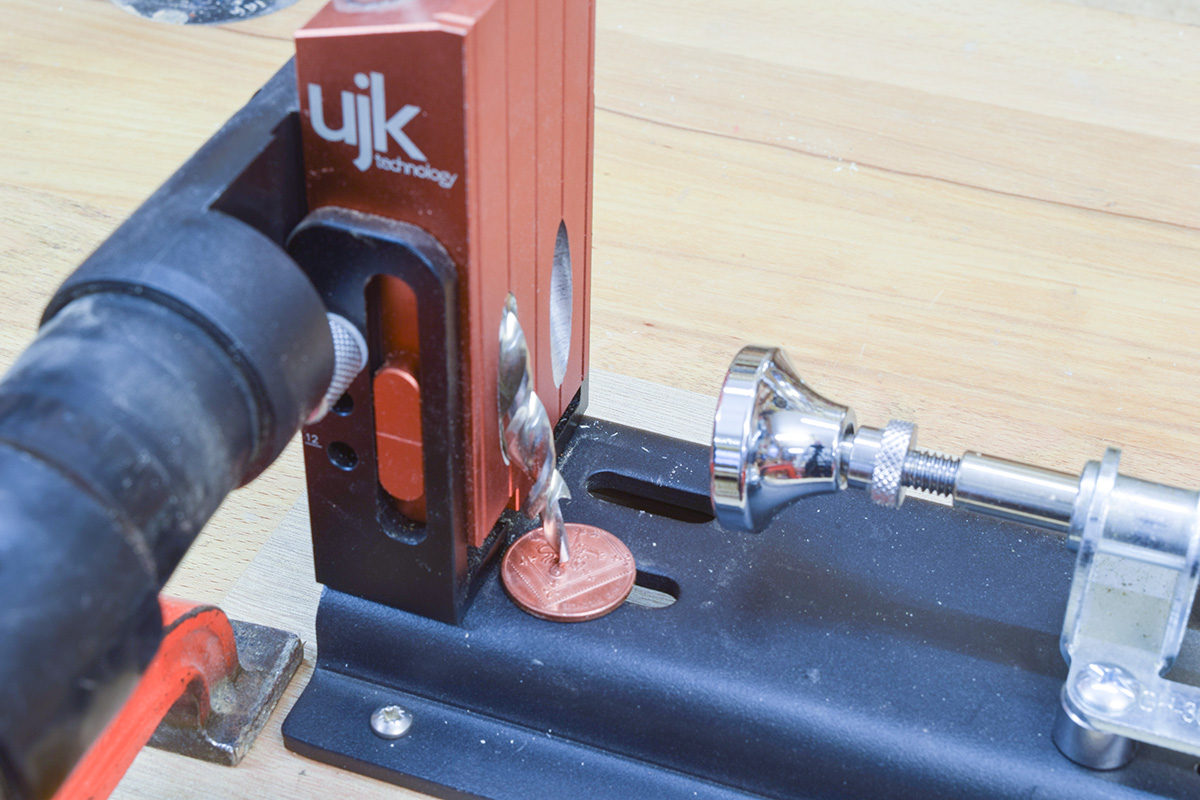
Step 9
Drill pocket holes at each end on each of the longer sections of timber.
Important!
Use the drill on highest speed, with extraction.
Step 10
Clamp ends of each frame in turn with UJK Technology Alignment Clamp, screw in four washer headed screws.
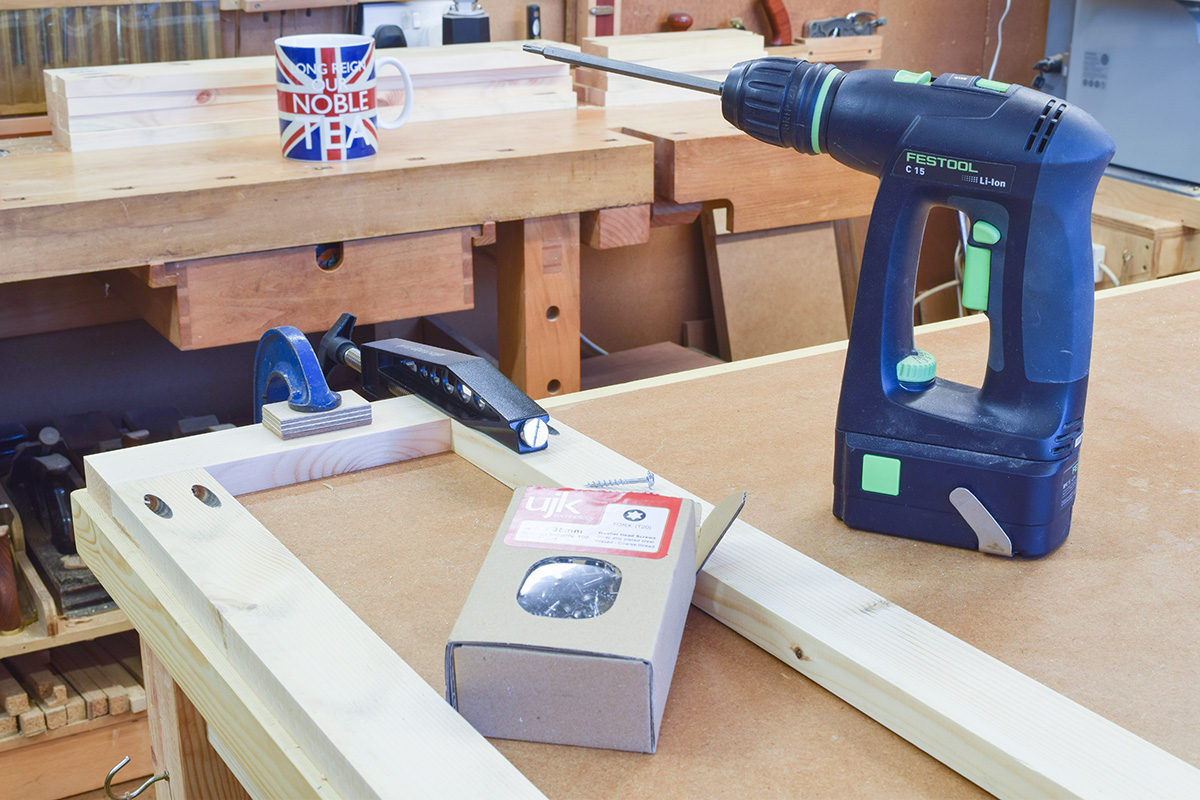
Important!
Use the slowest speed and select a lower torque setting to avoid over tightening.
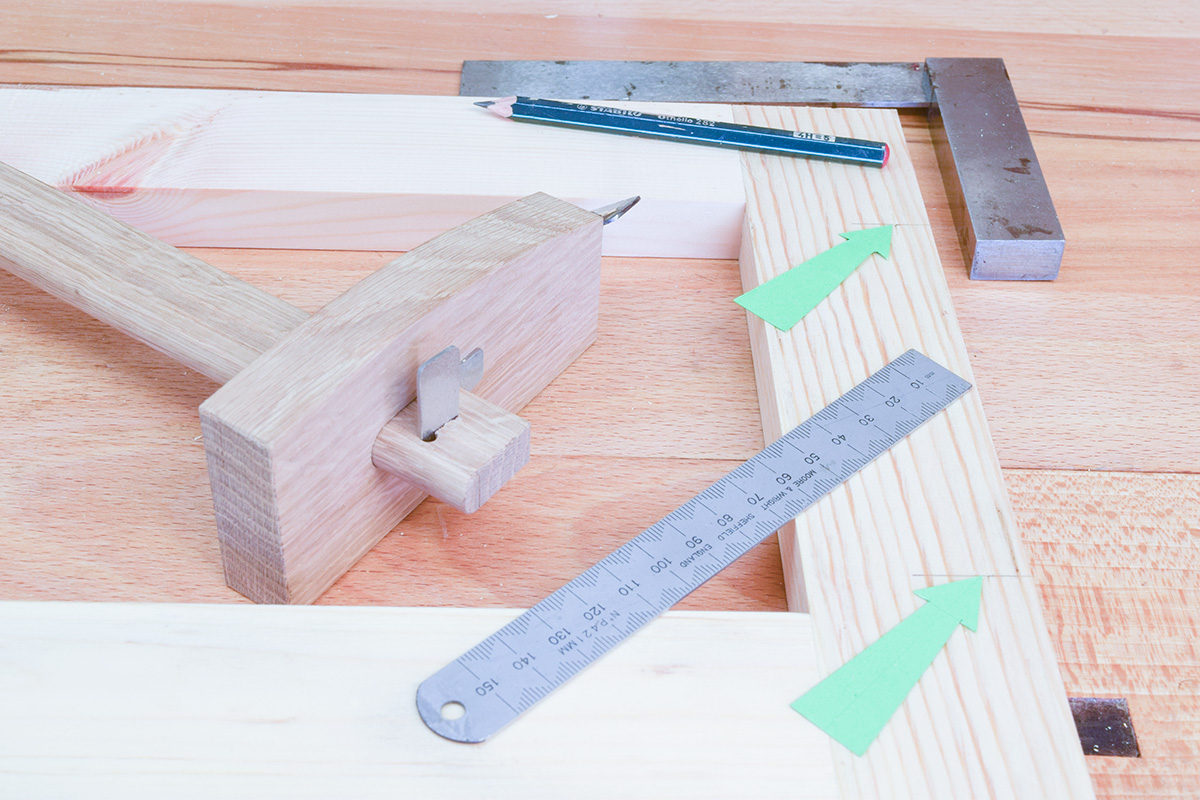
Step 11
At each end of the smaller frames (side rails 670mm long) mark out two clearance holes at 4mm diameter and drill through.
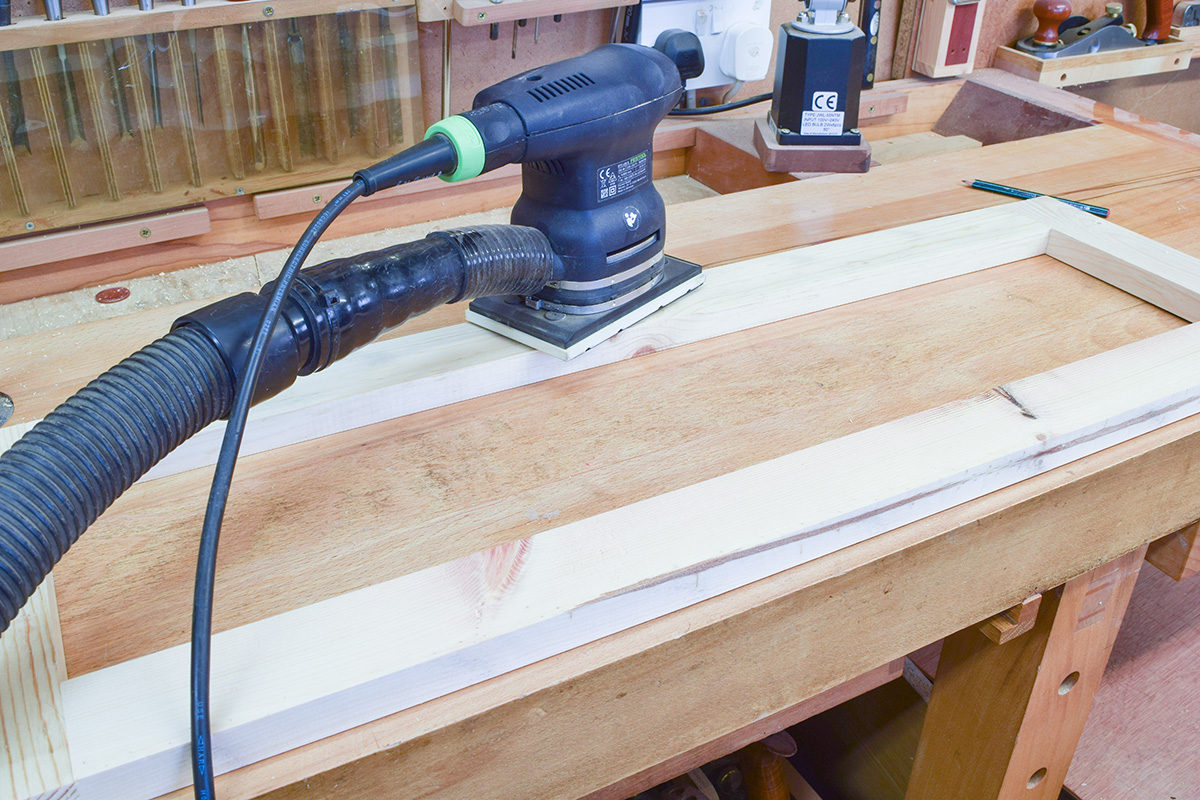
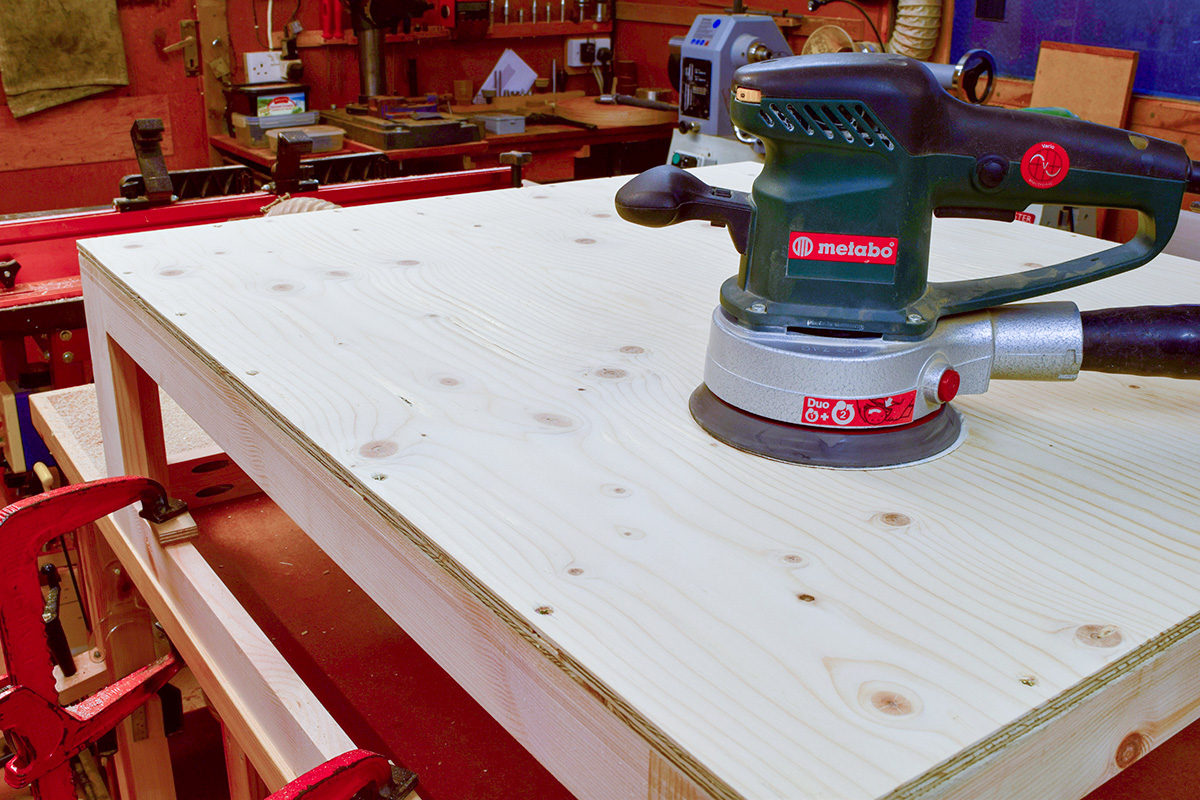
Step 12
Sand the frames by hand or with a pad sander.
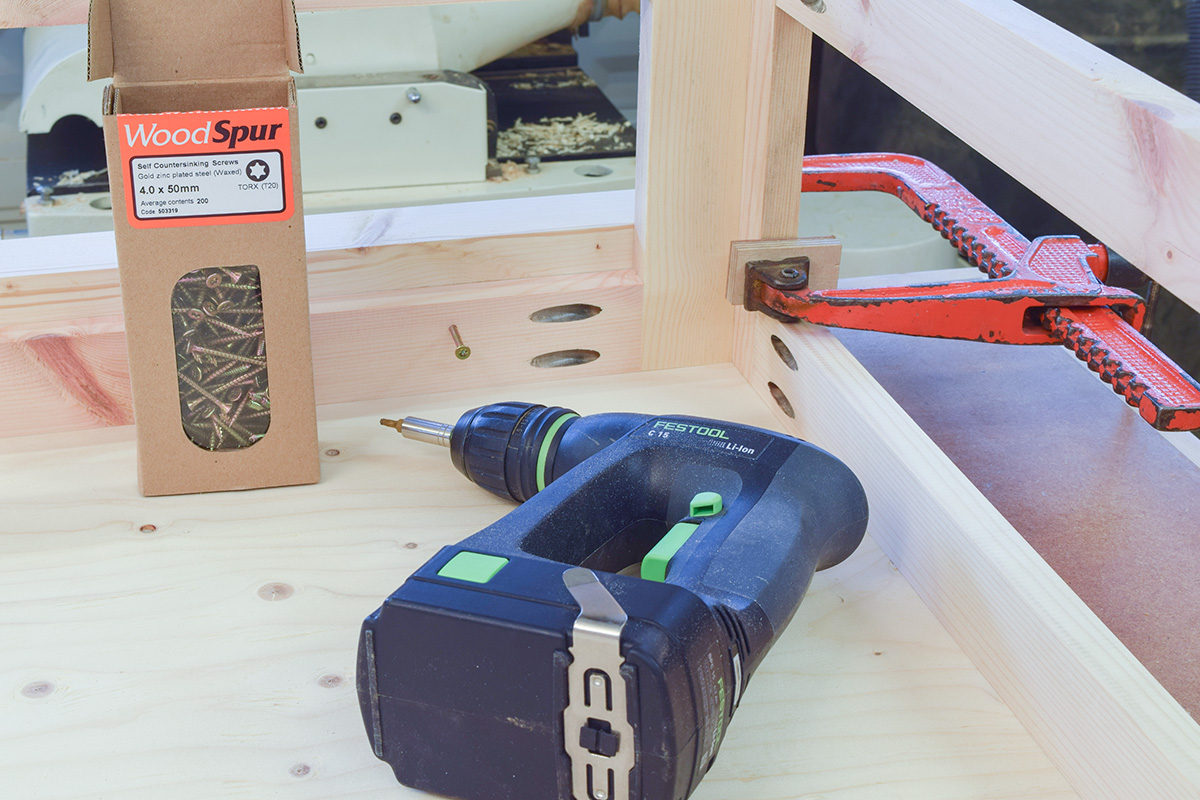
Step 13
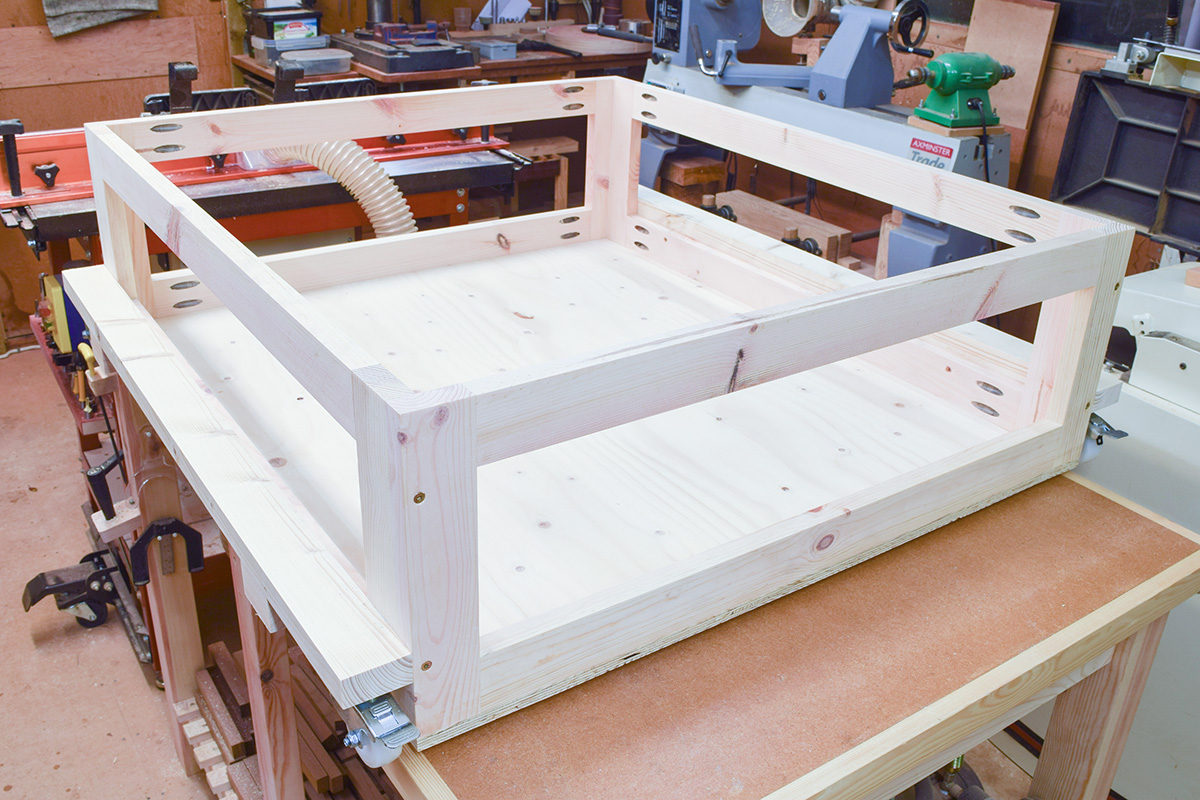
Clamp each of the four corners in turn and screw together using 4 x 50mm Woodspur screws.


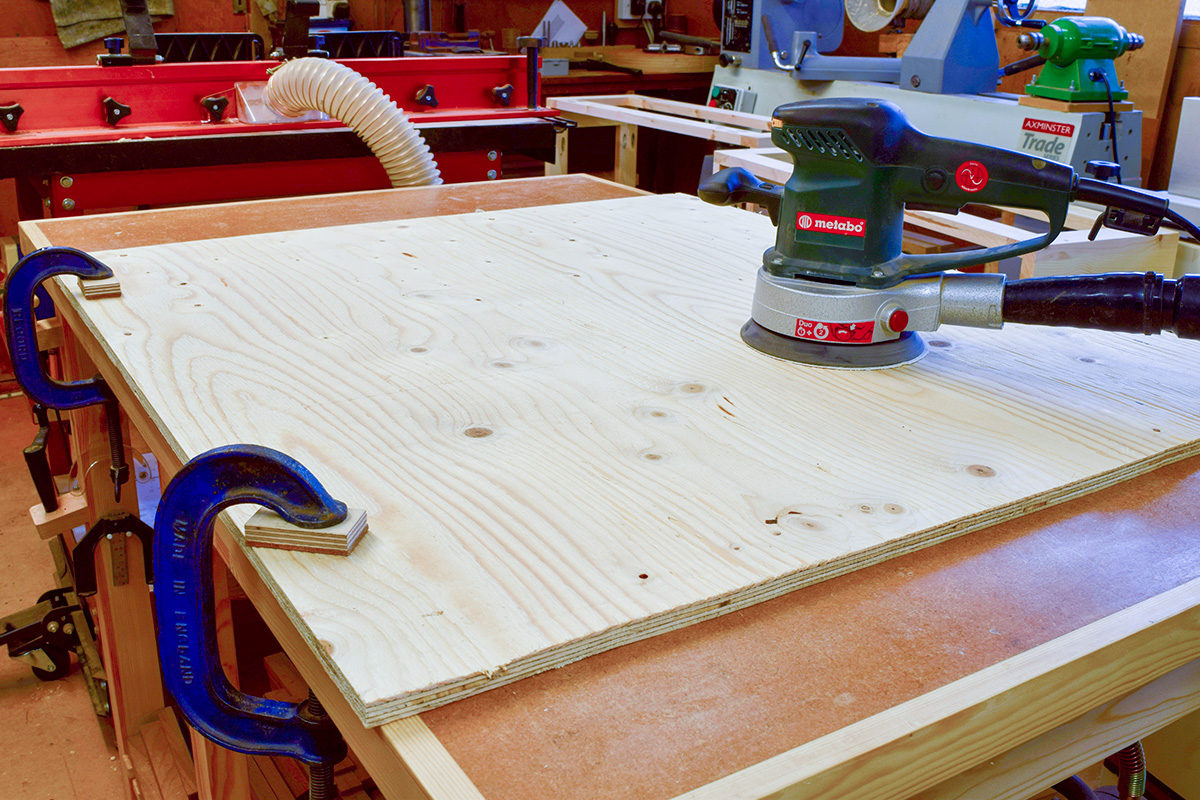
Step 14
Cut 12mm ply base 5mm oversize all round, sand both sides if required.
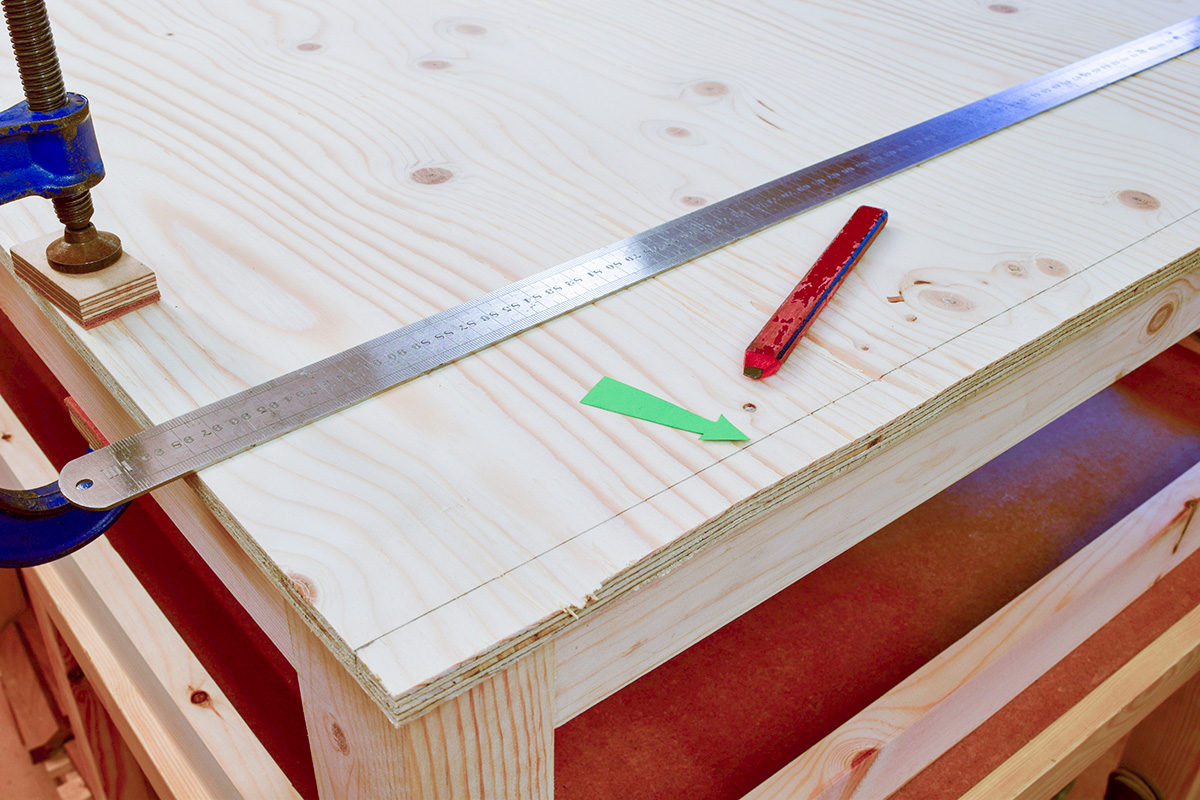
Step 15
Clamp in place along one edge, mark centre line (arrowed) along remaining three edges.
Step 16
Use 4 x 40mm Torx or Pozi screws to secure base along pencil lines.
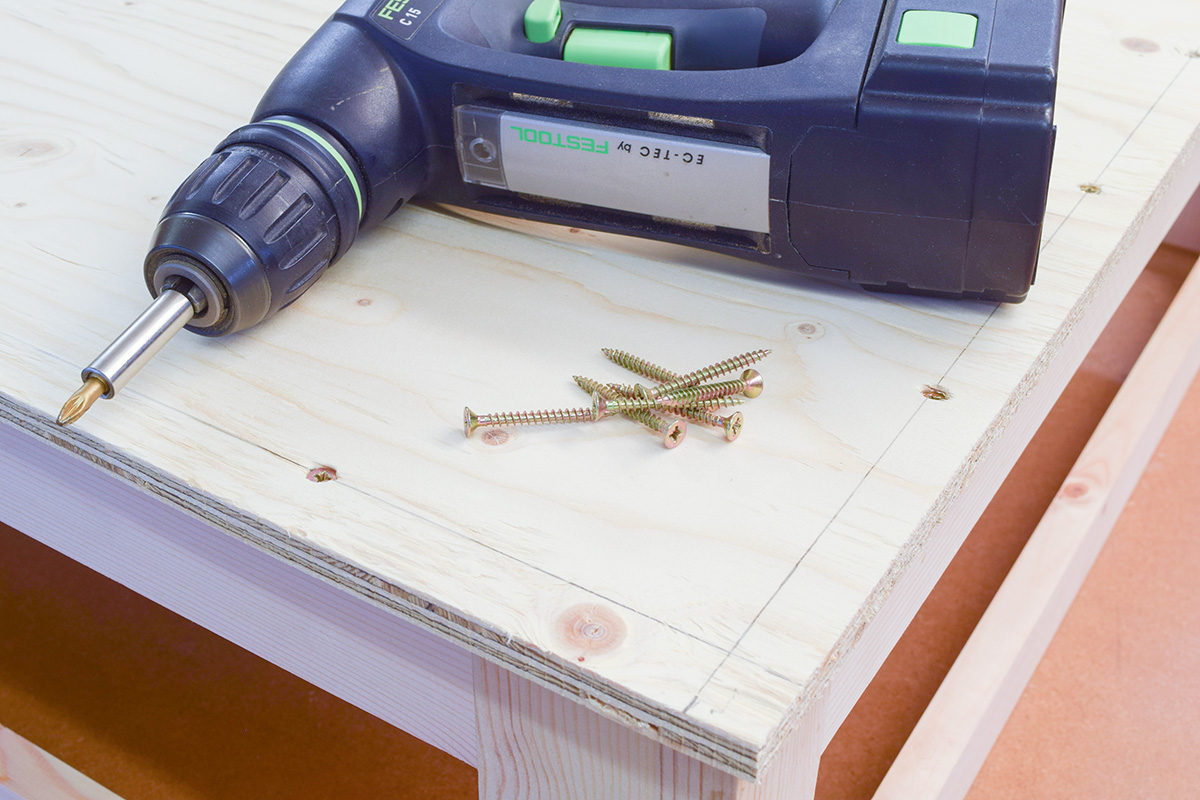
Important!
Insert screws sufficiently far from corner so as not to interfere with pocket holes.
Step 17
Remove clamps, mark centre line on remaining side, insert 4 x 40mm screws
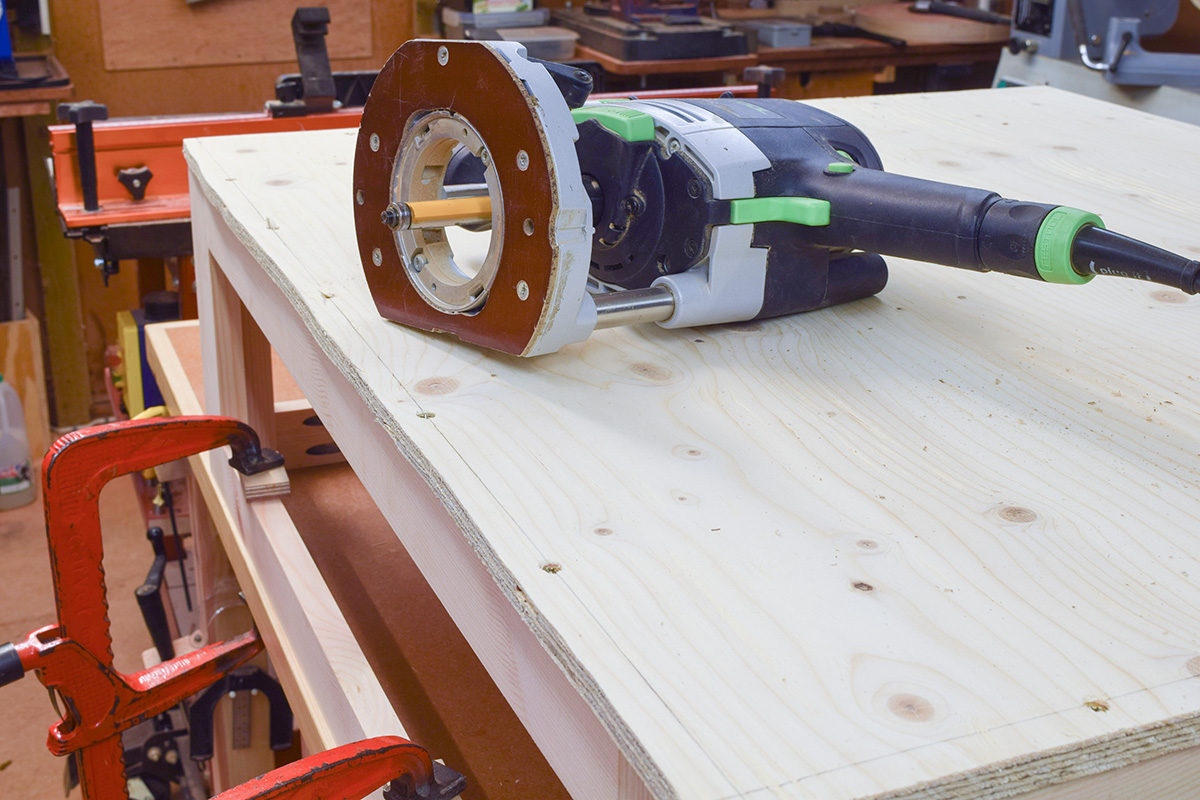
Step 18
Securely clamp storage unit to bench, use router with bottom bearing cutter to trim base or use hand plane.
Step 19
Sand off pencil marks.
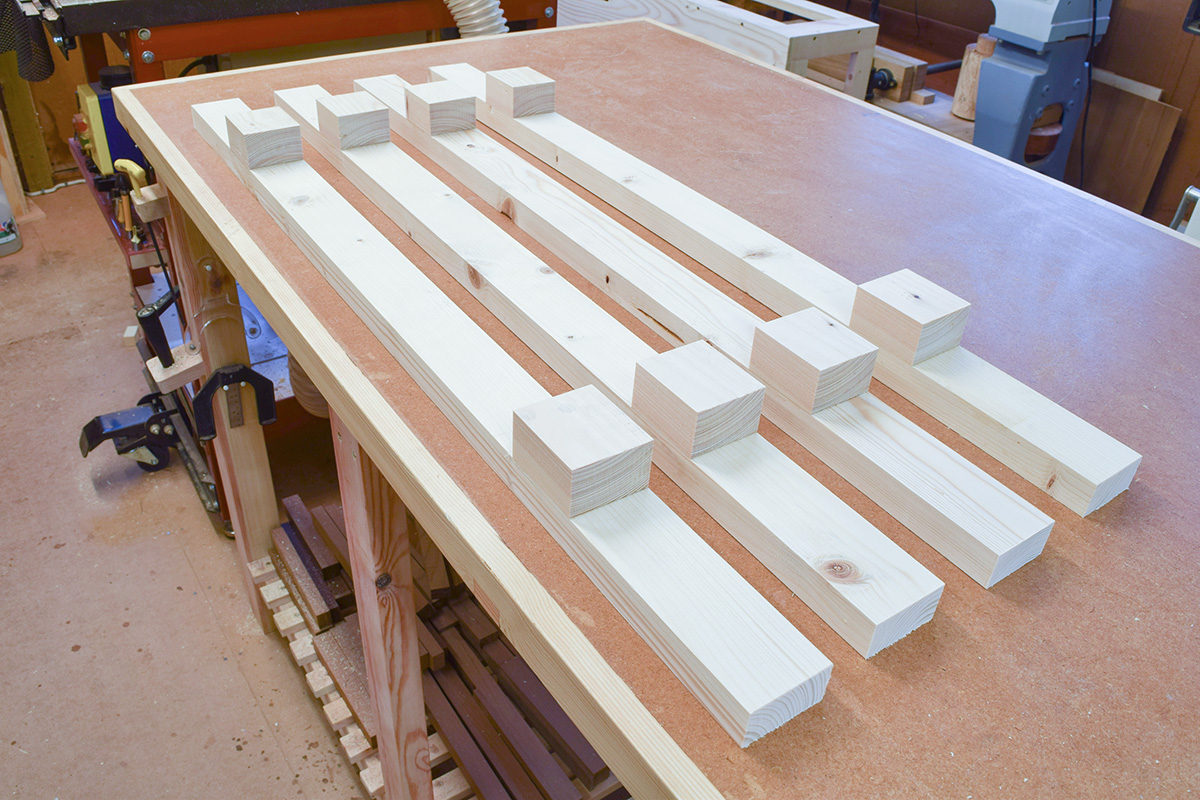
Step 20
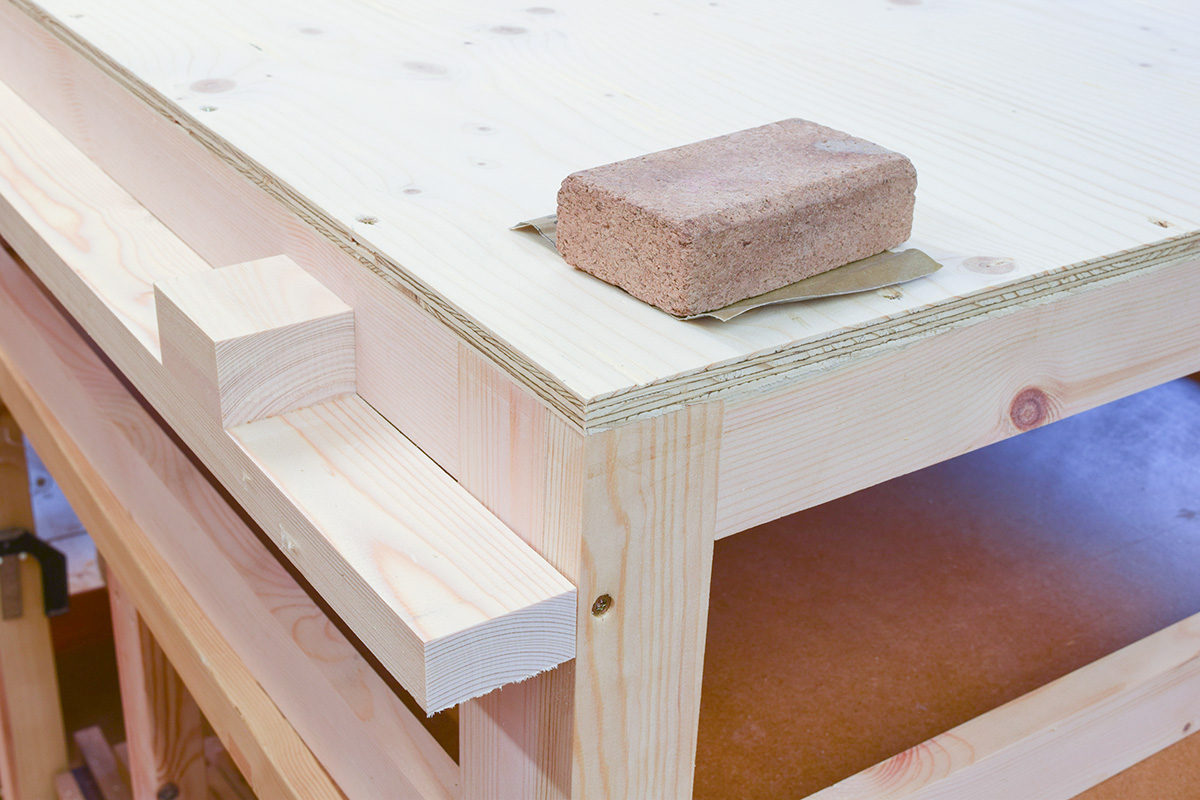
Prepare four 870 x 50 x 25mm castor rails. On each rail, glue two screwing blocks 170mm from each end.
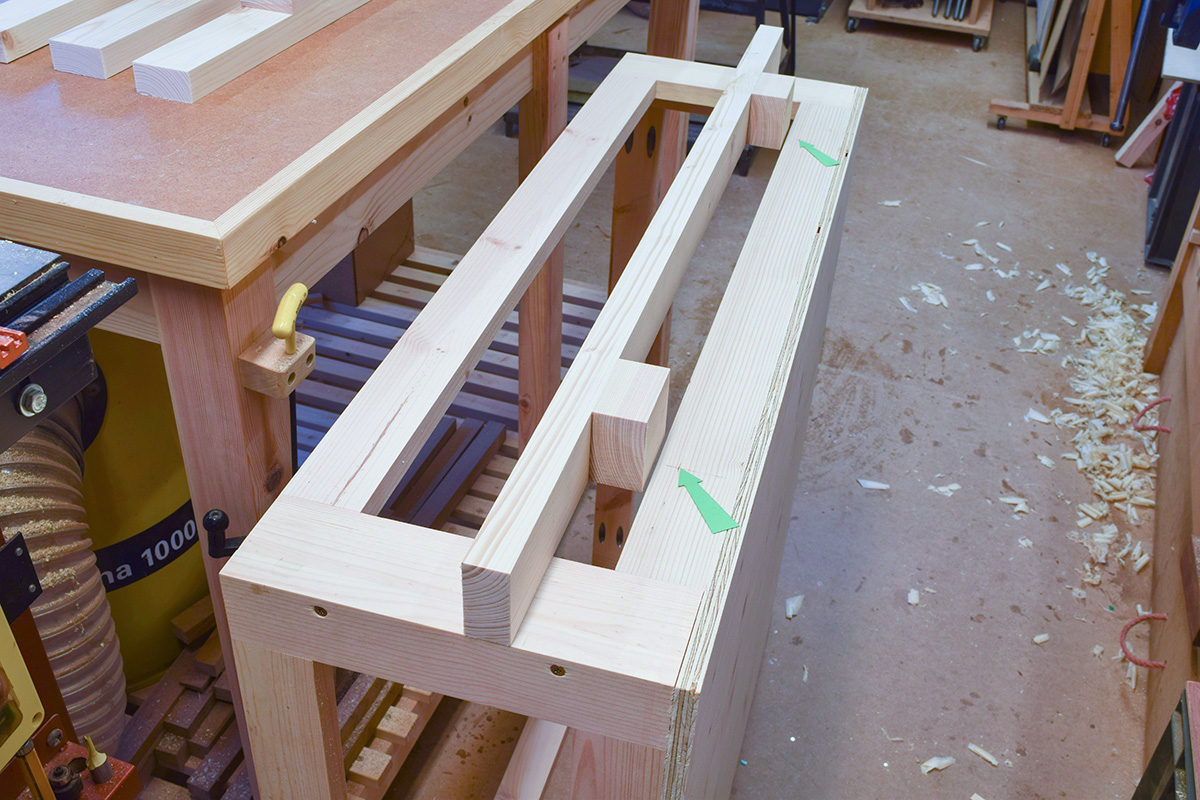
Step 21
Clamp each castor rail so the underside is 62mm from storage unit bottom. (Allows clearance for castor wheels). Mark the centre of each screw block (arrowed) and drill four 4mm clearance holes.
Step 22
Clamp castor rail to frame.
Important!
Check the distance from rail underside to base underside is 62mm.
Step 23
Screw each castor rail to frame with two 4 x 50mm screws.
Step 24
Sand off all sharp corners and edges.
Step 25
Screw on the castors using four 6 x 20mm screws.
Important!
Large screws, pilot hole required.
Step 26
All done! Completed storage units installed under a single bed.