How To Make A Coat Hook Rack
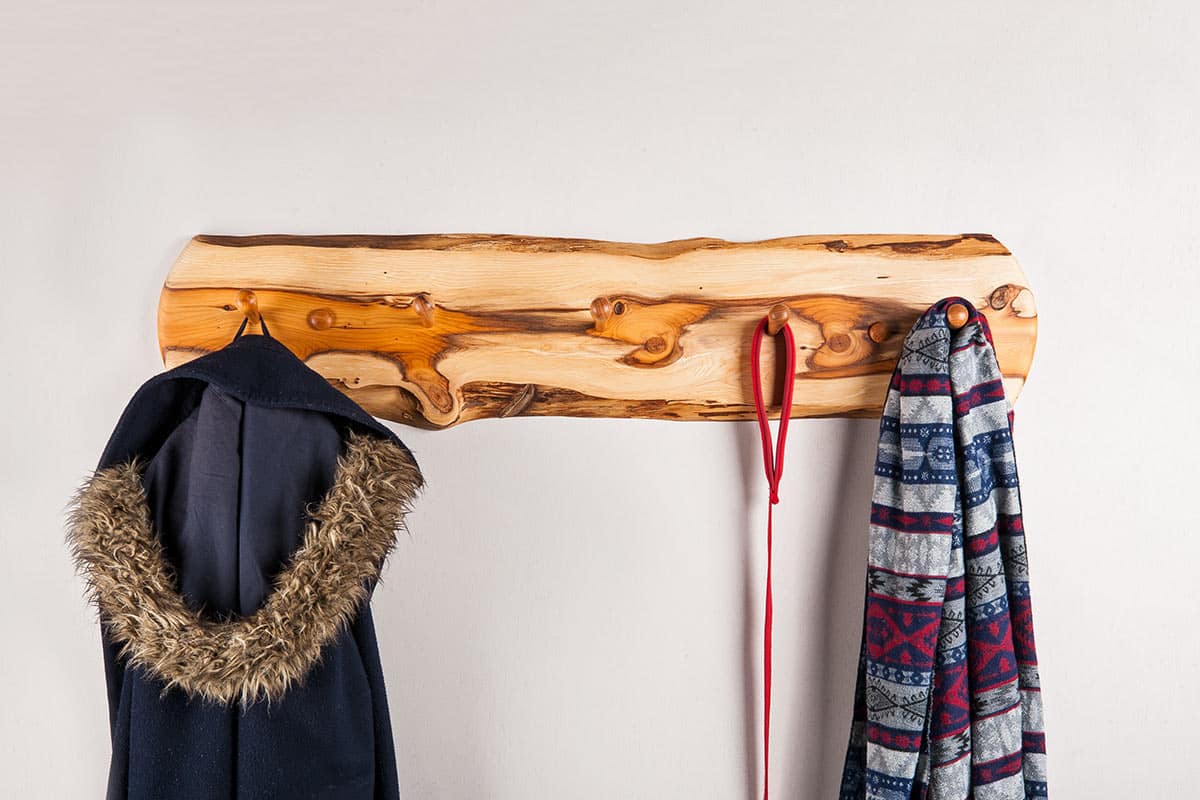
Making a coat hook rack for your home, or as a gift, is a great project. You can make them as simple or as complex as you like, here we make one from a piece of yew, with turned pegs.
Before you get started
The type of wood that you choose to make your coat hook rack is entirely up to you. We have used a piece of yew.
What you'll need
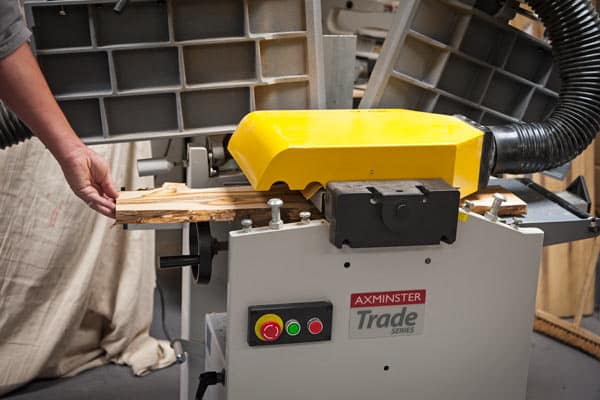
Step 1
Run board through a planer to make the faces flat. A hand plane can be used for this.
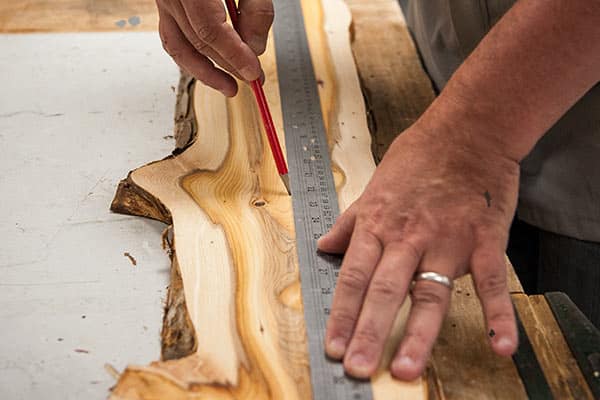
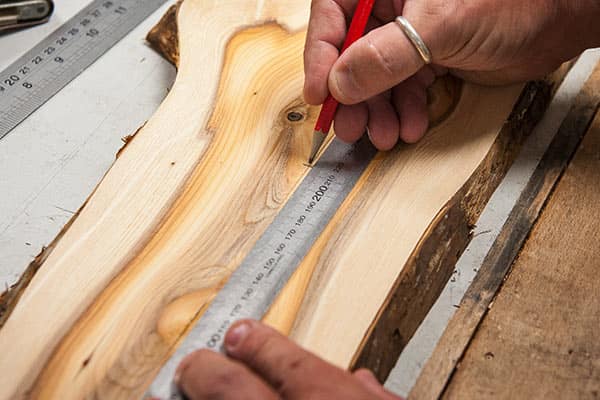
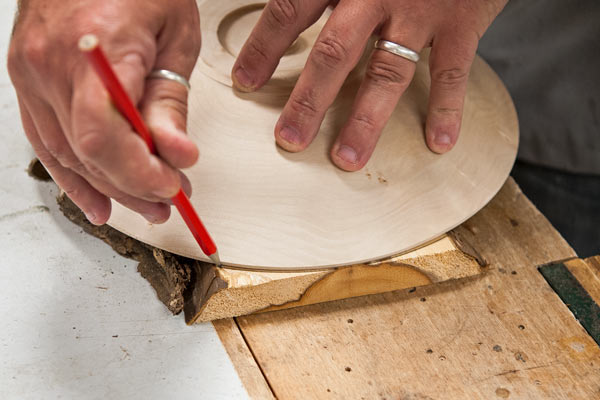
Step 2
Use a pencil and a rule to mark out your line of pegs.
Step 3
Mark out the spacing between each peg.
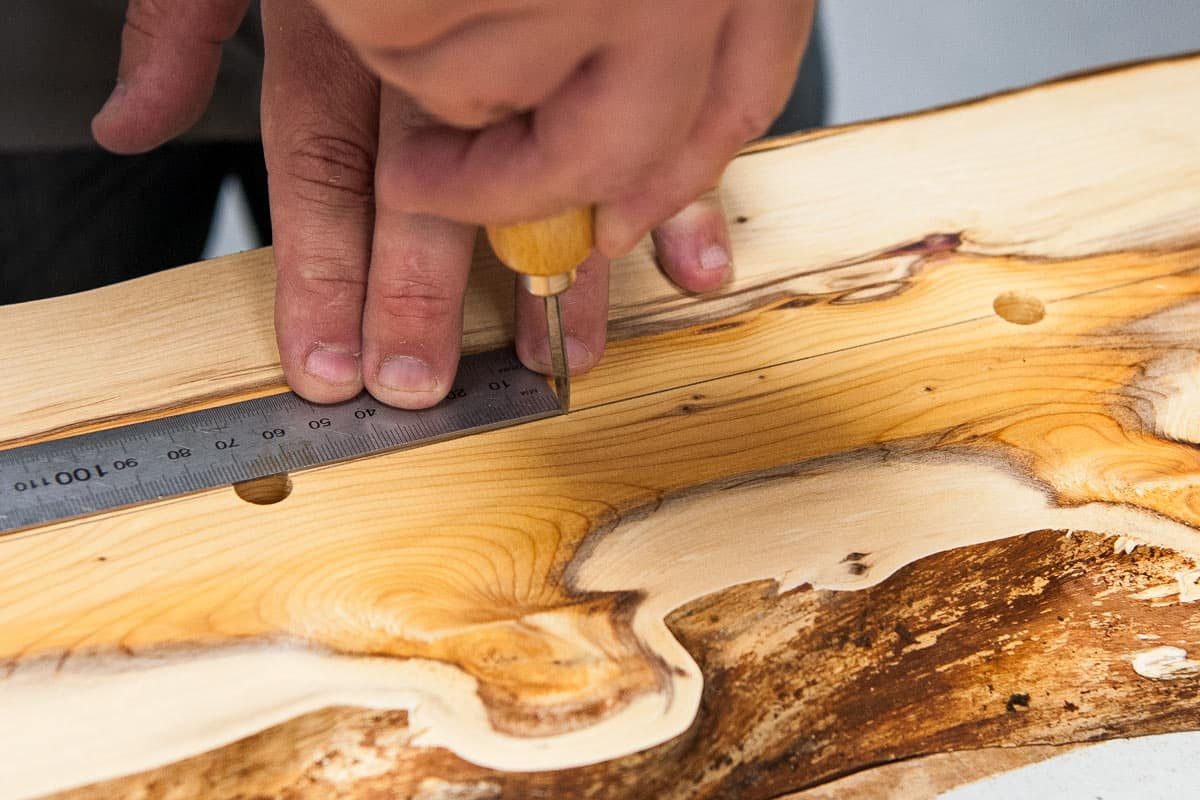
Step 4
Use an awl to mark for drilling. Or, alternatively, position metal hooks.


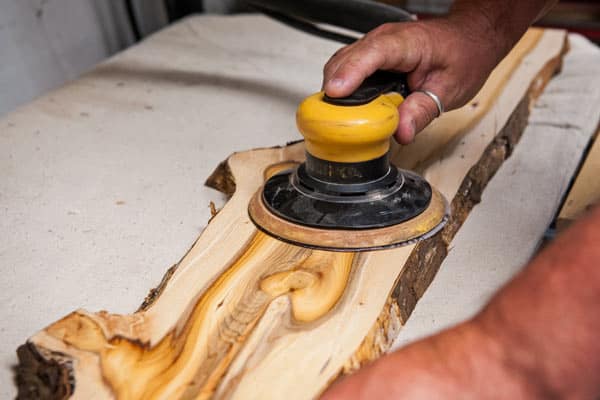
Step 5
Sand face to remove pencil marks.
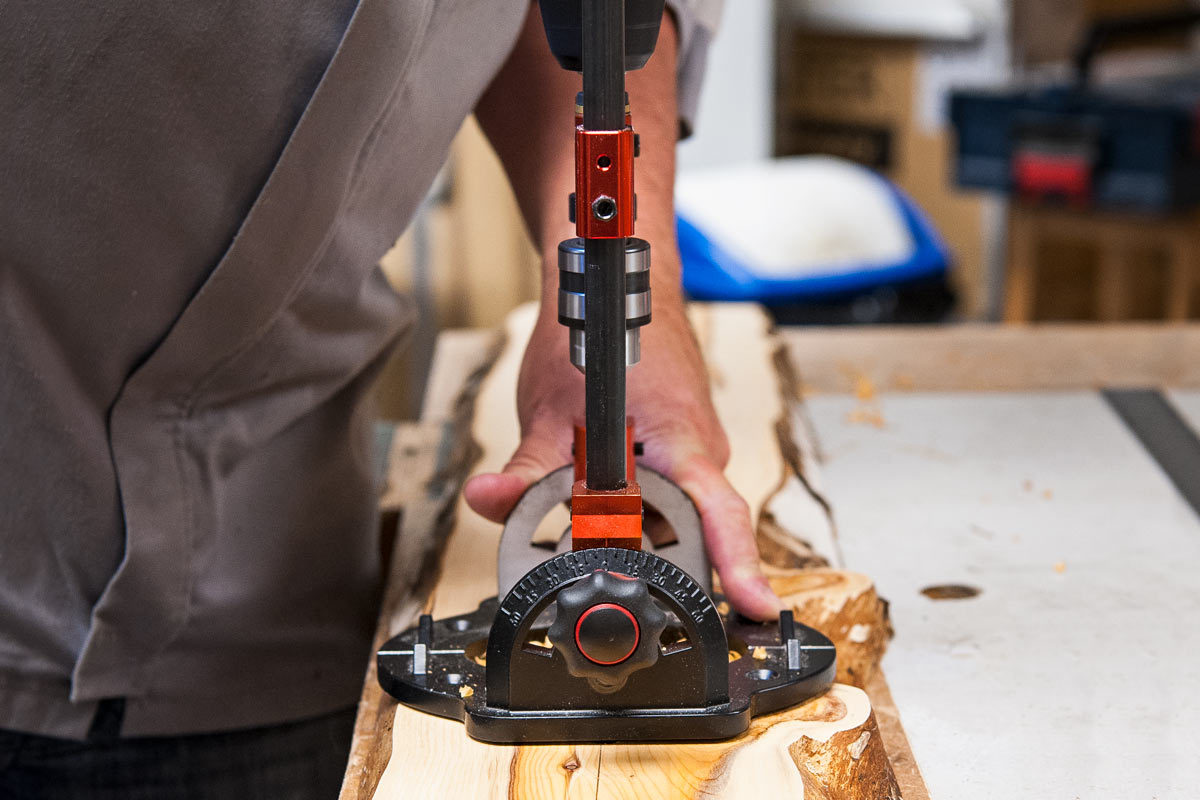
Step 6
Using a power drill, drill bit and a drill guide, drill holes for pegs. We have used a 12mm lip and spur bit, but this will depend on the size of peg you want.
Top Tip!
Set drill guide at the angle you want your pegs to be.


Step 7
Mark and drill two fixing holes. These should be equally spaced either side.
Step 8
Set the drill guide to 90 degrees and drill to a depth of 10mm. We used an 8mm drill bit.


Step 9
Using a plate, or something similar, scribe a radius at both ends of the board.
Step 10
Cut the marked radius using a jigsaw or a bandsaw.


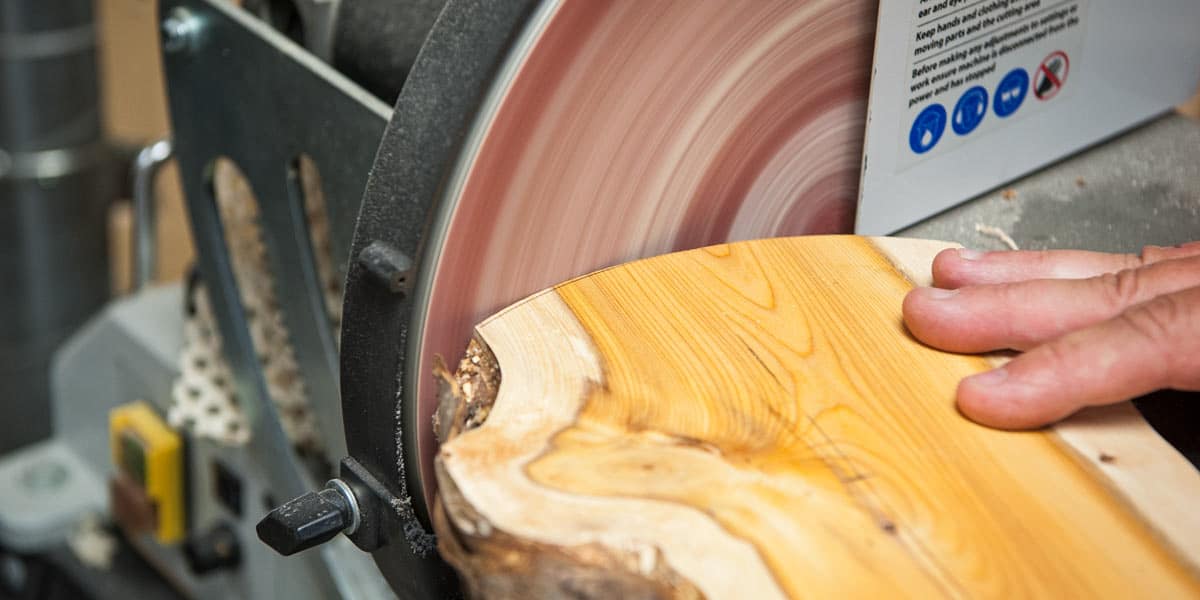
Step 11
Using either a disc sander or a sanding block, sand down radius.
Step 12
Strip off any bark from the board. Using a wire brass brush clean off any debris.


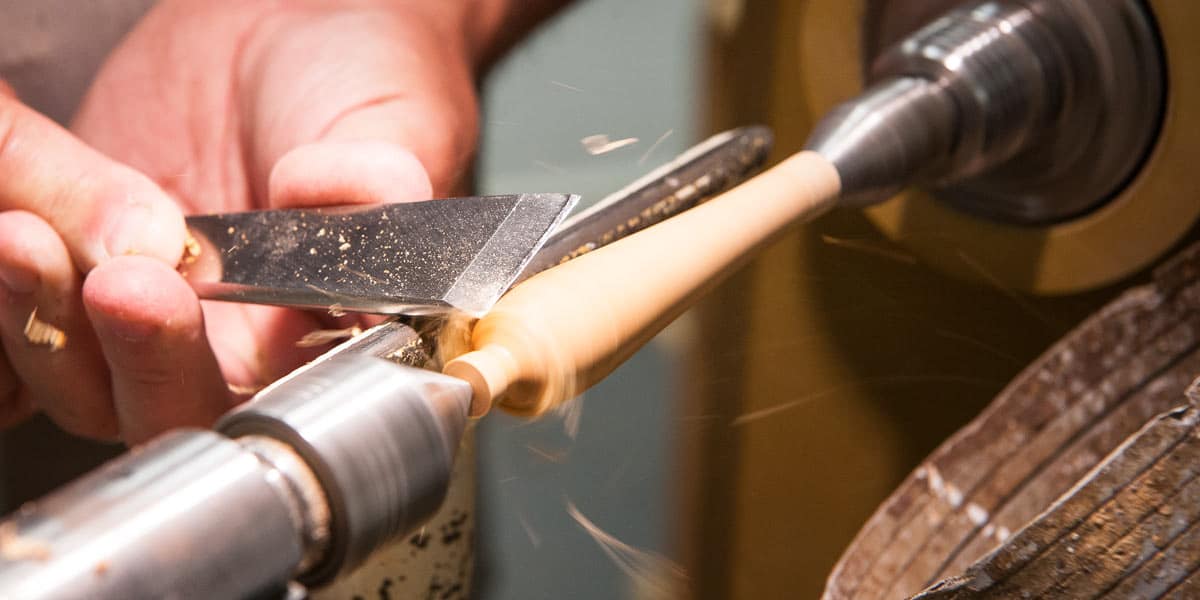
Step 13
Peg turning. Rough down 25mm yew.

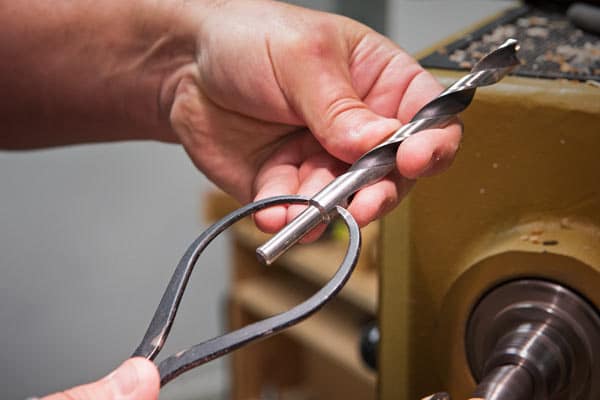
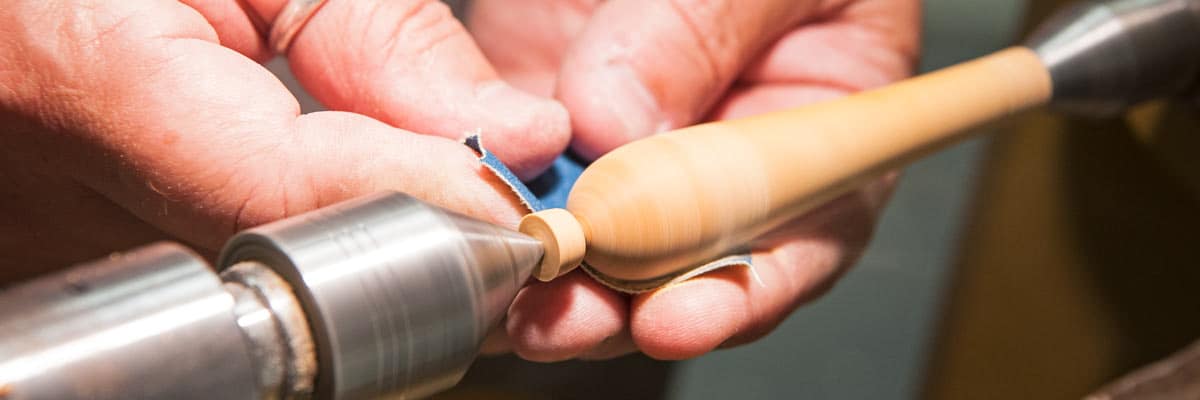
Step 14
Using some spring calipers, measure the drill bit you used to create the peg holes and turn your tenon to fit.
Step 15
Shape your peg.
Step 17
Sand away any excess timber.


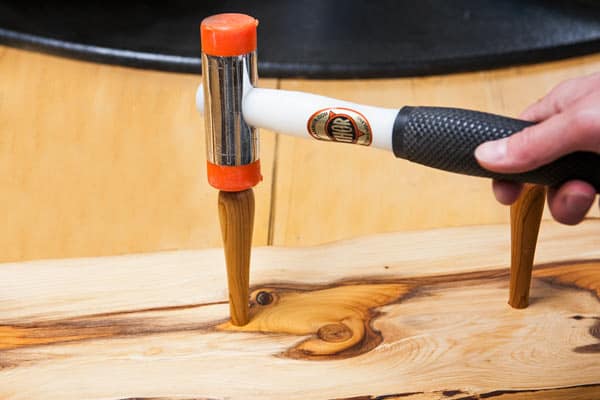
Step 18
The pegs should be tight enough to just tap in using a nylon or wooden mallet.
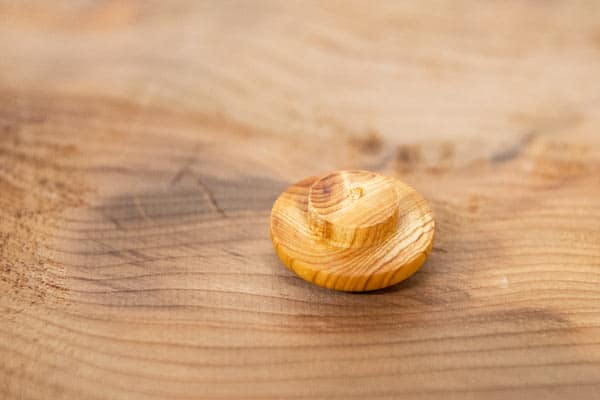
Step 19
Turn plugs to cover fixing holes.
Step 20
Hang and use coat hook.
Featured products
-
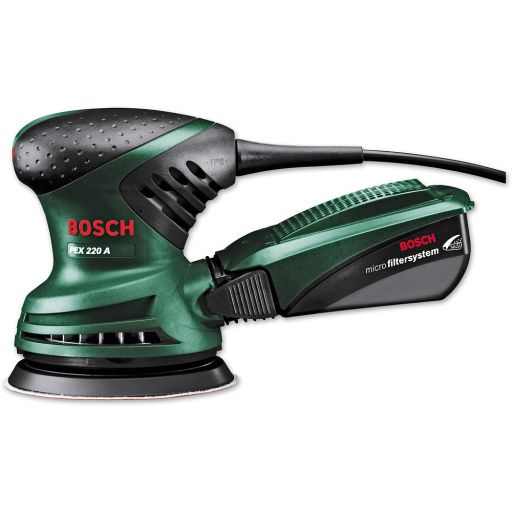 Bosch PEX 220 A Random Orbit SanderFrom £56.98 £47.48
 -
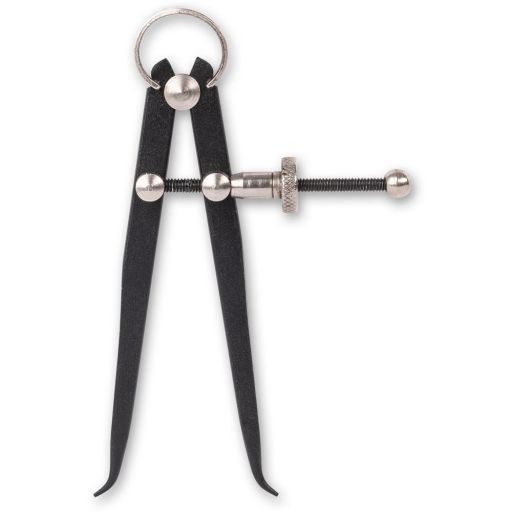 Axminster Workshop Spring CalipersFrom £6.98 £5.82
 -
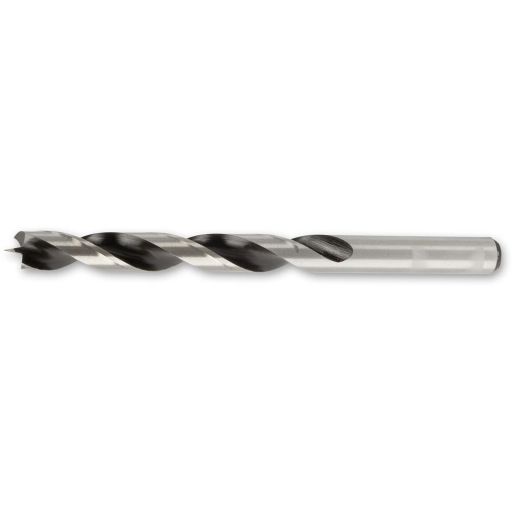 FISCH SP Brad Point Drill BitsFrom £1.98 £1.65
 -
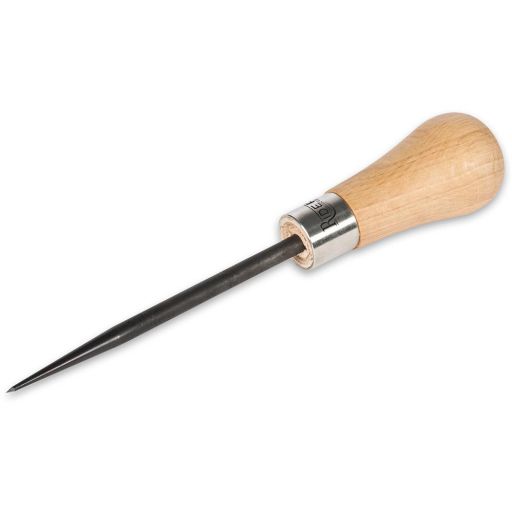 Rider Round Blade Awl with Hornbeam HandleFrom £12.68 £10.57
 -
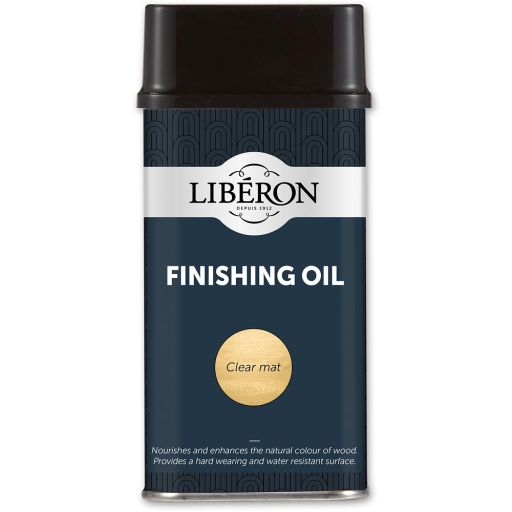 Liberon Finishing OilFrom £7.58 £6.32