How To Make A Cheeseboard
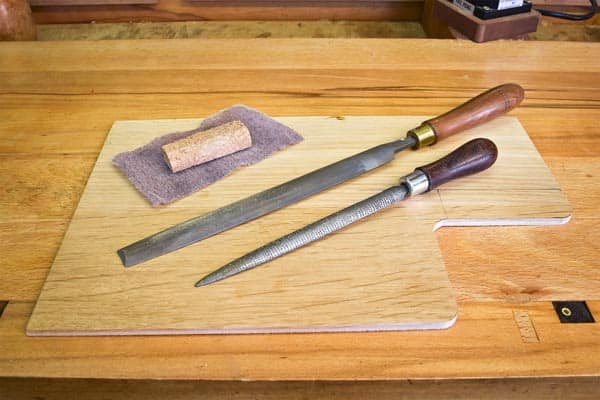
What you'll need
Make your own cheeseboard to present a range of delicious cheese and crackers at your next dinner party.
This simple project is easy to make and will wow any guest. Great to make as a gift or to sell at craft fairs, follow our easy step by step guide to make yours.
Top Tip!
Take care to select a suitable hardwood for use with food, for example maple, sycamore or beech. Some timbers may taint any food placed on it.
Step 1
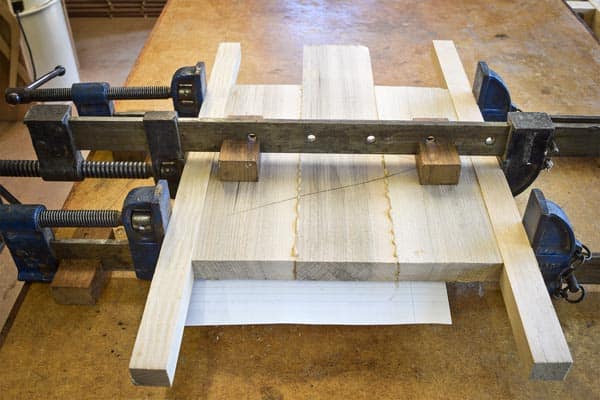
Prepare the material oversize, then plane the edges and glue together. Placing paper under the sash clamp bar prevents glue ‘squeeze out’ from staining the timber.
Step 2
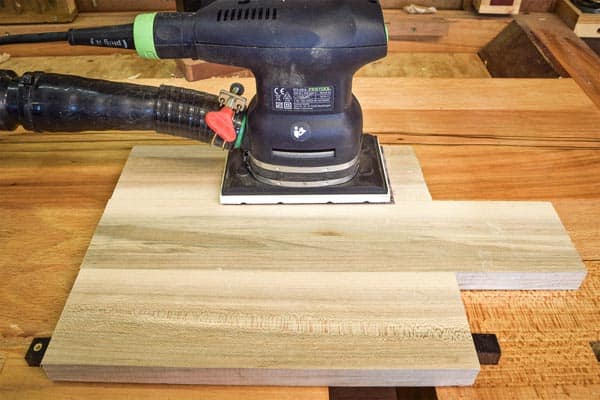
Sand both sides.
Optional
Sand using the Mirka sander.
Step 3
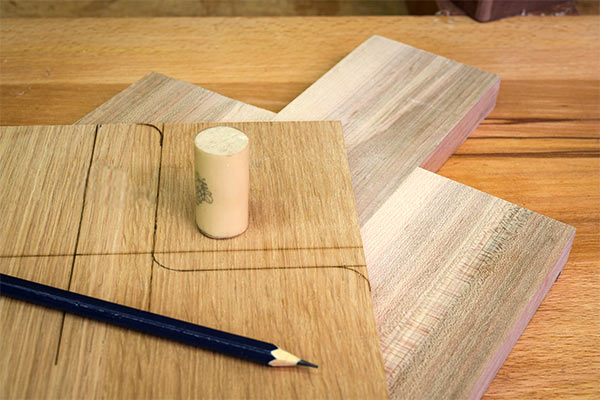
Mark out a half template for the handle shaping as required. Use a small object (such as a wine bottle cork) to mark out the corners.
Step 4
Remove the waste from the template and smooth to shape. The template should be made as accurately as possible; any errors will be transferred to the finished cheeseboard during the routing process.
Step 5
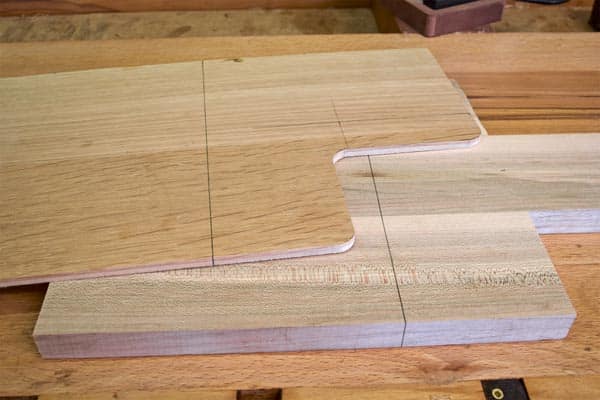
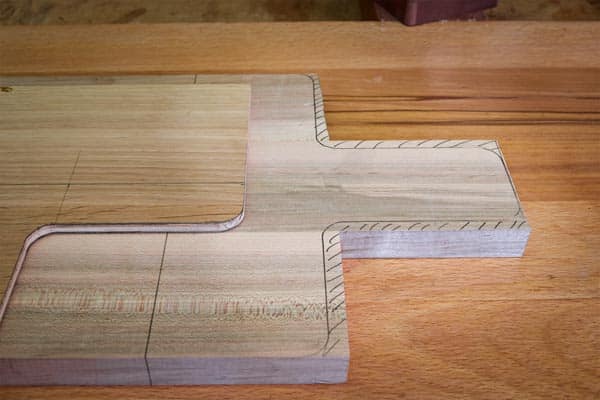
Mark a pencil line across the template and workpiece, including the edges of each.
Step 6
Line up the pencil line on the template and workpiece, then draw one half of the handle shaping.
Step 7
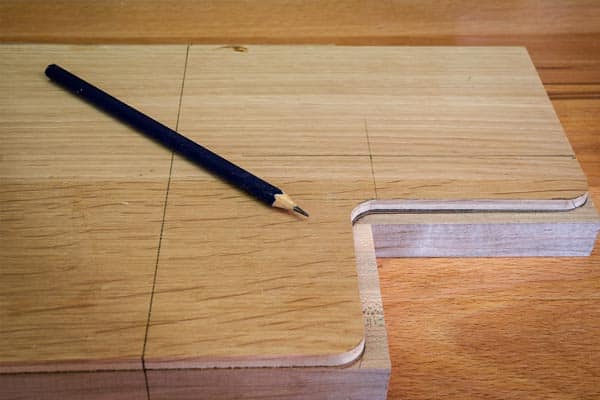
Turn the template over and line up the pencil marks again. Mark out the other half of the handle and shade in the waste.
Step 8
Remove the bulk of the waste with a bandsaw or coping saw.
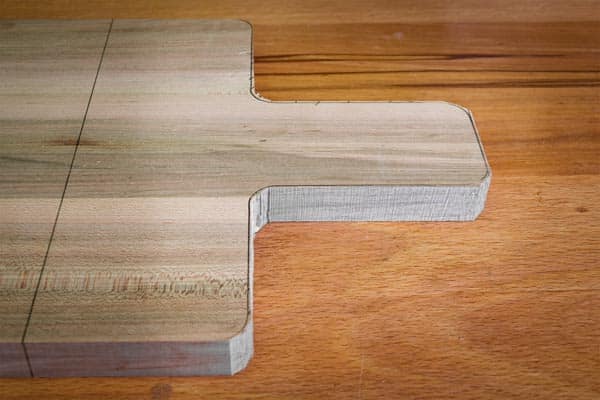
Step 9
Clamp the template firmly to the workpiece. Bearing cut the handle to the template profile.

Step 10
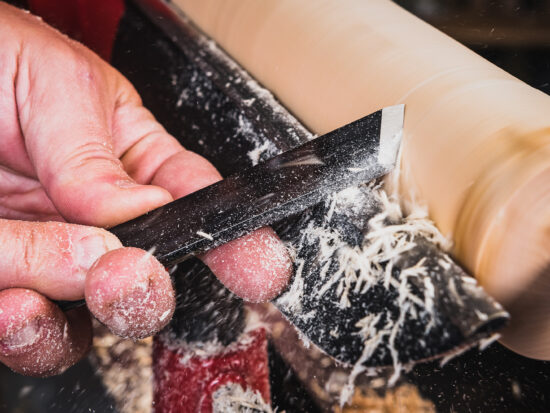
Clean up the inside and outside corners. ‘Router burn’ occurs when the cutter is passed too slowly round the template or if the cutter is blunt.


Optional
Mark out and drill a 10mm hanging hole in the handle.
Step 11
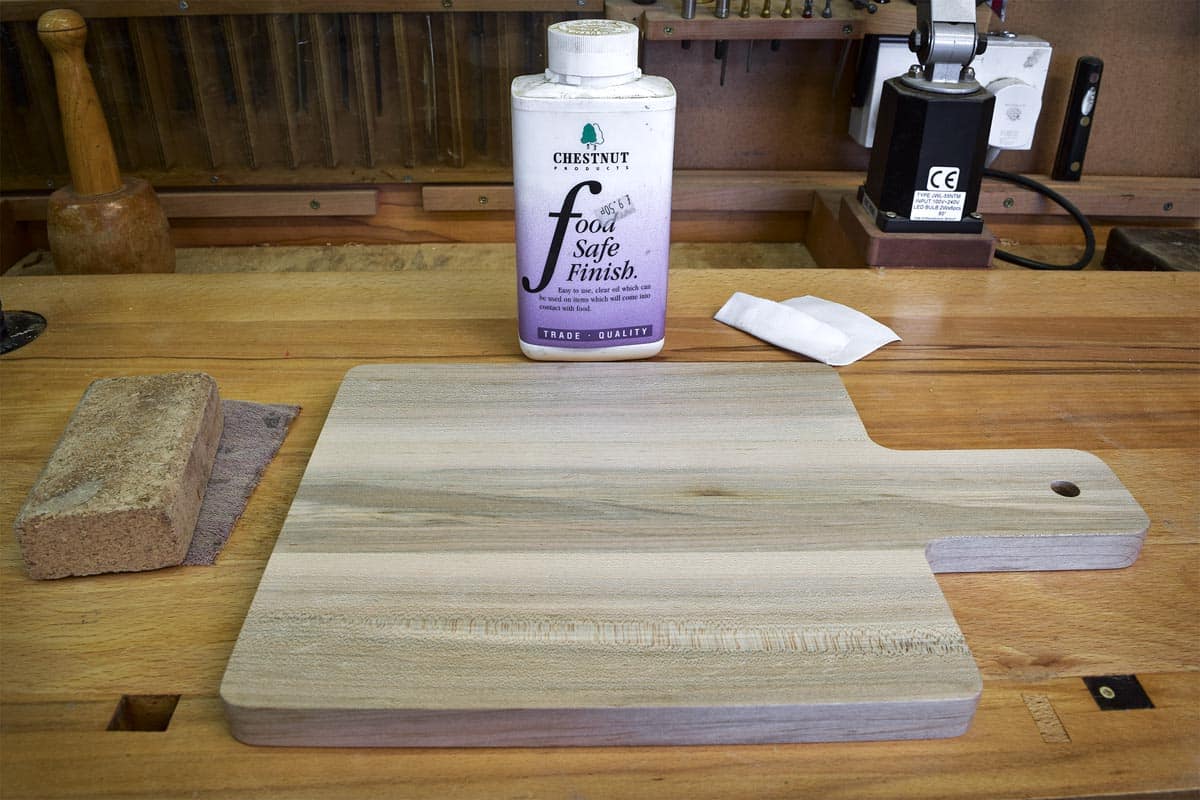
Shape the final two corners. Sand all sides and edges, apply three coats of ‘Food Safe Finish’ to the cheeseboard.