
Make it for Mother’s Day | How to Make an Earring Stand
What you'll need
Give a gift she’ll love with project inspiration from the Woodworking Wisdom team.
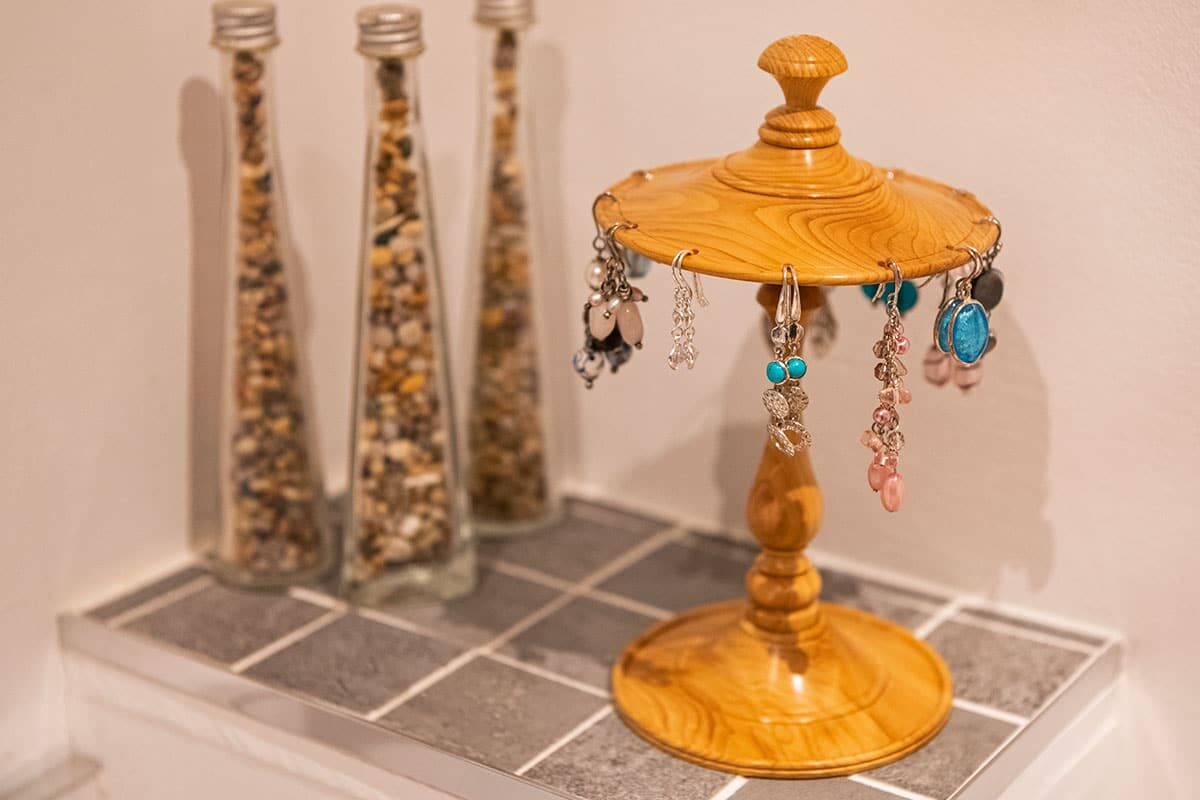
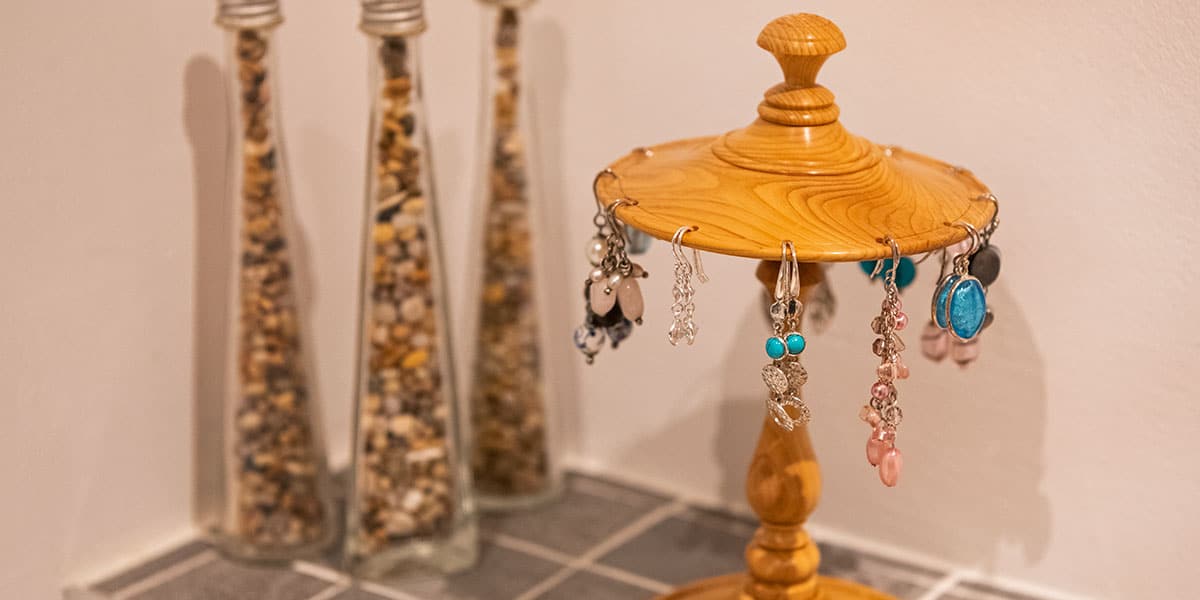
Perfect for Mother’s Day, birthdays, Valentine’s Day or just because, this attractive earring stand that would look beautiful on any dressing table.
Prep your project
In our project, Colwin chose yew and began by cutting the pieces to size, to form the base, stand, top piece and head. He then drilled holes, using an 8.5mm drill bit, in the base and top to fit the screw chuck. Mount your screw chuck in the C Jaws of your chuck and attach your base blank onto your chuck.


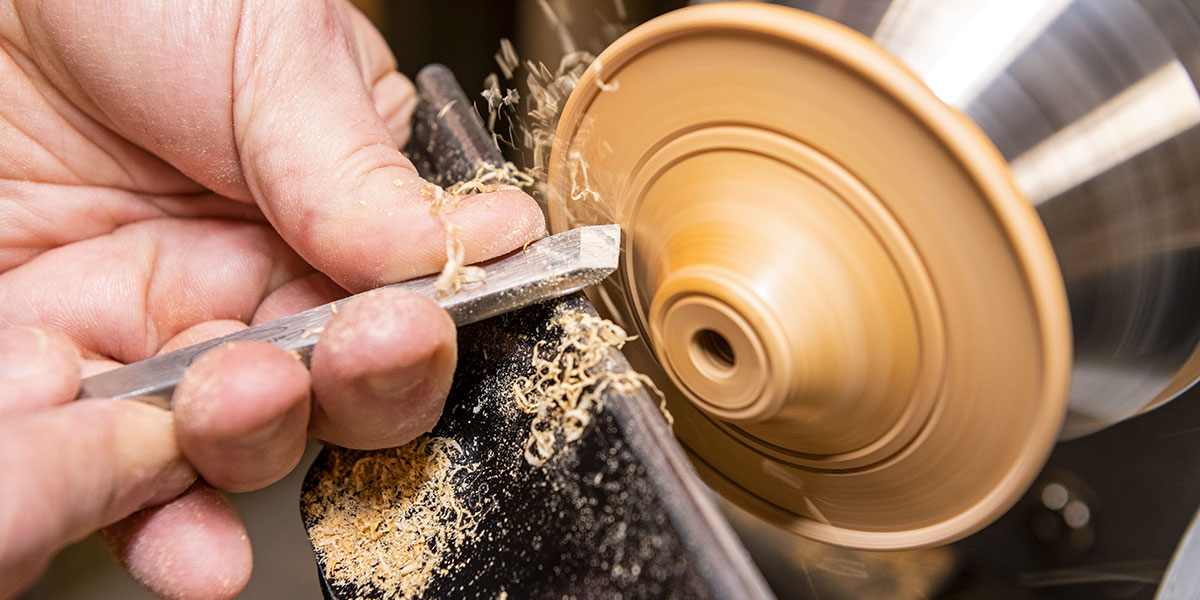
Turn the bottom of the base
Begin to turn the underside of the base to shape by using a pull cut across the face to true the blank.

In the project, Colwin is holding the base in a set of O'Donnell Jaws with an expansion grip. You will need to measure the jaws and mark it onto your blank (52mm if using the 38mm O'Donnell Jaws).
Using a 3mm parting tool, cut a groove 3mm deep on the inside of your marked line and remove the waste from the centre with a bowl gouge to the same depth. Clean the recess up by using a push cut from a small bowl gouge and a small skew. Repeat this step on the rest of the underside including the outside edge.


Sand through the grades working through 100, 150, 240, 320, 400 and finishing on 600.
To finish, we recommend using Cellulose Sanding Sealer and Microcrystalline Wax. Start by applying the sealer and wiping off the excess. Allow to fully dry, normally 30 seconds to 1 minute, before lightly sanding back with 600 grit abrasive. Add the wax polish with a polishing cloth and buff with the lathe running.


Turn the front of the base
Mount your set of O'Donnell Jaws onto the chuck and expand into the recess on your base.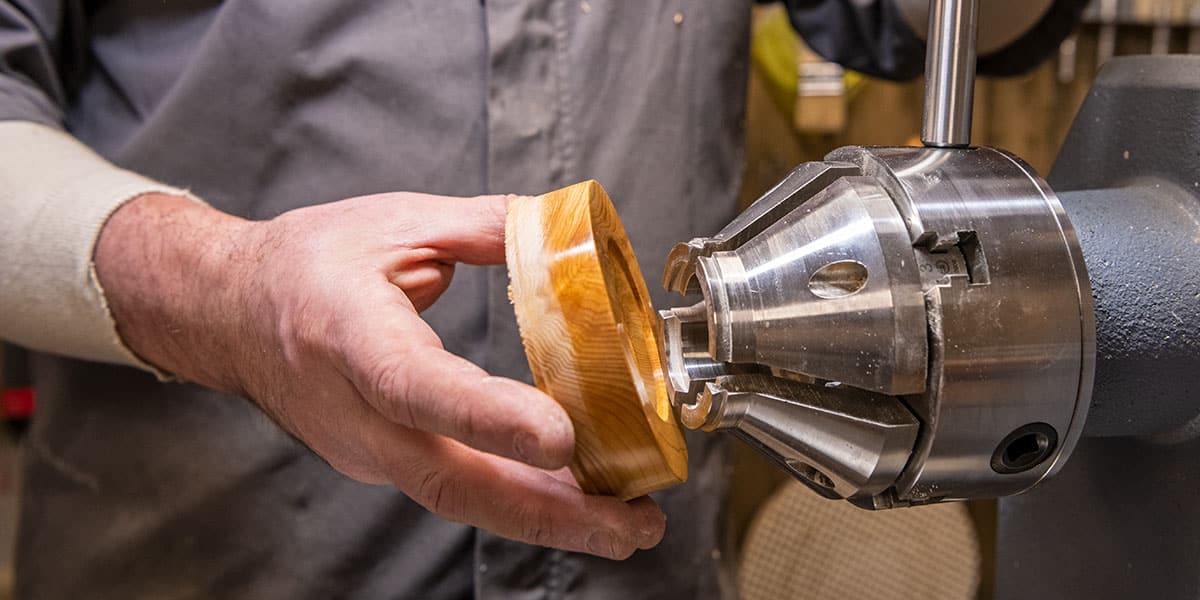
You are now ready to shape the front of your base by starting in the same way and using the pull cut to true.
Colwin opted for a subtle ogee curve using a 6mm bowl gouge and a push cut to give clean lines. He stopped the last couple of cuts early to leave a small lip that can be turned into a feature bead.


When the basic shape is achieved you can refine the shape or add detail, in this case Colwin added a couple of feature beads to compliment the edge, this can be done with the tip of the skew on its side in a scraping fashion and taking fine cuts.
Next create a hole that will be the mortice, the centre spindle will fit into. Colwin has used a small 90 degree box scraper to give a parallel 12mm hole.
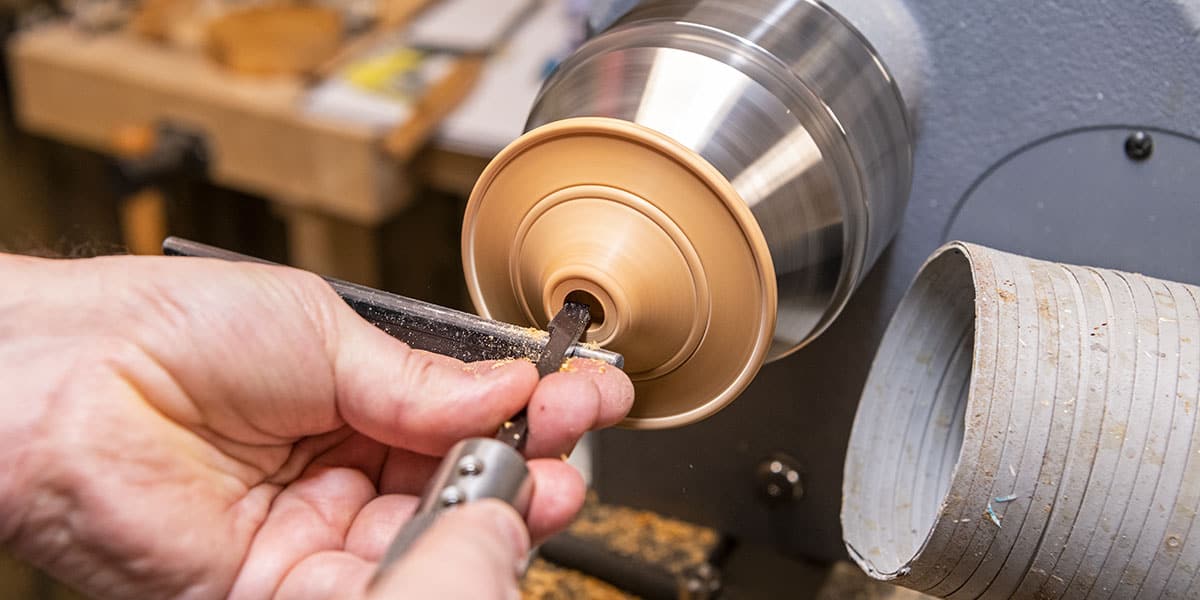
Finish the same way as the underside, with sanding sealer and microcrystalline wax.
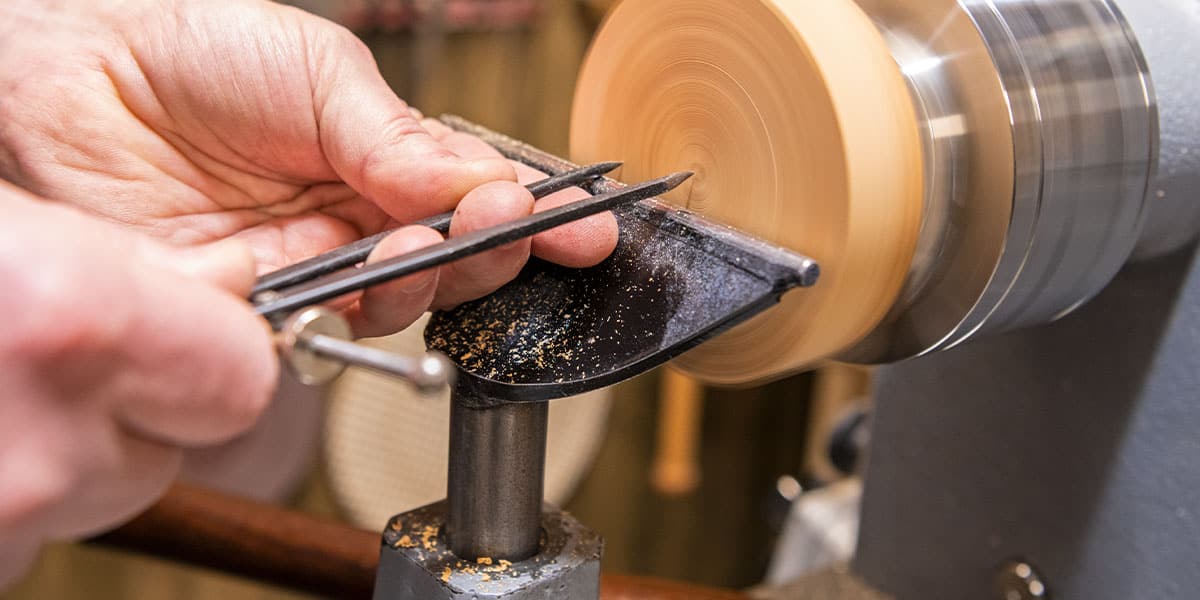
Turn the top
The top can be turned in the same way as the base. This time, however, Colwin has left a small bead instead of a recess. So, as well as using the parting tool to cut the inside of the line, he has cut a second to the outside, leaving 4mm inbetween. This bead can now be formed using the skew in scraping mode to delicately create the radiused edge.


Clean up the outside edge to a true round and cut in your mortice, then sand, seal and polish.


Turn the piece around and mount onto your O'Donnell Jaws before truing the surface with a pull cut from the bowl gouge then refine the shape as you did the base using the bowl gouge and skew.


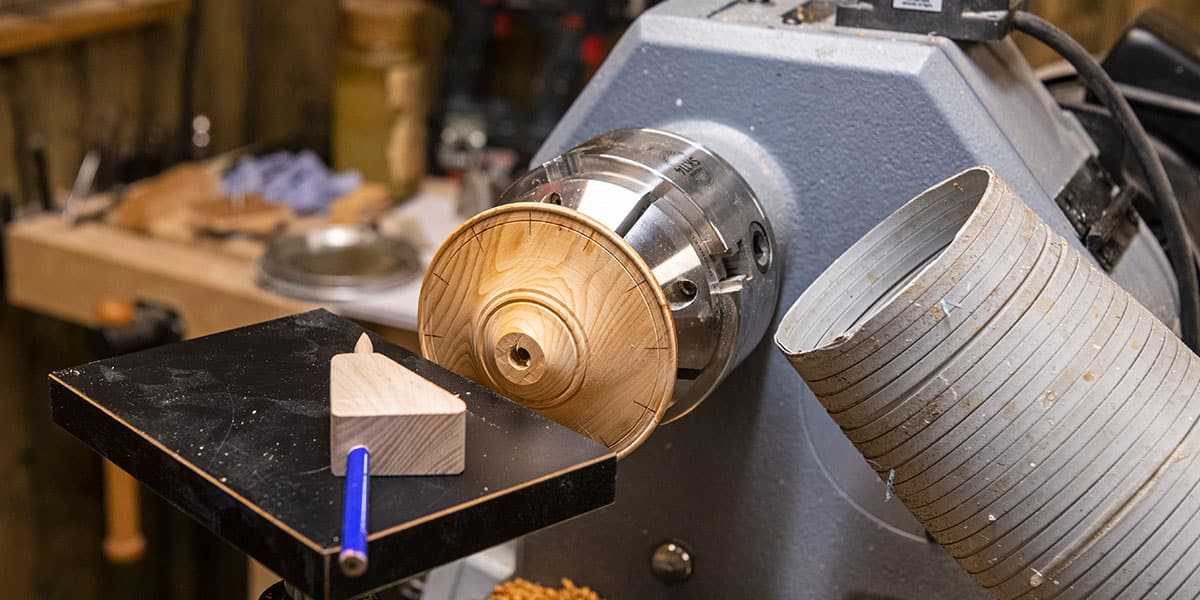
Next divide your earring stand into 12 sections and drill to take the earrings. To do this, Colwin used the indexing facility on the headstock of the lathe. Using the Axminster Tool Rest System with a MDF board fixed to a mounting plate gives a stable platform to work off and means you can accurately mark your points.


A good tip to help with this marking is to take a waste piece of timber and drill a hole through it to match the size of your pencil. The pencil can then be pushed into the piece of timber to create a good flat surface to run on the platform as in this picture.
Once marked, take the piece to the pillar drill and drill a 2mm hole into each position, 6mm in from the outside edge. Now re-mount onto the chuck, cut your mortice, sand, seal and polish.


Turn the centre spindle
Fix the blank between centres, rough it down to a round, ready for shaping.


Before the main shape is turned, accurately measure the mortices in both the base and the top. Transfer this measurement to a set of callipers and cut your tenons using a parting tool.


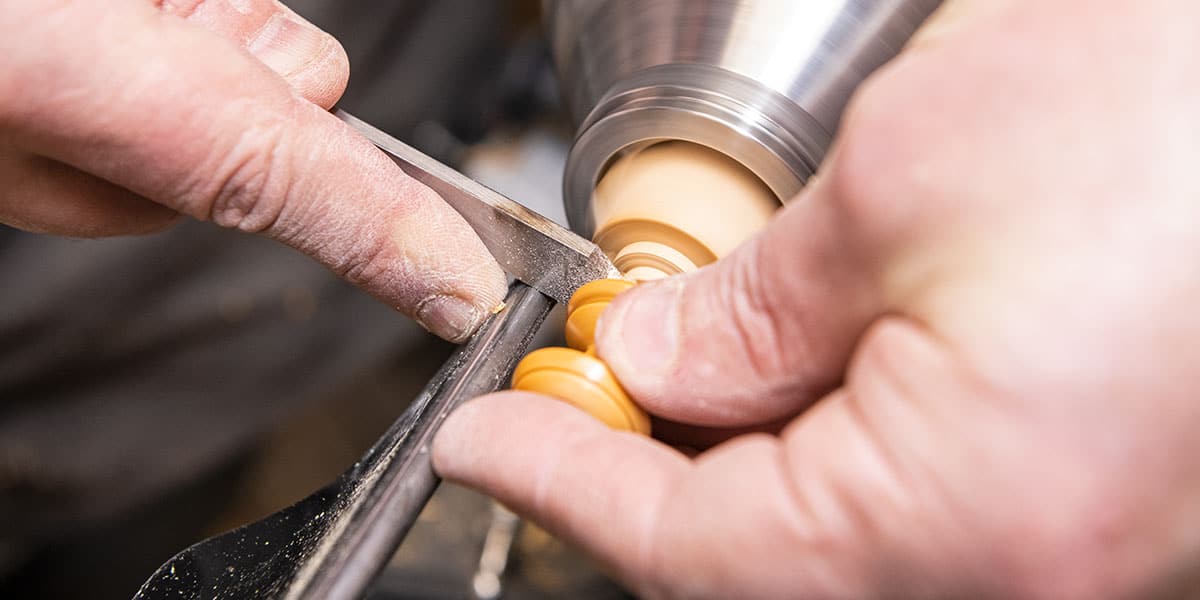
Now your tenons are safely in place you can design and turn the shape in your centre spindle. Colwin chose to put a bead at both ends followed by a cove at the bottom, leading into an ogee. When you're happy with the shape, sand, seal and polish everything except the tenons


Turn the finial
Start by holding your blank internally in the O'Donnell Jaws and rough down to a cylinder.


Measure the mortice on the top of the earring stand and transfer as before to your blank while cutting the tenon. Your now ready to turn the main shape, sand and seal.


When finished, part off using and a parting tool.
Using Epoxy glue, start assembly from the base up.
You now have an attractive earring stand ready for that special lady in your life!
Make it and share it
Did you make this project? We would love to see it! Share with us on social media images of your finished project and tag @axminstertools.
This is an excellent article with clear explanations and great photos showing how it's done. I feel full of enthusiasm to have a go ! Thank you !!
Hi Graham,
I am glad you feel inspired! Please share with us the end result.
Many thanks,
Lisa