How To Make a Workshop Sign

What you'll need
A step by step guide for crafting this simple yet thoughtful workshop sign. A perfect addition to any space and easily modified to make it personal to you, or somebody special.
Watch our Woodworking Wisdom demo or follow our step by step guide below
Part 1 – Get organised
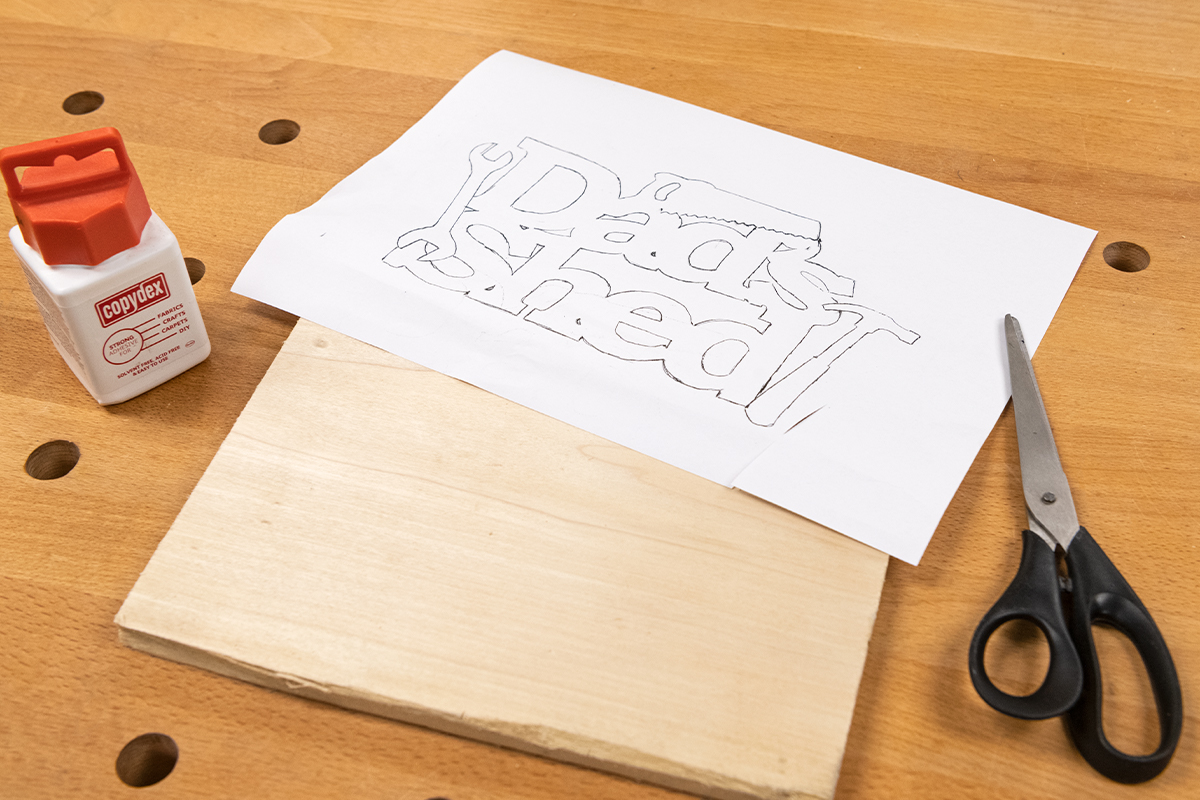
Gather your materials and print off the Dad's Shed sign. Select a suitable piece of timber.
Part 2 – Transfer template
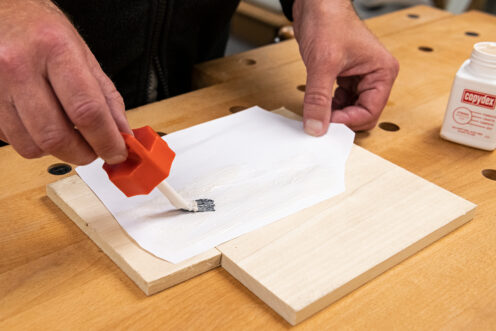
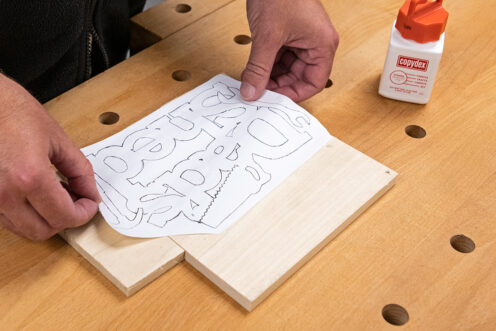
Transfer or stick your template onto the timber.
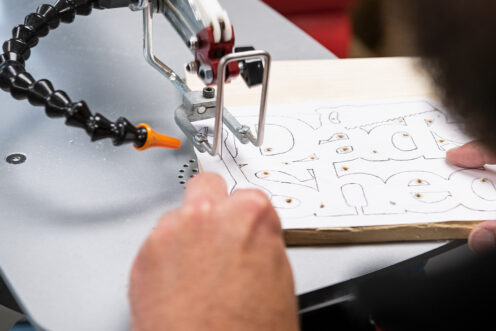
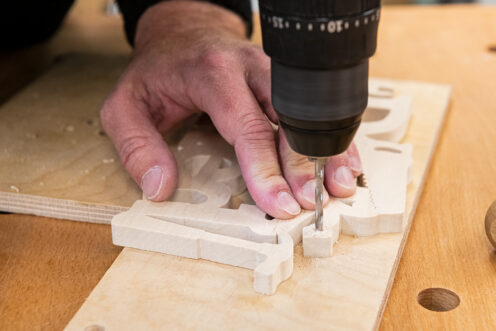
Part 3 – Drill holes
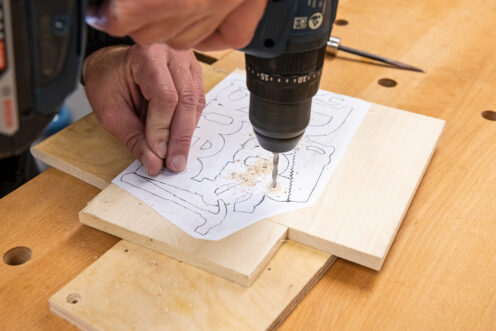
Drill holes in the areas that will be removed, e.g. the void in the middle of the D. Use a 2mm drill bit for the small holes and 4mm for the larger ones.

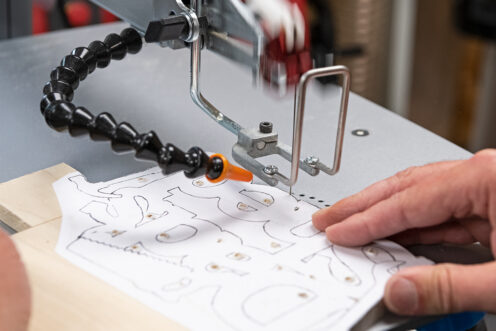
Part 4 – Cut outside shape
Cut the outside shape of the template.
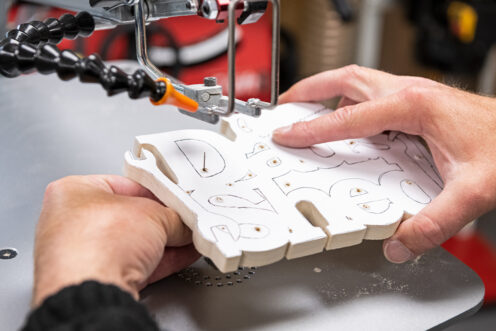
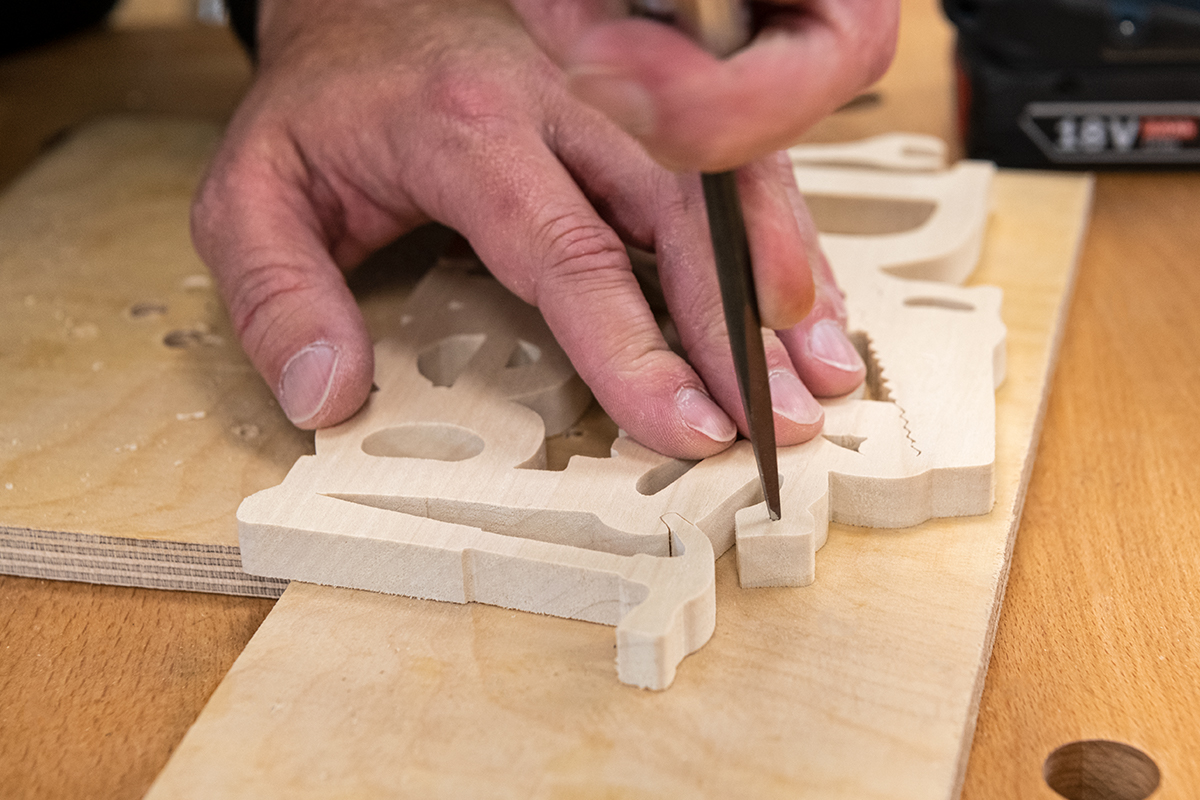
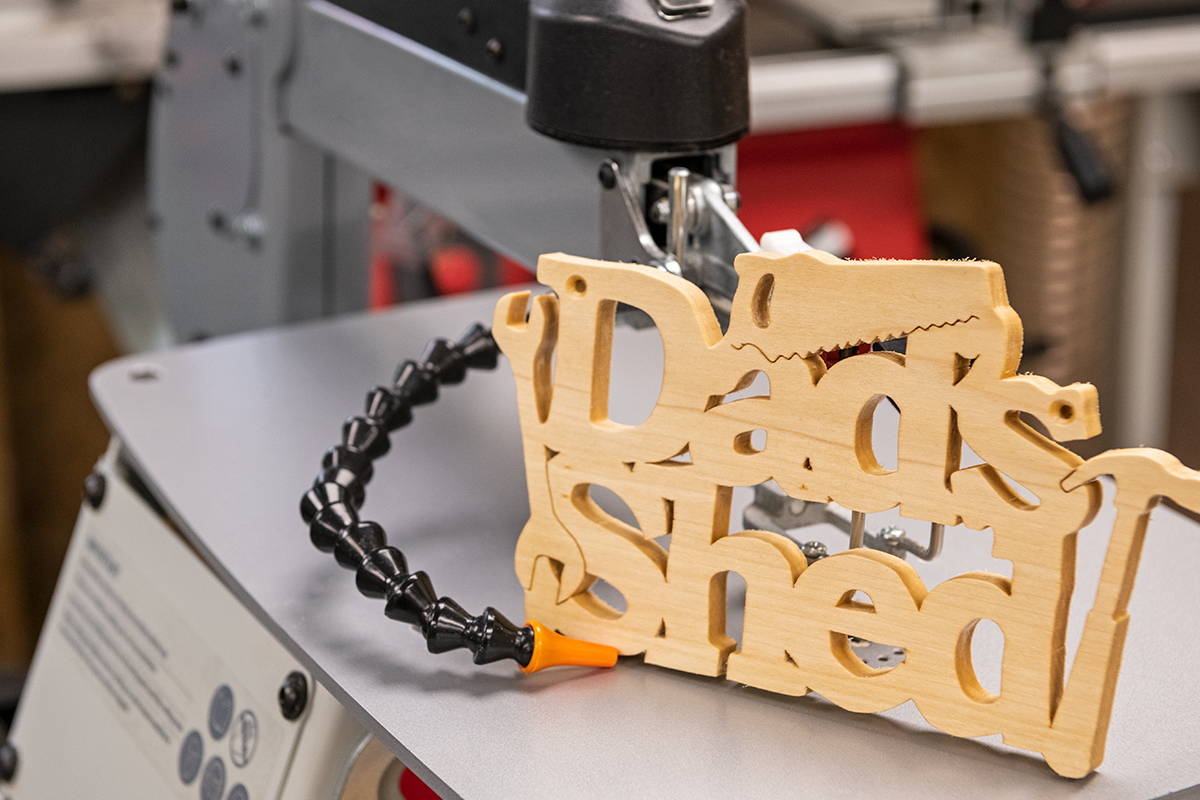
Part 5 – Cut individual shapes
Now, cut the internal sections of the pattern. Undo one of the clamps that holds the scroll saw blade. Thread the blade through the pre-drilled holes and cut the individual shapes. You can rest the workpiece on the back of the blade in the tight areas. This will avoid cutting into the shape that you want to keep. Make sure to to leave some material that connects the saw, hammer and spanner to the lettering.

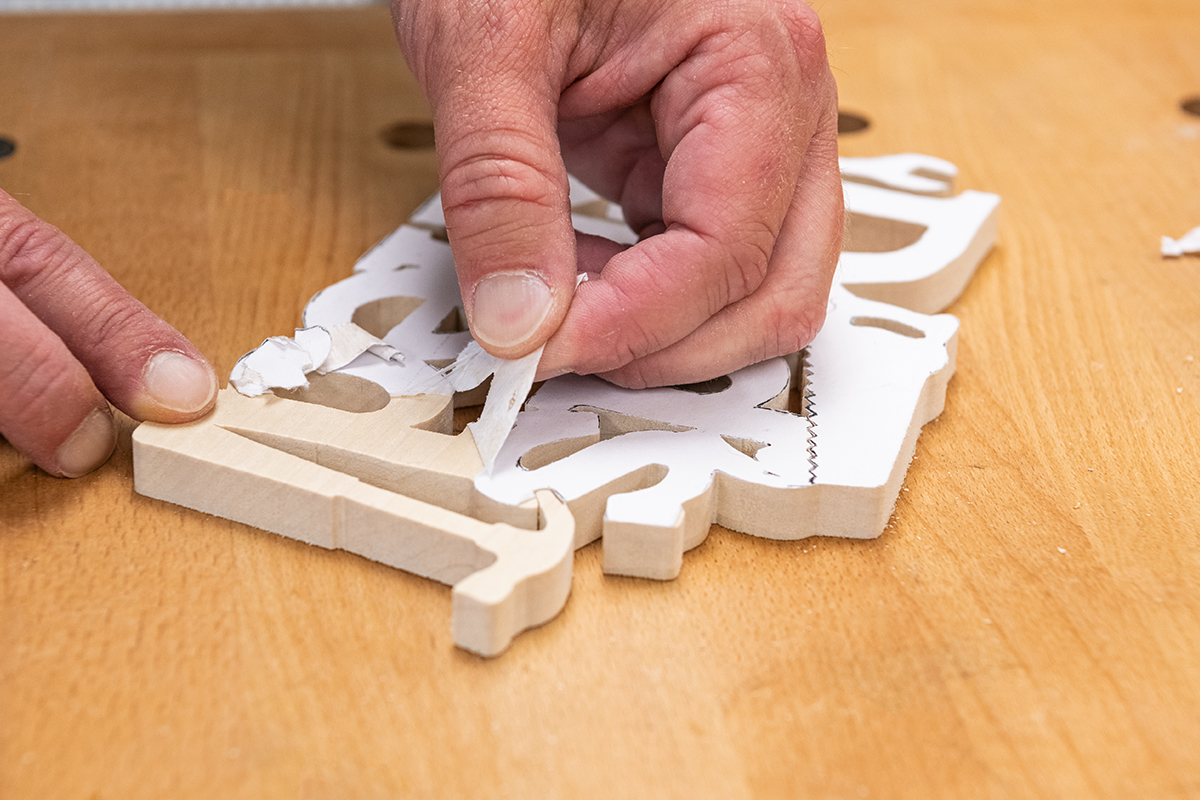
Part 6 – Sand
Remove template and sand off any remaining transfer marks.
Part 7 – Drill holes for hanging
Drill a couple of holes for mounting or hanging up the sign. Use a brad awl to mark the spots that will be drilled. This will help locate the drill bit before drilling.
Part 8 – Drill & Countersink
Drill through the workpiece and countersink the drill hole.

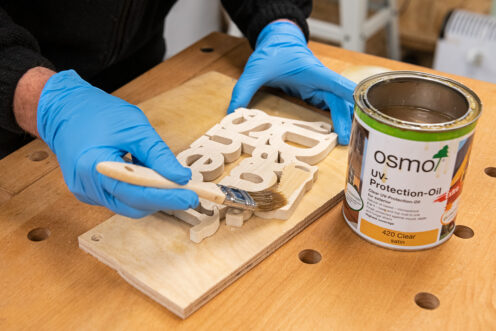
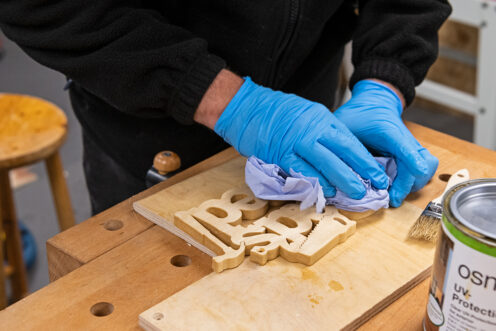
Part 9 – Finish
To protect it from the elements, something like Osmo UV Protection Oil is recommended to avoid bleaching from sunlight. Brush on and make sure to get into all those internal shapes. Wipe off any excess with a cloth or rag to prevent any pooling and to eliminate any sticky areas.
Part 10 – Fix/Hang
Once dry, your sign is ready to fix or hang on the shed door.
Discover more…
Looking for more project or gift inspiration? Browse our How To projects and see what sparks your woodworking interest.
Get Connected!
Follow us on Instagram and Facebook to stay up to date on all the latest projects.