How to cut a slope on a bandsaw

Last week I was very kindly entertained for the day by my pal David Stephenson who runs a small workshop in Andover making bespoke furniture and also does the odd antique restoration project or two. Much tea and coffee were consumed during the course of the day, along with a packet of suitable dunking biscuits and jam doughnuts (not recommended for dunking though). The topics of conversation were as diverse as the ‘The Flying Scotsman’ to the interior workings of expensive Swiss timepieces, but when two sawdust manglers get together it’s mostly going to be tool and timber talk.
We flitted over a huge range of topics but one of the things that briefly impinged on my mind (along with loads of other stuff) was David’s method of cutting dovetails on the bandsaw. This isn’t a new technique by any stretch of the imagination and I’d heard about it some years ago, but had never actually tried it.
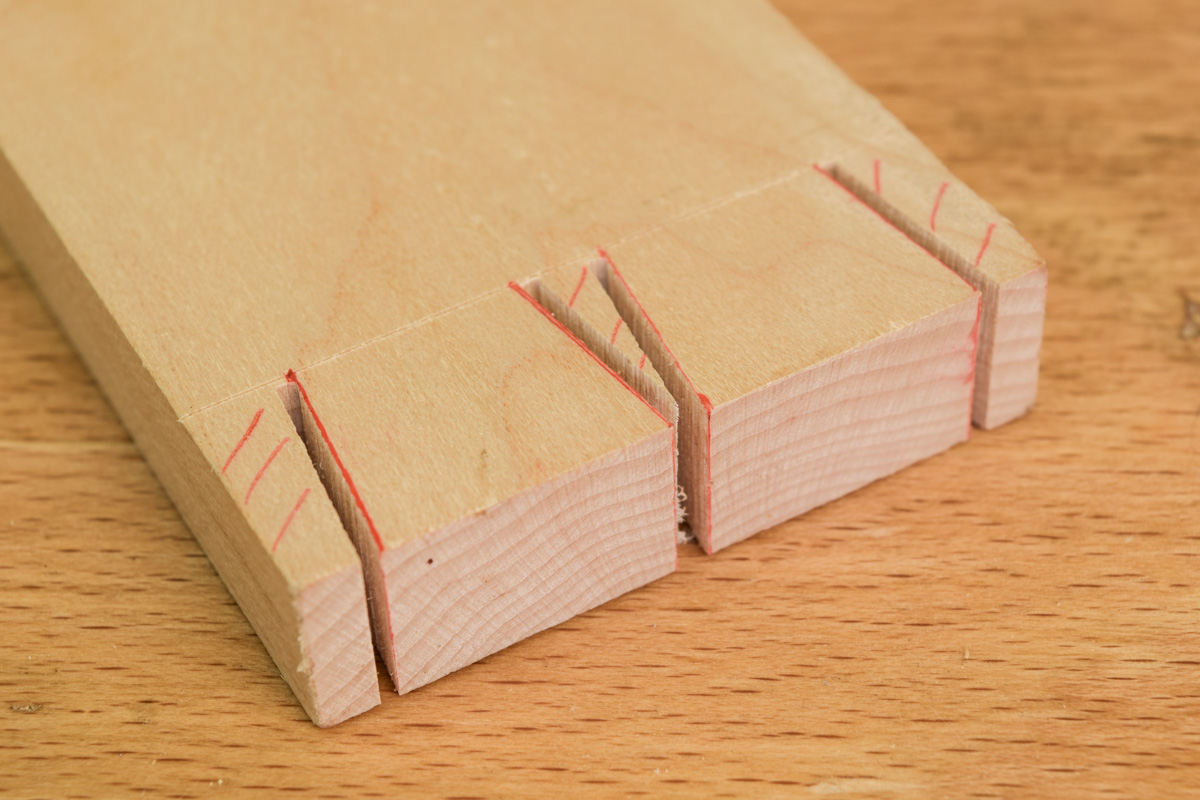
In essence, it’s just a piece of plywood with one side cut accurately to a slope of 1:8 or whatever slope is needed. The tails on the workpiece are marked out in the normal way, and then the job is placed against the plywood template which in turn rests firmly against the locked fence.
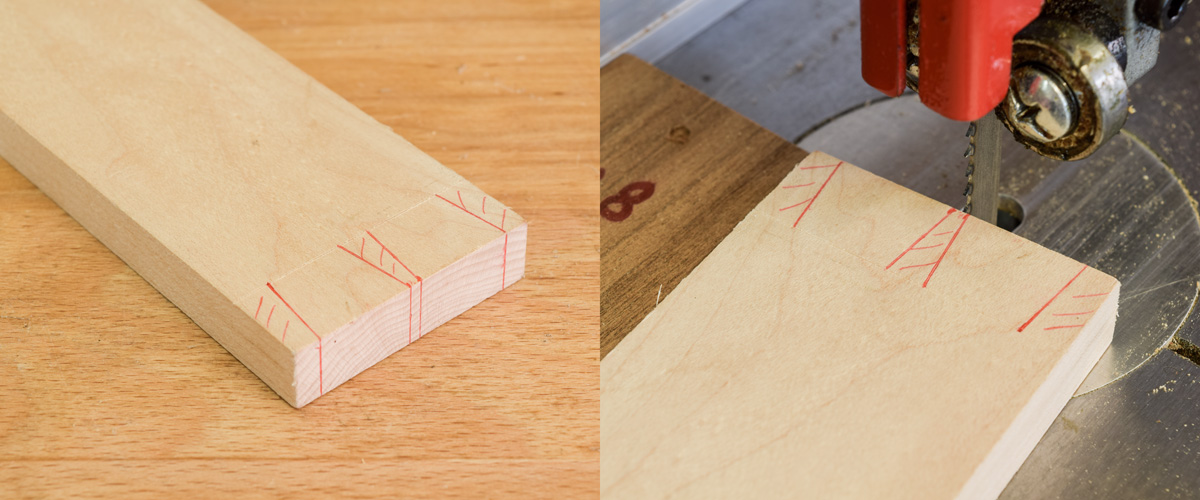
What’s great about this very straightforward process is that the fence only needs to be locked approximately in the right position; by sliding the template back and forth against it, the dovetail slope can be positioned exactly in the right place ready for the cut. When everything is spot on, press the wood firmly against the template and push both forwards into the blade to make the cut. To make the cuts sloping the other way, the template is just reversed against the fence and the procedure repeated. Provided the bandsaw blade is square to the table in both axes, it’s very difficult not to saw a perfect set of tails. The tricky bit is that the other half still needs to be done the hard way.
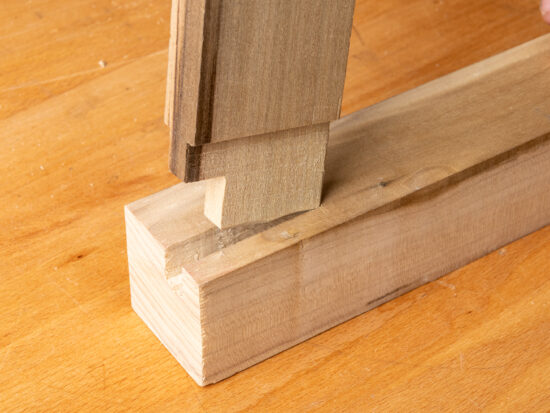
I’ve used a very similar technique to make wedges for mortice and tenon joints. Making wedges individually takes quite a long time and is fraught with difficulty as it’s important that they’re all identical, but a very simple jig, which consists of nothing more complex than a scrap of 6mm ply, makes this process a piece of cake (or biscuit or doughnut).
In this instance, all that’s needed is a small sloping section removed from one side of the ply which corresponds to the size of the wedge that’s needed.
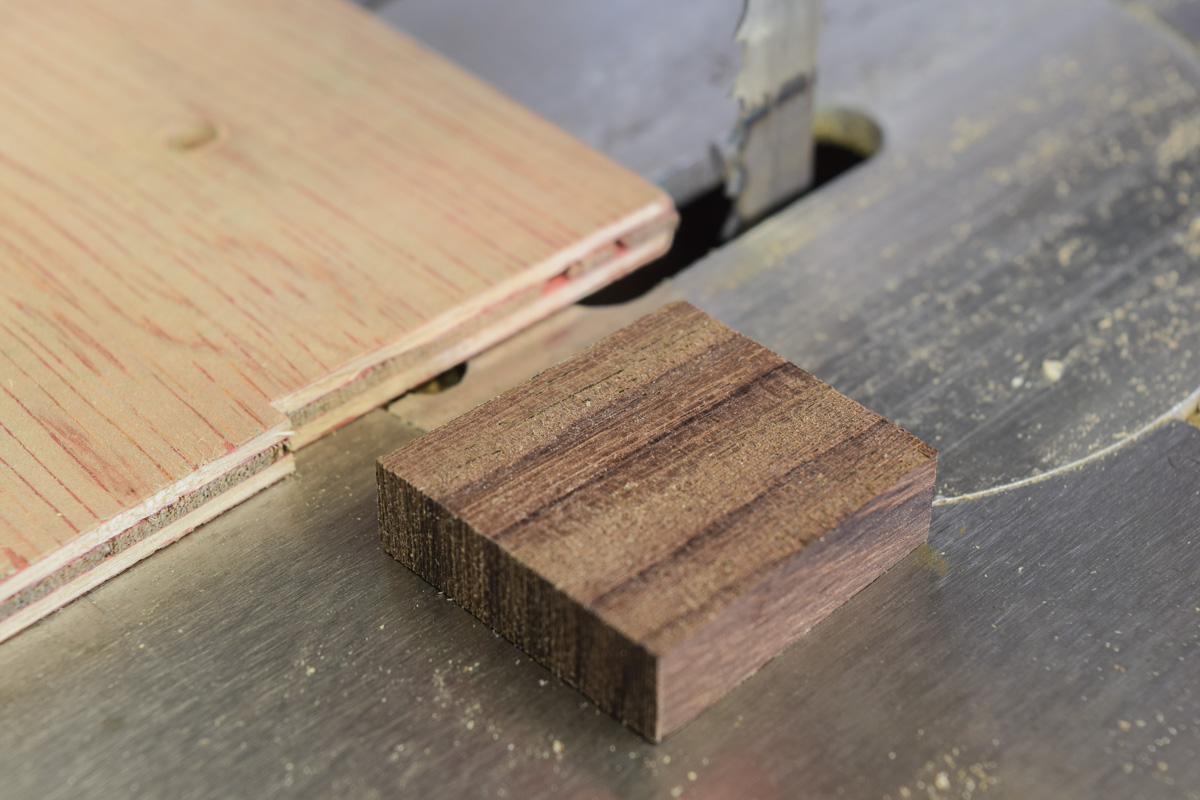
Prepare a blank of suitable material which is exactly the right width of the mortice and slightly longer than the tenon, then start to slice off the wedges, rotating the blank each time to keep the grain straight. Using this method, it’s very easy to make a whole bag of wedges and keep a few left over for another job.
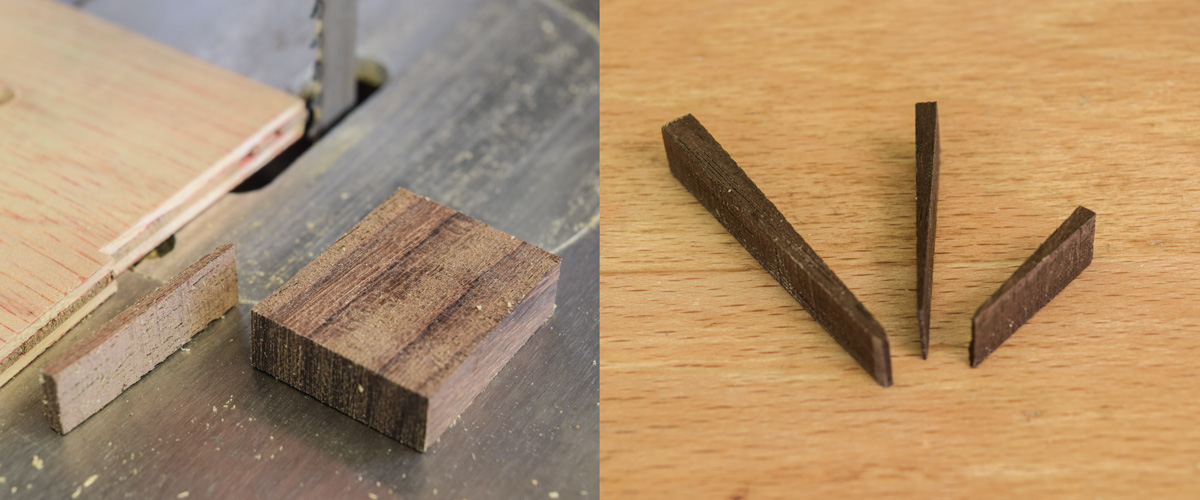
The actual process of making the wedges is simple and very quick, but the slightly harder part here is to prepare the blank from which they’re made, the main aspect being the thickness which must correspond to the width of the mortice.
If you’re aware of any more bandsawing trickery like this we’d love to hear about it.