Let's get started...
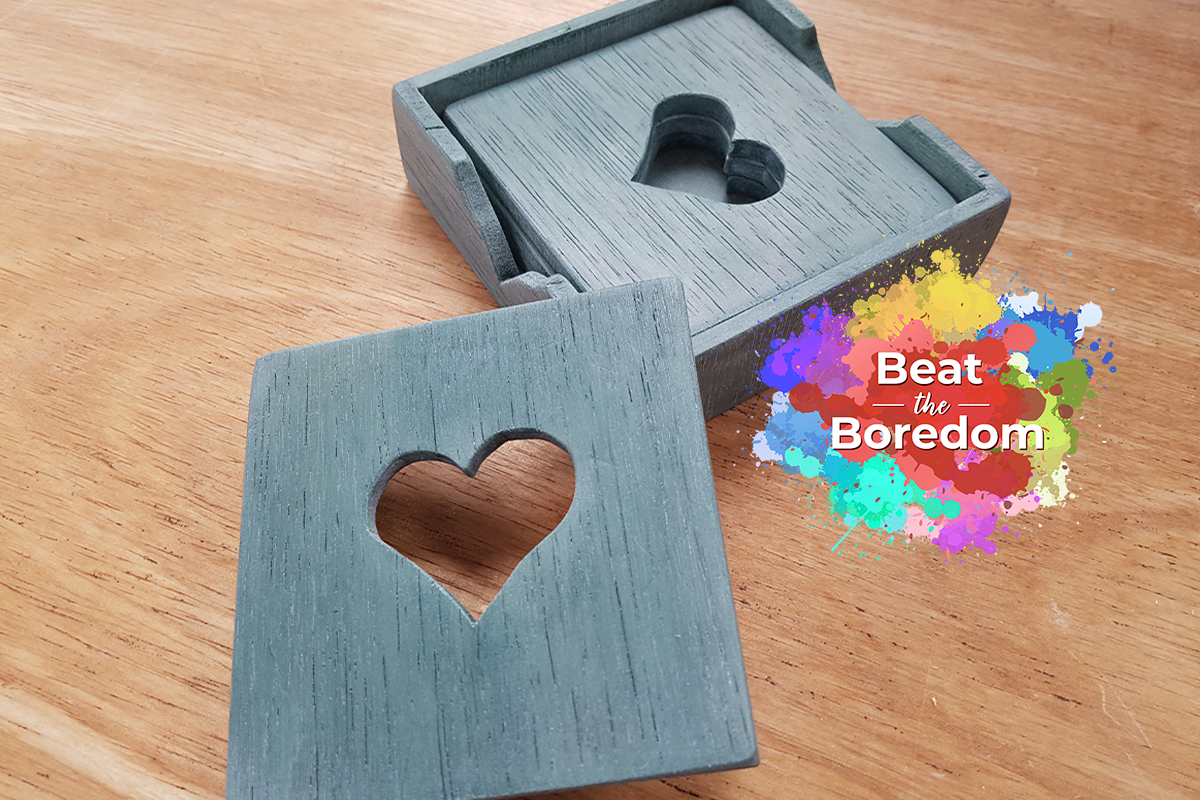
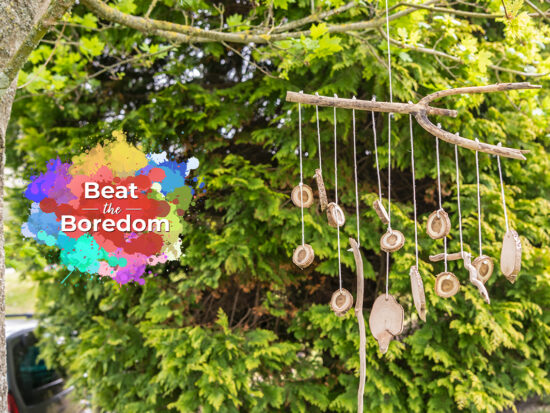
Struggling to keep the kids entertained at home? Our next Beat The Boredom project is ideal for younger kids. In just a few steps, create something simple yet practical with our super cute wooden heart coasters project. If you have some thin wood material in your workshop, this is a great woodworking project to try. The coasters will protect your surfaces from water marks and stains whilst adding character and style to your space. For convenience, the coasters are neatly stored in a caddy holder when not in use.
Part 1 - Mark up and cut out
We suggest using hardwood as it will stay flatter but just about anything would do. In our example, we used a small piece of 6mm ply. This looked just enough to make a set of four heart coasters as well as a caddy holder for them.
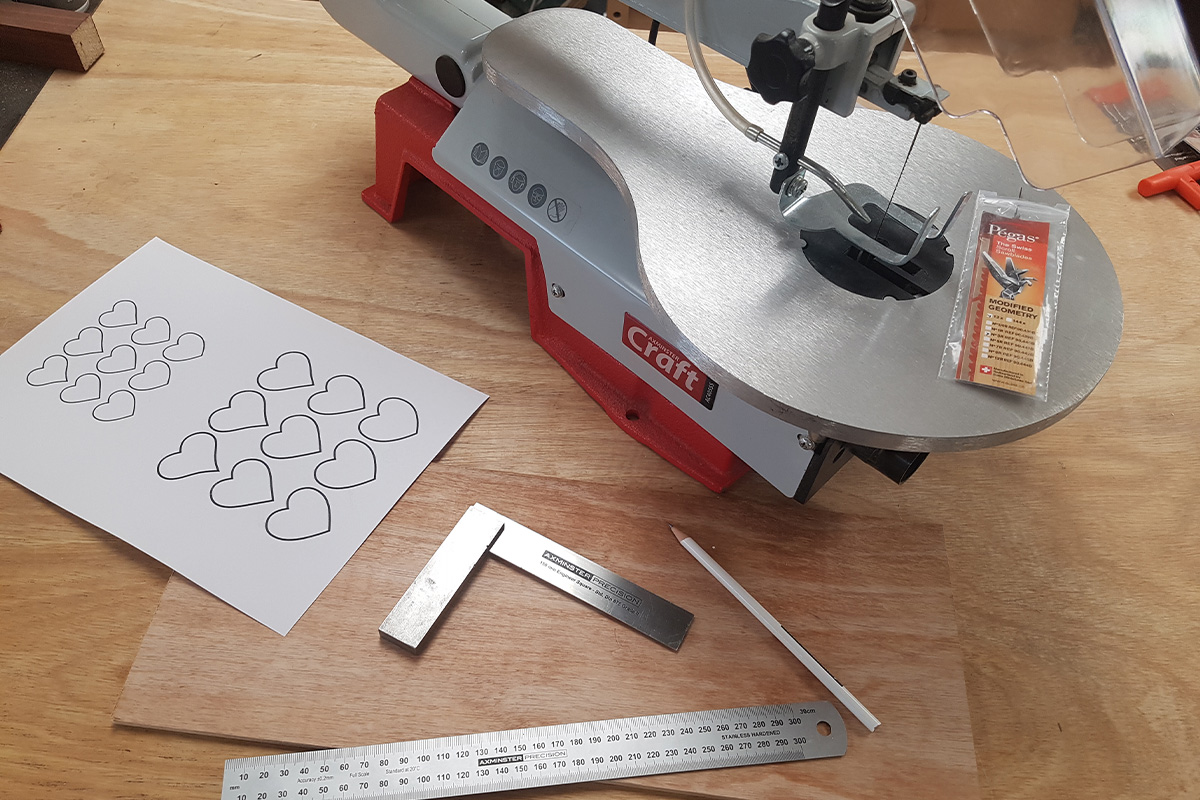
Firstly, measure up to check the material you've chosen is suitable. We found that we could get two x 92mm coasters cut from the piece of board we had. With this in mind, we marked up to cut out 4 x 92mm x 92mm squares.
Next, cut these squares out either by hand or on a scroll saw if you have one. Take your time to carefully follow the straight lines. Once cut, lightly sand the rough edges.
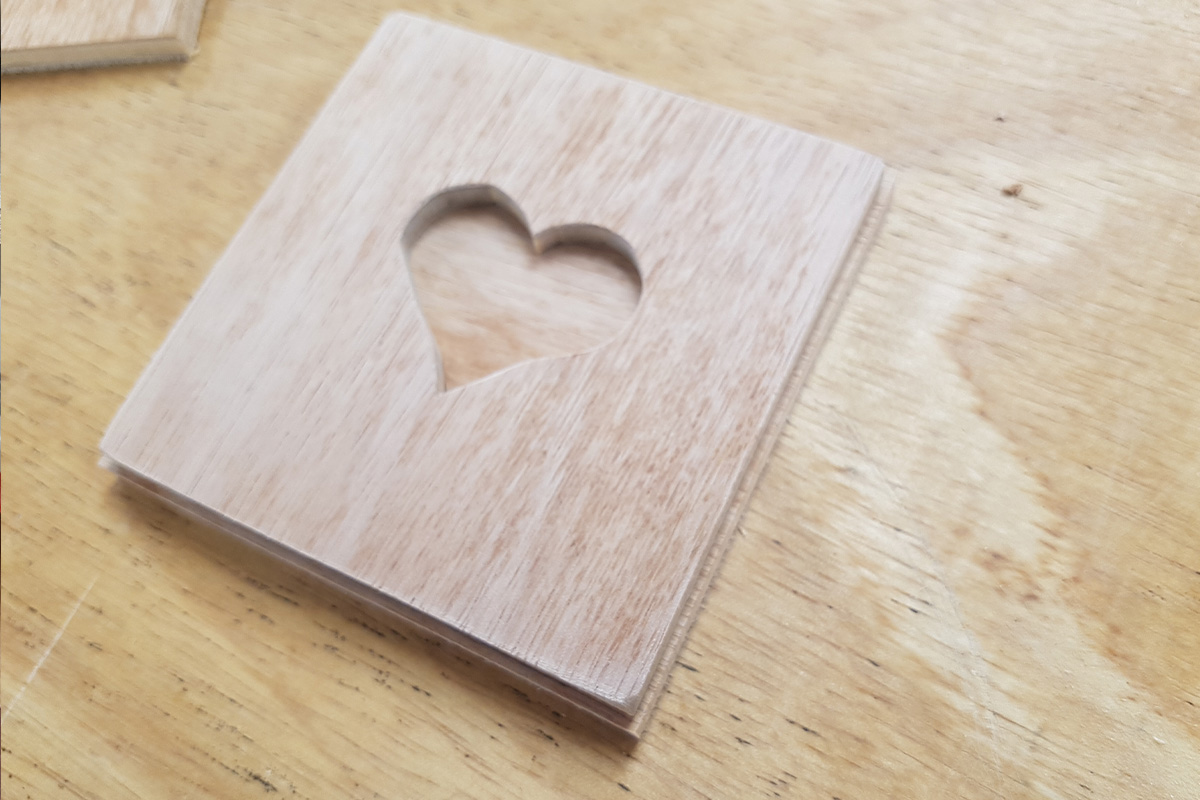
Our chosen design included a heart cut out in the middle of each coaster. As we wanted to add in a bit of detail, we marked up the middle of the coaster square by making a light pencil line, joining corner to corner.
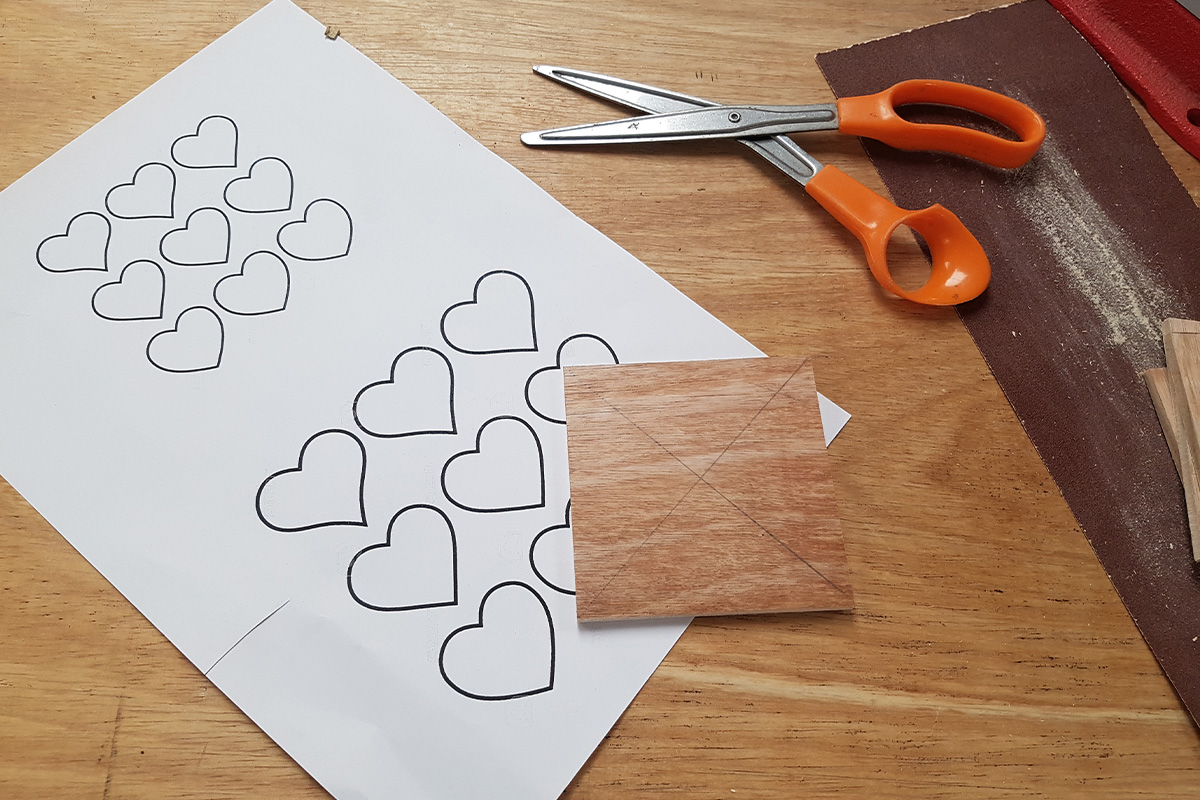
To get our heart coasters exactly as we wanted them, we printed out a number of different size shapes to see which suited. Using a low tack adhesive, we then stuck the paper cut out to the centre of one of the coaster squares.
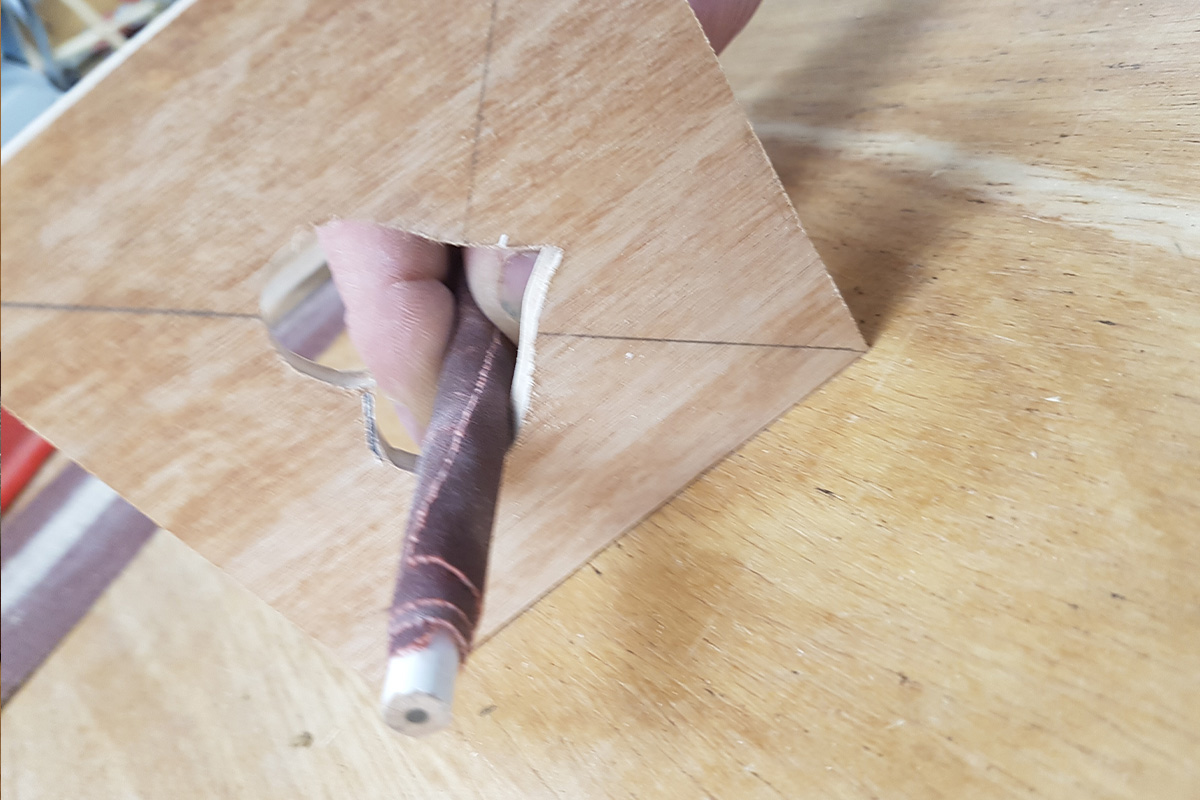
Drill a small hole in the paper heart to thread the scroll saw blade through. Once you've done this you can begin to cut the centre heart shape out.
Next, lightly sand any rough edges or saw marks. Here, we wrapped some medium to fine abrasive around a pencil which made the process easier.
When you are happy with the look and positioning of the heart shape, continue to cut the other three coasters out. To save time, we wrapped ours in masking tape to ensure all of the heart coasters looked identical. We were confident that the scroll saw and blade we used would cope with the thicker material. However, if you find it easier, simply do the heart coasters one at a time. Finally, lightly sand and leave to one side.
Part 2 - Make the caddy holder
Using the remaining timber, we set our sights on making a caddy / holder for our wooden heart coasters. Firstly, using a coaster as a guide, mark up the base of the caddy. Leave approximately 2mm all round to form the square base of the caddy. If you have one in your workshop, carefully cut on the scroll saw.
With the four heart coasters stacked on top of the base, mark out. Proceed to cut four caddy sides.
Next, cut two of the sides to the same size as the base of the caddy. Use PVA glue and small panel pins to secure in place. Be sure to align with the bottom and sides of the base so that two opposing sides are complete.
Then mark up the remaining two edges and cut to size.
Before fixing the two final caddy sides in place, why not add in a bit of detail? To do so, make a central cut out, as desired. This also may make it easier to remove the heart coasters from the caddy. Finally, secure the sides in place as before.
Part 3 - Finish and decorate
To finish, sand up and round over all edges.
In our example, we decided upon a bit of colour and opted for a washed, distressed look.
To achieve this look, we applied a coat of green dye before finishing off with a cast of liming wax. This worked brilliantly and provided a surprisingly durable finish, making it ideal for a small indoor project like this.
Win a £25 Gift Card…
For a chance of winning at £25 Axminster Gift Card, simply show us what Beat The Boredom projects you’ve completed by uploading them to Instagram, Facebook or on to our Community Forum.
Snap It
Take a photo of your project.
Tag It
Use the #BeatTheBoredom hashtag and upload it to one of the following;
Win It
Send us your Beat The Boredom creations for a chance to win a £25 Axminster Gift Card- one to be won each month!
Discover more…
If you’ve enjoyed reading this article, keep an eye out for our next woodworking project for kids as part of our Beat The Boredom series. Watch this space for more details! Furthermore, why not take a look at all of our previous projects below?
Stuck at home with the kids? Looking for something fun to do? We have the answer with our online Beat the Boredom Series. A great way to get the children involved in a variety of...
Get connected!
If you’re searching for Beat the Boredom projects, you’ll find them on the Knowledge website. Alternatively, follow us on Instagram and Facebook to stay up to date on all the latest from our Beat the Boredom series. Connect with us using #BeatTheBoredom to @AxminsterTools.