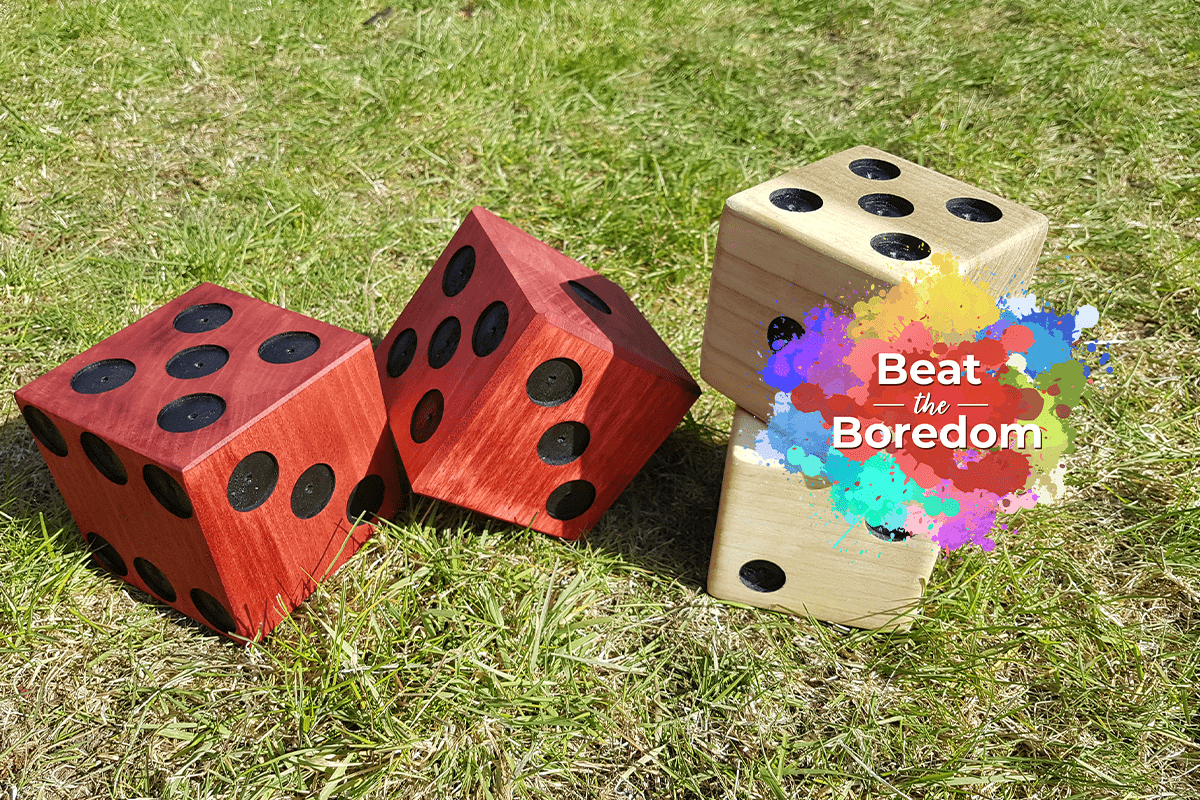
Giant Dice Project
Why not get creative and try your hand at making these wooden giant dice? As a versatile piece of gaming equipment that can be used for a variety of games, your kids will be able to enjoy an endless amount of games for many years to come. Perfect for garden parties and barbeques at home, they'll also be great for picnics and the beach when it's safe to do so.
Let’s get started…
This is another great intermediate woodworking project where you can use up whatever fairly large scraps of timber you have in your workshop. In this example, we used a piece of 100mm x 140mm x 240mm Poplar. We decided to use the 100mm as our final square size. Alternatively, if you haven't got any large timber available, you could always glue two x 50mm pieces together using a good exterior glue such as Titebond III Ultimate Wood Glue.
Part 1 - Marking out
Mark two x 100mm marks. Next, set your bandsaw fence to these marks. Alternatively, set your fence with a rule or the bandsaw fence scale.
Part 2 - Cut to size
As you will be using workshop machines and power tools for this project, don't forget to use adequate Personal Protective Equipment (PPE) at all times.
Ensure that the bandsaw is set up correctly with a good sharp 6 TPI blade. In this instance, we used a ¼” wide blade as we only had a few cuts to do. If we had many straight cuts to do, we would instead fit a ½” blade which would help us achieve a repeatable straight cut.
Next, securely lock the rip fence, set 100mm from the blade. Ensure that the blade guides are just above the timber slowly before steadily pushing your timber through the blade. Be sure to use a push stick to stop your fingers getting too close to the blade. Repeat this on all faces until you have a 100mm cube.
Part 3 - First sand
Depending on your resources and preference, you can choose to sand by hand or using a powered sander. Given the size of the timber it'll be much quicker to use a powered sander; a belt and disc sander is an ideal machine for this task.
After you have checked that the table is square to the sanding belt, begin to sand each face. Continue until you are happy that all of the bandsaw cutting marks have been removed. Here, a 100g sanding belt works well for this.
Part 4 - Mark spots
When you mark the spots for the giant dice, make sure that each opposing side equates to seven.
Firstly, find the centres on all faces by simply joining corners with a rule. Next, figure out the spacing. In our example, we decided that a centre to centre of 35mm looked about right. Of course, if you are are working with smaller timber, a smaller forstner bit and smaller spacing may be needed.
Here, you can use a rule to mark out each 35mm centre. Alternatively, a set of dividers working point to point is very quick and accurate method.
Part 5 - Drill spots
For repeatable accuracy, for part of the process is best done on a pillar drill. However, you may choose to use a cordless drill if you are careful. As with all of our Beat The Boredom projects, power tools and machines should be operated by adults only and children should be supervised at all times.
With the 25mm forstner bit fitted into the drill chuck, set the drill depth stop. You want to set it so that the bit only cuts 2-3mm into the timber.
Next, work your way around the cube to drill the spots. For safety purposes, be sure to hold the timber in a drill vice or clamped to the drill table.
Part 6 - Second sand
It's now time for another sand up. This time it's to remove the corners that have the potential to be broken off. Once again, this part can easily be done by hand. However, if you still have your belt sander out, it'll save you time and effort. Here, we tilted the table to 45 degrees and very gently removed the corners.
Part 7 - Add your chosen finish and final sand
For the final finish, the choice is 100% yours! In our example, we chose traditional black spots. To create them, we used an acrylic black paint that wouldn't bleed into the timber like some wood dyes do.
This gave us a nice clean outer circle to the spot. If you wish, why not add in a splash of colour to brighten up your giant garden dice? Next, do a final sand up to remove pencil marks and blemishes including any paint that went outside of the spots.
Lastly, add an external oil used for its durability and waterproofing to protect the timber for many years to come.
Win a £25 Gift Card…
For a chance of winning at £25 Axminster Gift Card, simply show us what Beat the Boredom projects you’ve completed by uploading them to Instagram, Facebook or on to our Community Forum.
Snap It
Take a photo of your project.
Tag It
Use the #BeatTheBoredom hashtag and upload it to one of the following;
Win It
Send us your Beat the Boredom creations for a chance to win a £25 Axminster Gift Card- one to be won each month!
Discover more…
If you’ve enjoyed reading this article, keep an eye out for our next woodworking project for kids as part of our Beat The Boredom series. Watch this space for more details!
Furthermore, why not take a look at some of our previous Beat The Boredom projects below?
You May Also Like...
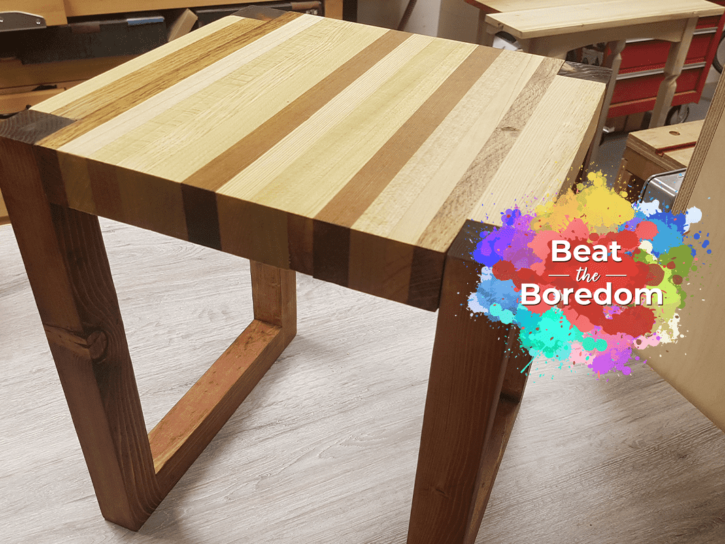
If you've got slightly older children who are keen to get hands on with woodworking this Spring, take a look at our next woodworking project for kids. The fifth in our online Beat The Boredom...
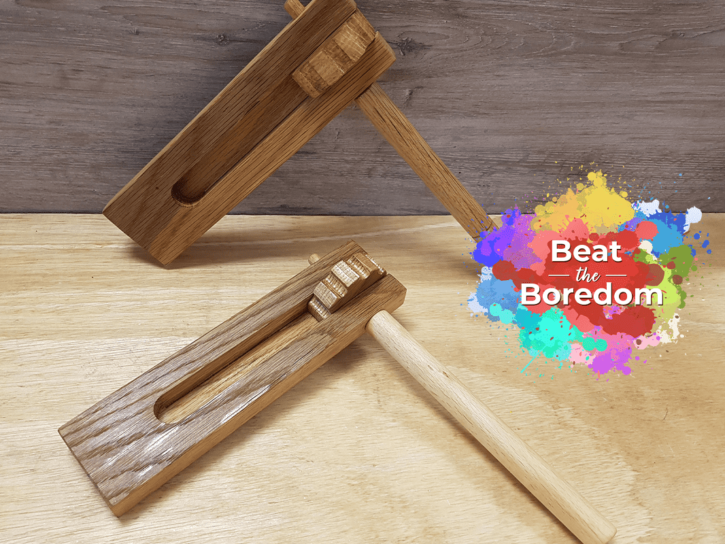
Part of our online Beat The Boredom series, here's another fun woodworking project to try with the children this weekend. Have a go at making a wooden hand clapper toy, designed for slightly older kids...
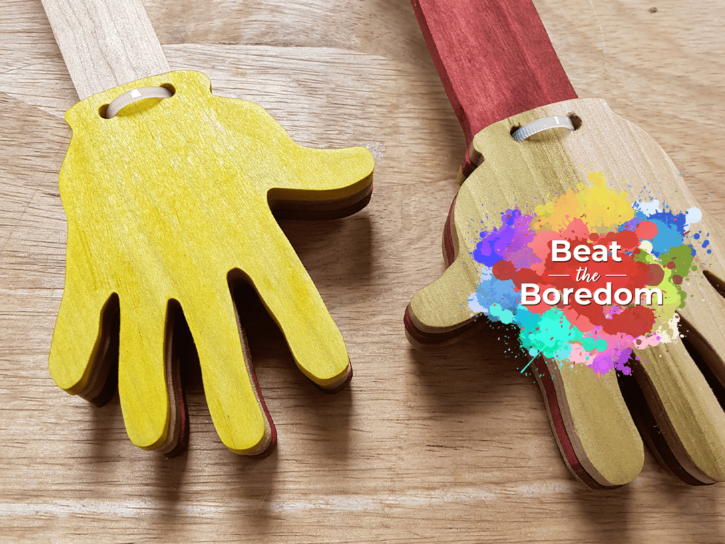
Part of our online Beat The Boredom series, this week we’ve got a brilliant yet simple woodworking project to get your younger kids inspired. Ideal for young children with adult supervision, our latest woodworking project...
We've got another fantastic woodworking project for kids; our wooden robot project is ideal for any beginner woodworker. Ideal for young children with an interest in learning more about woodworking and getting hands on, this is...
Looking for another great woodworking project for young kids? Take a look at our Wooden Heart project, designed for little ones with the help of an adult. Forming part of our online Beat the Boredom...
Check out our first Beat the Boredom woodworking project for young kids- a simple nail & string project, using tools and materials found at home.
Get connected!
If you’re searching for Beat the Boredom projects, you’ll find them on the Knowledge website. Alternatively, follow us on Instagram and Facebook to stay up to date on all the latest from our Beat the Boredom series. Connect with us using #BeatTheBoredom to @AxminsterTools.