
Fit a door lock in just 5 minutes!

I suspect that not many house owners will have a need to fit mortice locks on a regular basis, but if, like me, you require the additional security of a 5 lever Chubb on the front and back doors of the house, then you’ve no real choice but to take a deep breath, gird the loins and fit them.
Whichever way it’s done, the task is one that’s usually approached with a lesser or greater degree of trepidation as it’s not a job to be taken lightly. The instructions supplied with locks will usually mention marking out accurately (via a template) and then chain drilling a series of deep holes, around 75mm or even well over 100mm, depending on the lock. This removes most of the waste and then follows the unenviable chore of chiselling out the remainder to make a tolerably rectangular mortice. The deeper the mortice, the more difficult this becomes.
Perhaps the most awkward part of the whole irksome procedure, especially if it’s a very deep mortice, is trying to make the bottom reasonably flat, after which invariably comes some fettling to get the lock to slide in squarely. All told, a moderately skilled woodworker, who knows his (or her) way round a toolbox, might be expected to fit a complete mortice lock (including the striker plate) in around an hour. That’s on a good day.
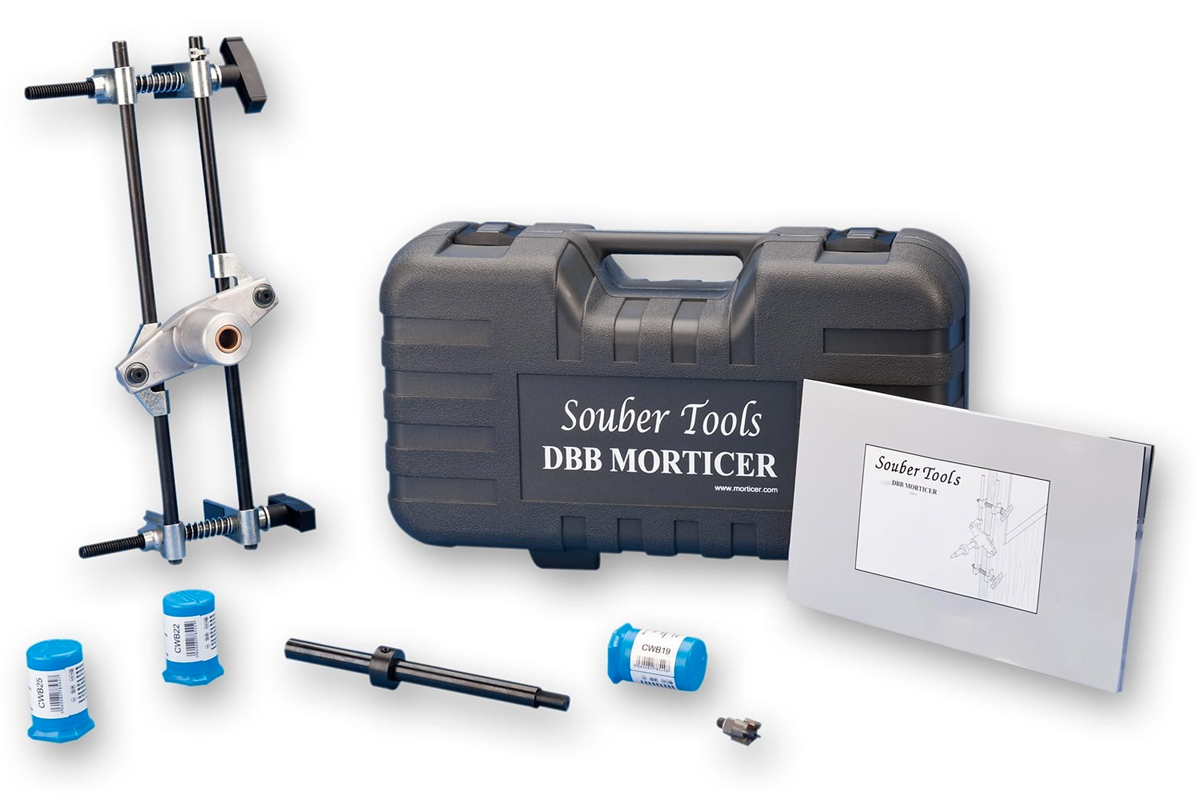
Without question, the most difficult part of the whole process, and the one that takes the longest time, is to make that first, deep, initial mortice, which is where the unique Souber DBB morticing jig is really pre-eminent. There are other jigs on the market that will do almost the same job, but the Souber has the distinct advantage of being the only one where the mortice can be machined in situ, i.e. the door is vertical and hinged into its frame. Moreover, the mortice can be machined to the correct depth without altering or changing the cutter.
Apart from being built like a Challenger tank, it’s deceptively easy to set up and intuitively simple to use. It consists of an adjustable, rectangular frame, which cramps onto the door. Like all the best ideas, an ingenious pivoting mechanism on the large aluminium central housing means that the frame will cramp and fit any door up to 55mm thick, with optional extras available to suit a wider door or a deeper lock. With the cutter screwed in place on the central shaft and connected to a suitable power drill, it’s then simply moved vertically up and down until the correct depth has been reached.
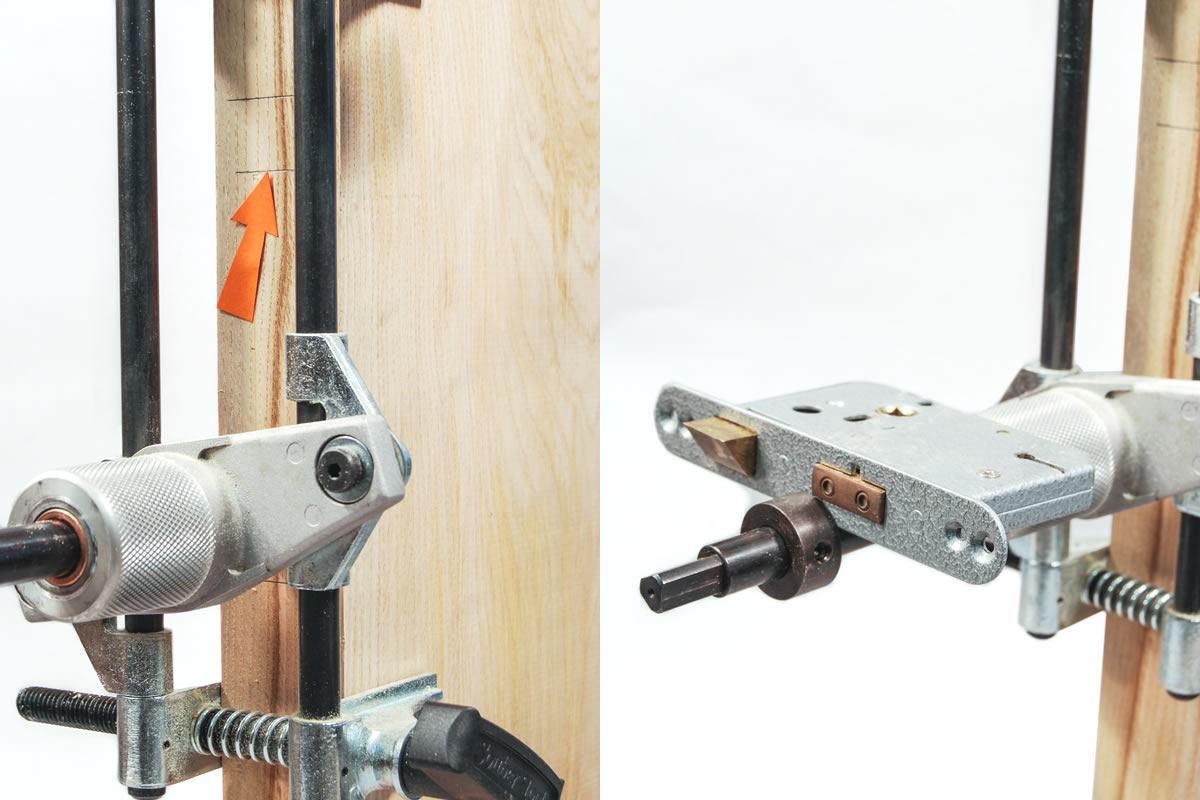
Step 1
Mark out the positions in pencil of the main mortice (arrowed) and the shallower one for the lock plate. Cramp the jig onto the door (in the vertical position) so that the appropriate sized cutter for the thickness of the lock (there are three to choose from) just overlaps the innermost mortice pencil lines.
Step 2
With the cutting bit touching the door, set the depth of the mortice by using the lock itself, together with the locking collar.
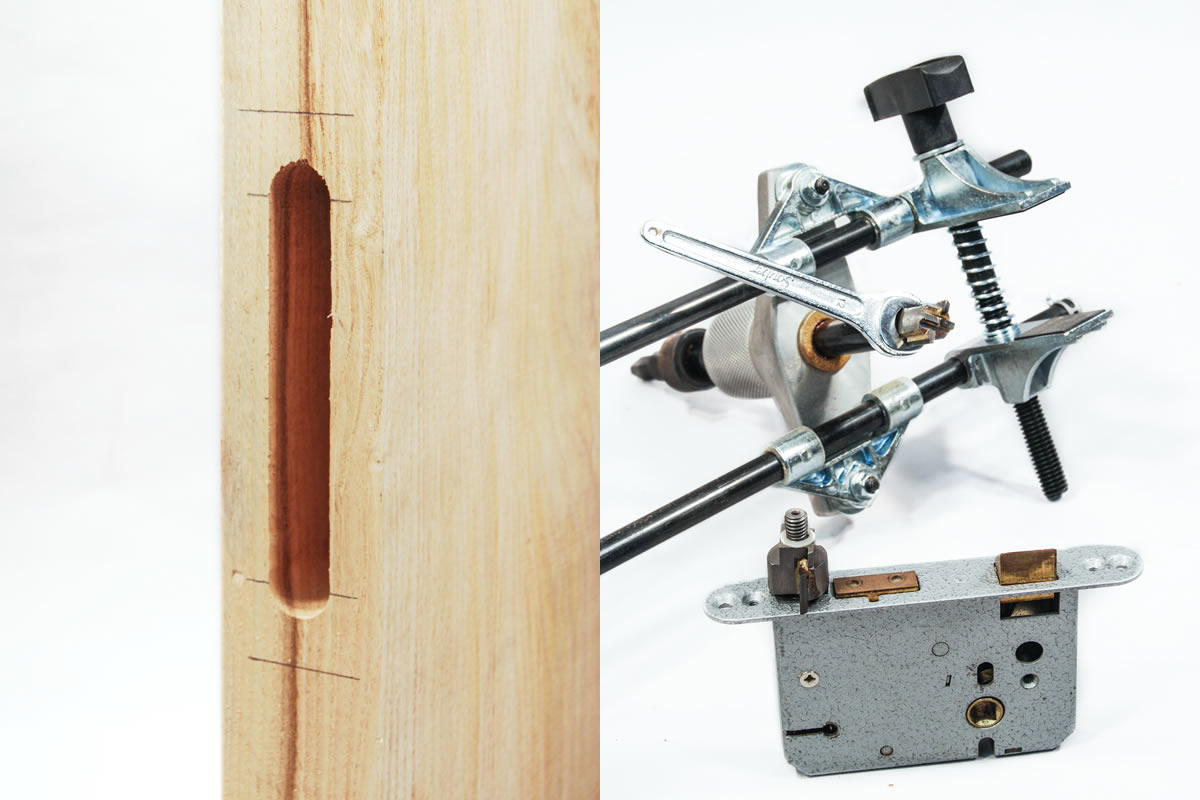
Step 3
Drill out the mortice by traversing the cutter vertically up and down between the parallel guide bars. For the best cutting performance, it’s recommended that a mains powered drill be used with a 13mm chuck running at a speed of approx. 2,000- 3,000rpm, clearing out the waste as the work progresses.
Step 4
The mortice cutter is now unscrewed and changed for a slightly wider one that will fit the lock plate.
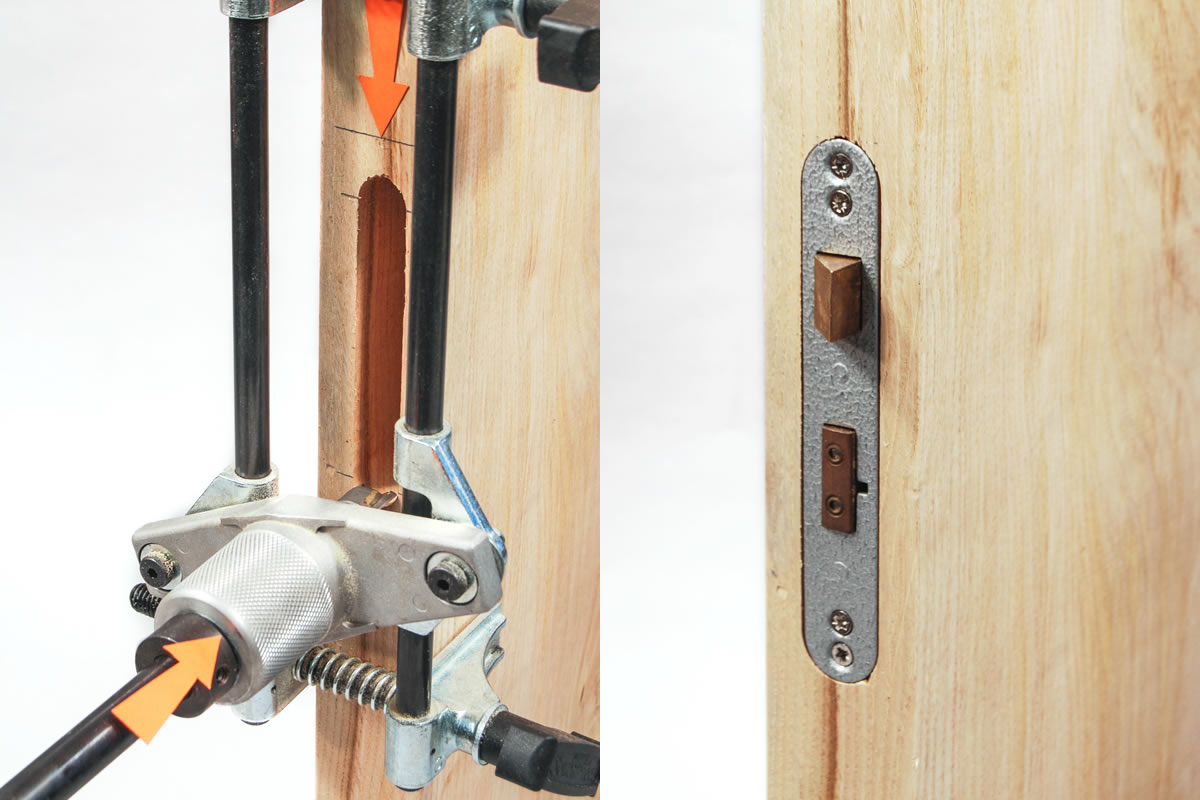
Step 5
The jig is repositioned and cramped to the door so that the new, wider cutter just touches the outermost pencil marks (arrowed), which define the limits of the lock plate. The thickness of the lock plate is set (arrowed) again using the collar on the central machining shaft. One or two passes up and down is sufficient to machine the shallow recess for the lock faceplate.
Step 6
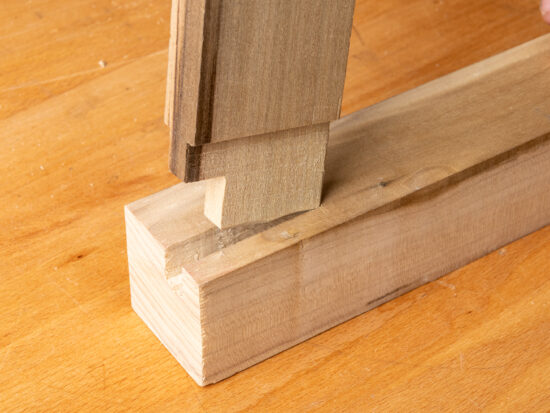
Fit the lock into the mortice and screw in place. The lock shown has a faceplate with semi-circular ends, but if as is the usual case, one is used with square ends, it’s a matter of a few moments work with a chisel and mallet to make the lock a snug fit.
Hmm, might have been a good idea to read this before publishing. Half of it reads like complete jibberish, hope they don't put these instructions in the box!.
Dave, I was amazed at how intuitivley simple the Souber jig is to use…it really is that good and I don't fit many lock mortices. If you do buy one, I'd recommend a little practice on a a gash bit of stuff. It won't take you more than 15 minutes to get the hang of it.
WHAT A GREAT TOOL,
Thanks i now have the lock in the door but where do i put the key and handle. how do i use the souber to cut the striking plate?
I brought the souber to fit a mortice lock in 5 mins but its only done half a job.
By the way it took me over 5 mins to set the souber up!