How To Project | Twig and Epoxy Resin Bowl
What you'll need
A small and simple project to get you started with resin. This small bowl, made using epoxy resin and hazel twig discs, is a great starter project for those dabbling in resin casting. Perfect stock for craft fairs or to give as gifts. You can use clear resin or add a pigment to create beautiful designs to contrast with the timber discs.
How to steps:
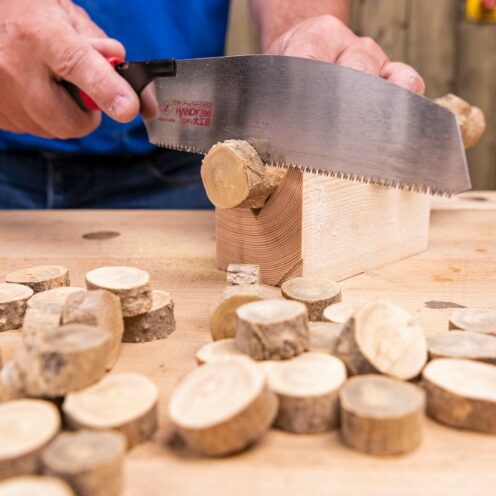
Cut a number of twig discs. Ensure your timber is dry wood.
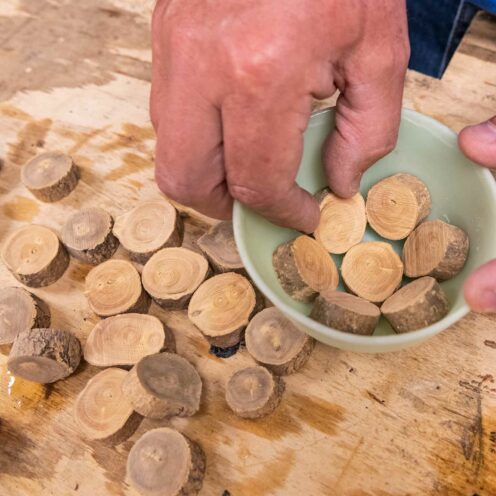
Arrange your twig discs in a latex mould to work out how many you need.
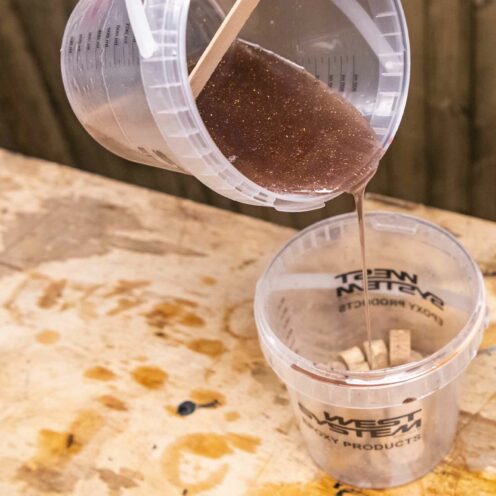
Mix the resin according to the instructions.
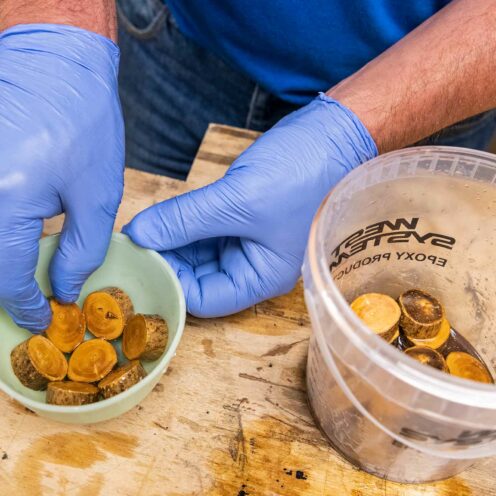
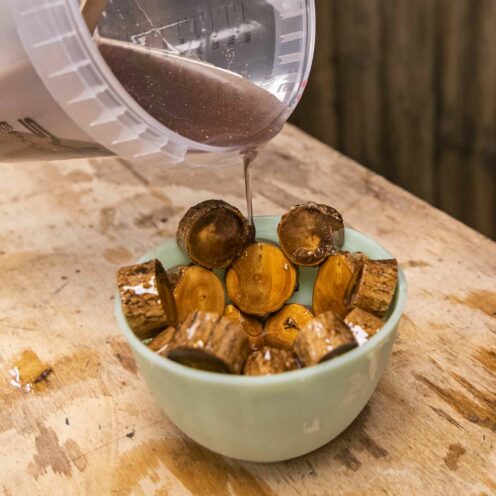
Before filling the mould with resin, you will need to do a sealing coat on the discs first. Put the wooden discs in a mixing pot and coat with some of the resin.
Spray your mould with release spray to help release your project once set. Place the resin coated discs in the mould arranging them as before. Allow 24 hours to harden before completing the main resin pour.
Do the pour
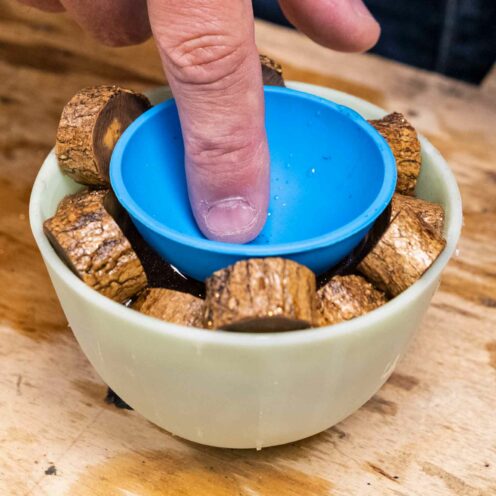
Fill the mould half way with resin.Then, place a smaller mould inside and push down gently. This will mean less resin is required and the less you will need to turn away, a more economical approach to save wastage.
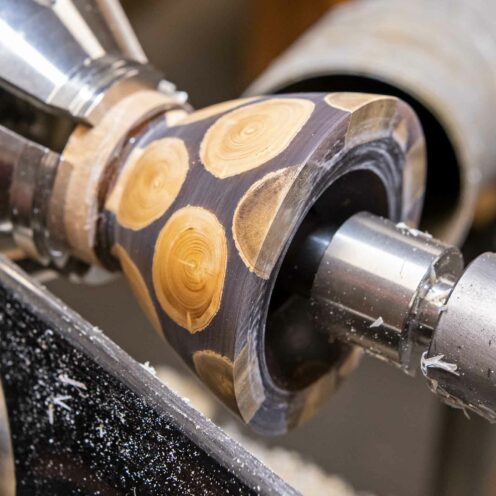
Allow 4-5 days to set and cure. Once cured and the centre mould removed, you will be left with a hollow piece.
Attach the piece to a glue block using epoxy resin glue and plywood, and fix to the jaws and chuck. We have used the Axminster Woodturning O’Donnell Jaws. Bring your tailstock up to the project.
Turn the surface and sand
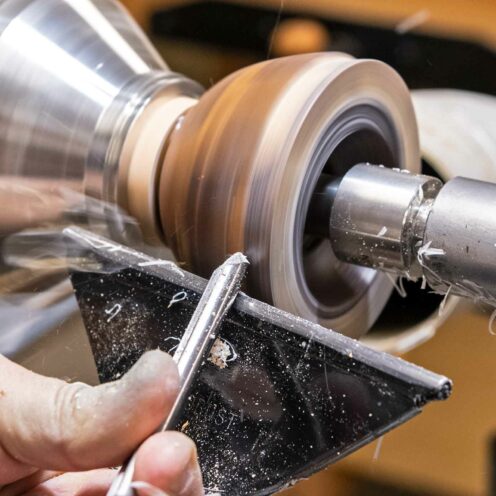
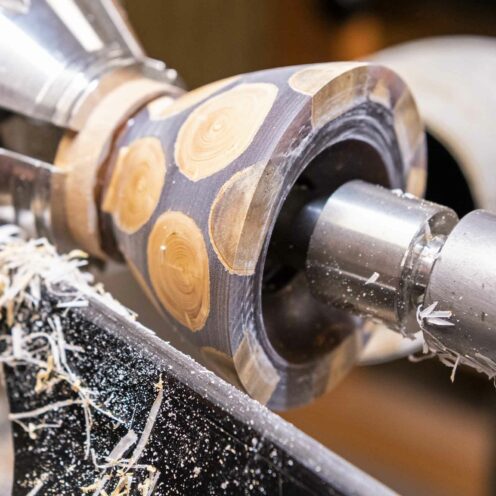
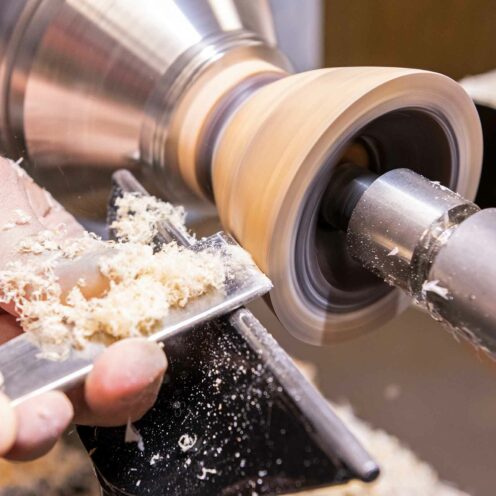
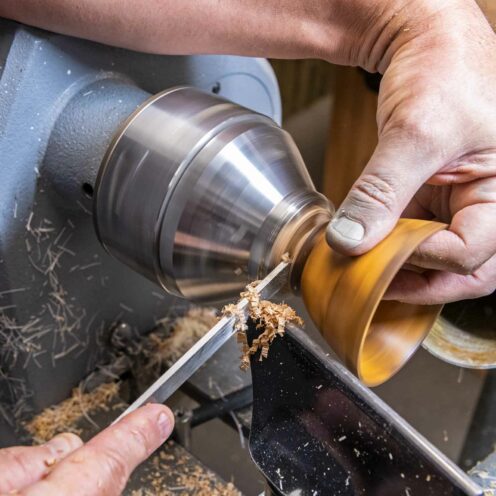
Using a bowl gouge (3/8th inch) rough out the surface. Clear the resin away to ensure all discs are revealed.
Clean up the top edge with ¼ inch gouge and clean the surface, scraping using a skew chisel or negative rake scraper.
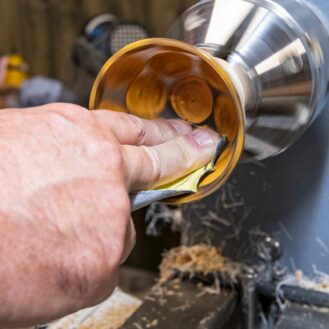
Wet sand with oil, not water, to avoid shrinkage in the timber. Start with 150 grit to remove the turning lines using Mirka's Abranet. Note sanding epoxy resin takes longer than timber so take your time to sand.
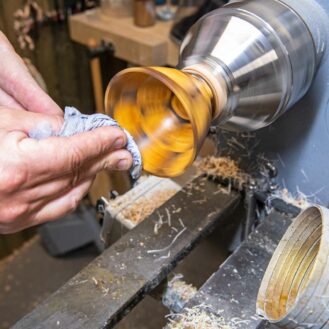
Turn down the lathe speed and add oil to the abrasive. We used Chestnut Finishing Oil. Move through the grits to 180, 240, 400 and 600 taking your time with each. Wipe off the excess and slurry with a soft cloth and apply more oil to clean the outside.
Turn the inside
Remove the tailstock and move out of the way. Ensure your gouge is sharp and resharpen as necessary when turning, as resin can dull an edge quite quickly.
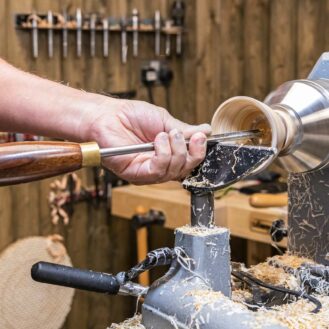
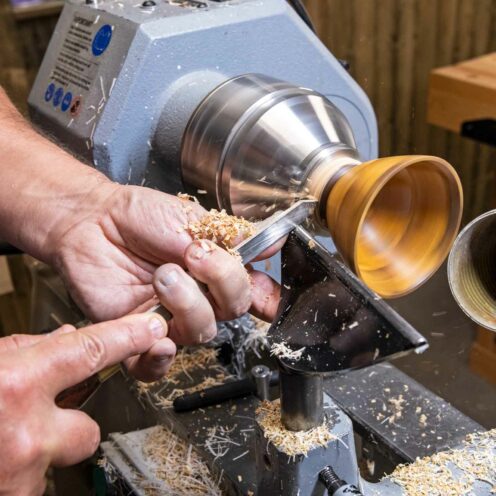
Make small cuts in stages to avoid shattering the piece. Using a small gouge, rough out the uneven inside before working on the thickness, aiming for 3mm. Do it in stages to ensure all ridges and join lines are removed, before turning across the bottom of the bowl to blend in the shape.
Repeat the sanding process on the inside of the bowl.
Remove the foot
Start to remove the foot. Use a scraper to clean up and use a parting tool to ease more of the base away. Hold the piece in one hand and use the parting tool to clean away the holding plywood chuck.
Attach custom made plywood jaws using the Axminster Woodworking Wood Jaw Plates to your chuck to hold your bowl in place. Clean away the remaining ply with small cuts using your gouge. Then repeat the sanding and oil finishing process.
Summary
So, try your hand at resin turning with this small twig bowl project. If you have had a go, let's see it! Share with us on social media your projects. Upload your photos and tag us. Search and tag @axminstertools on Instagram, Facebook and Twitter. Or share in the comments below.


