Eccentric Woodturning | Offset Coasters Project
What you'll need
If you have ever wanted to try eccentric woodturning, then this is the project for you. But first you will need an eccentric spiralling chuck.
With the Axminster Woodturning Eccentric Spiralling Chuck you can create unique, offset pieces simply by changing the turning axis of your workpiece. Create a whole range of beautifully unique pieces, using spiralling and off centre design.
Why buy?
The eccentric spiralling chuck is made by using CNC production techniques from stainless steel, for unrivalled accuracy and long lasting durability.
It is lightweight and easy to use and features an index plate, a pivot plate and a dovetail ring. Simply insert the offset screw at your chosen point when setting your offset position and attach the index plate, aligning the index pins.
The eccentric spiralling chuck fits directly on any 100mm and 114mm Dovetail Jaws (Type C) including the Axminster Woodturning range and other brands. This is one of the most versatile jaws and is useful for small bowls and end grain work such as boxes and goblets, suited to eccentric turning designs.
The possibilities are endless
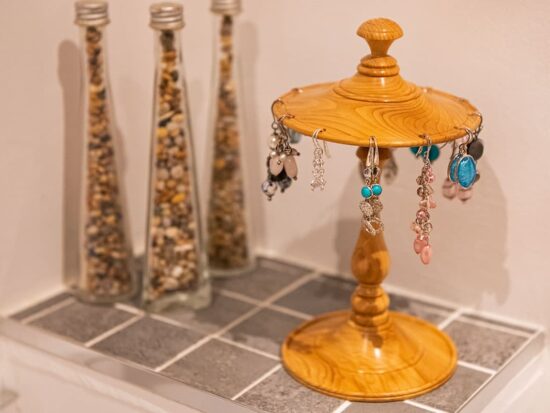
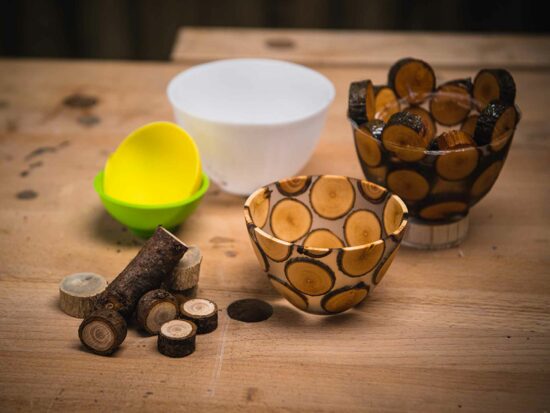
The possibilities are endless with the eccentric spiralling chuck. Popular projects suited for off centre turning include candlesticks, goblets, jewellery, box designs and more! The potential for creating beautifully unique and eccentric pieces is unlimited.
How To Turn Offset Wooden Coasters
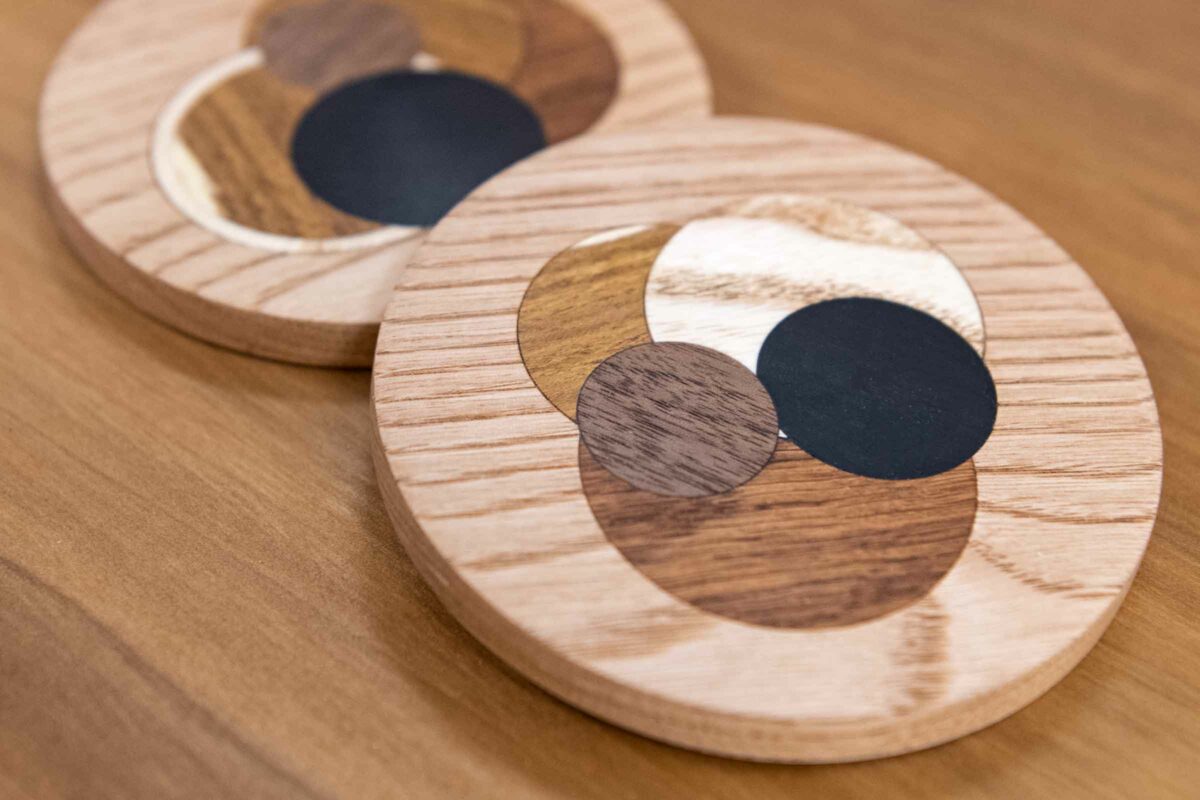
Have the chuck and want to practice your technique? Then this simple project is for you. Create a beautiful and unique set of coasters that would look great on any coffee table. Keep them for yourself or give them as a gift.
Watch our Woodworking Wisdom Live demonstration or follow our step by step guide below.
Preparation
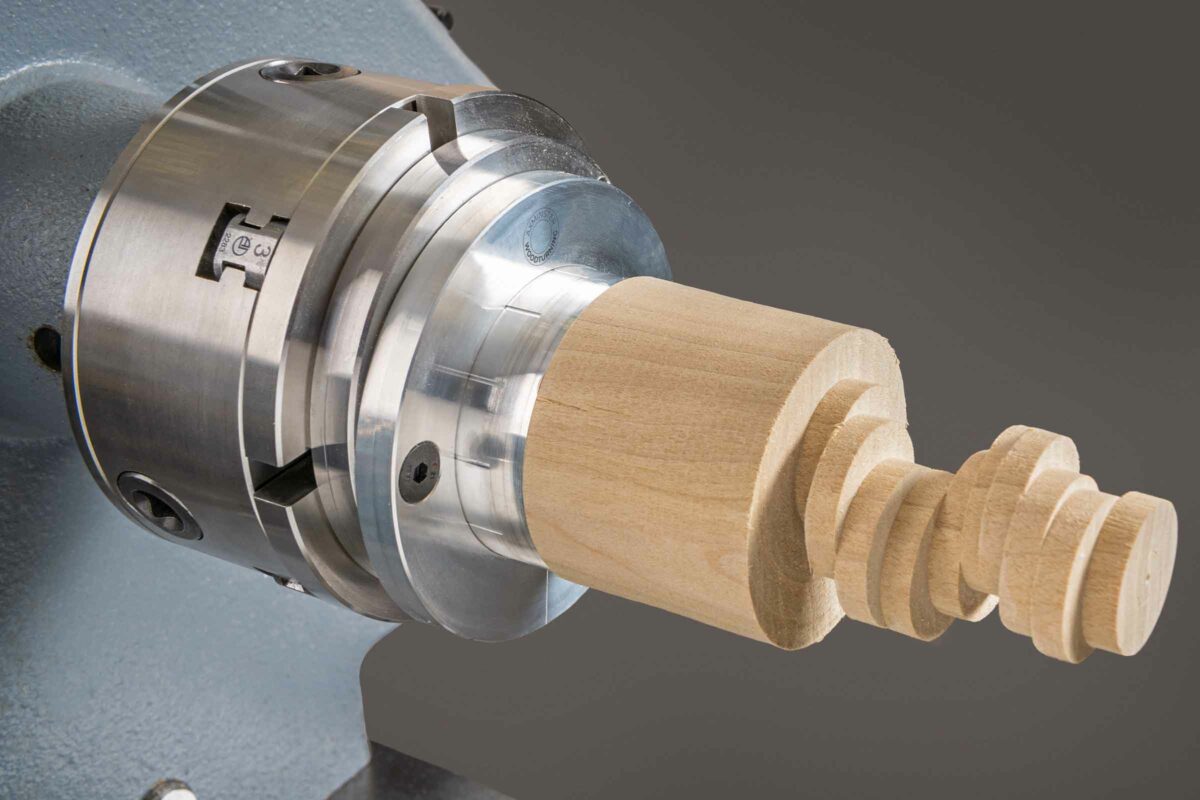
Prep your insert discs from your offcuts choosing different sizes.
Set your eccentric chuck to its most extreme position for your first inlay disc. Measure your first disc using dividers and then mark out on your base piece where the disc will sit.


Set your lathe at a slow speed and increase slowly to eliminate any risk of your offset piece causing an accident due to the uneven weight distribution.
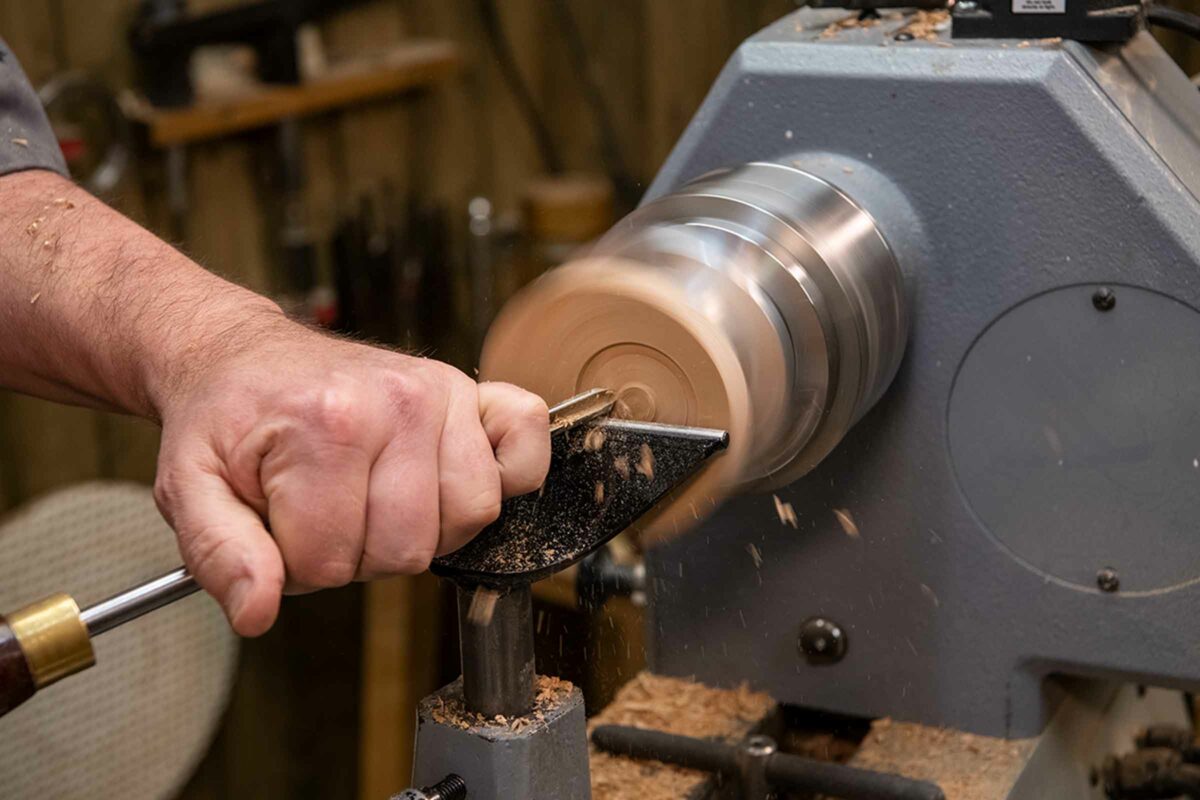
Make your cut
Using a parting tool make a cut 3mm deep and, using a gouge, remove the waste. Run a skew along the bottom of the recess to ensure it is flat.
Once you have turned the recess to the correct size, use CA glue to glue your disc in place and skim the top with a bowl gouge, first using a drag cut from the centre, and then clean up with a push cut. You don’t need to worry about it being fully flush, as this can be done once all the discs are recessed.


Change position and repeat
To reset your position, undo the centre bolt at the back and pivot the top section of the chuck around and tighten in place. Alternatively, you can reset the offset position by changing the index pin that you set at the start.


Repeat the process as before choosing another piece of timber. Measure, mark and turn as before. Repeat until you are happy with your design.
Tip: remember your PPE - use a face shield to avoid getting any glue on your face.
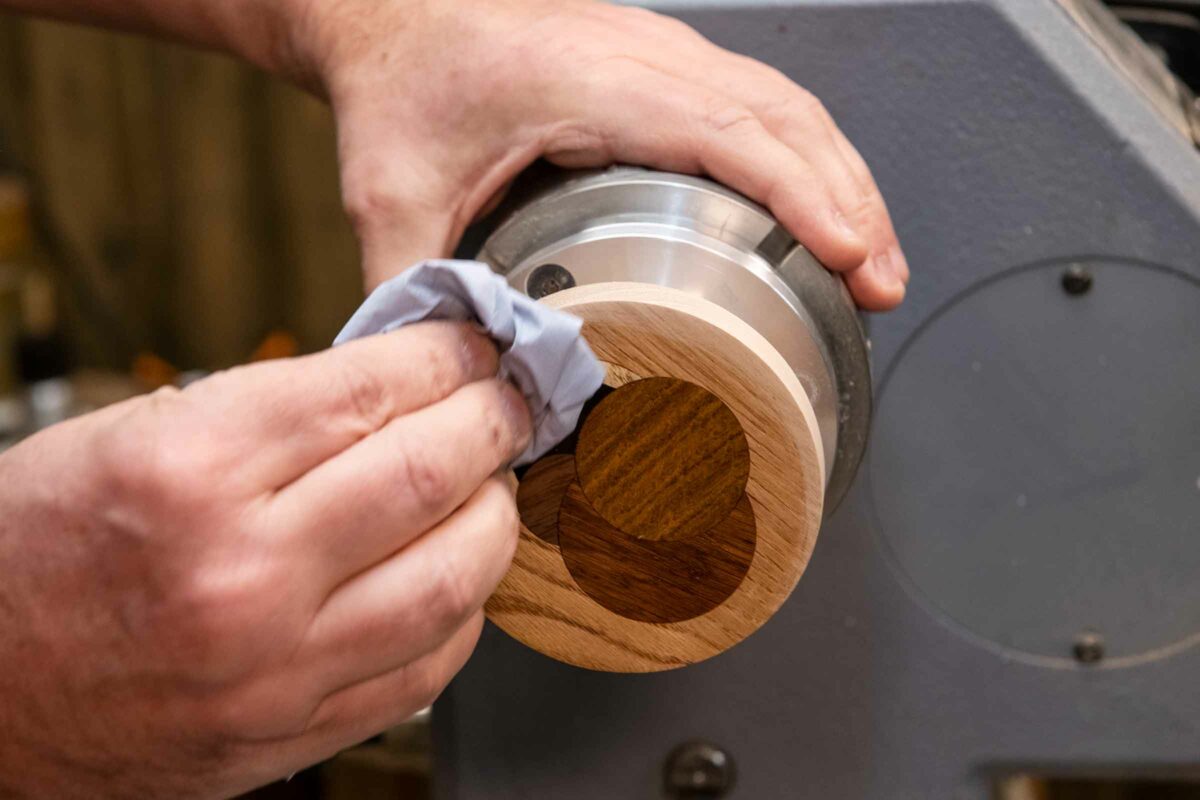
Finishing touches
Once you have set all of your discs, reset the chuck index position from the extreme point you have been using, back to a central position and tighten. Attach to the lathe. You can now increase the lathe speed due to the chuck position being set to a central position.


On the centre point, and using a skew, skim the surface until flat, then sand. Sand through from 150 to 240 and finish with 400 grit.
You could use an Epoxy resin on these coasters to finish and a countertop resin would work well. Here Colwin has used a Lemon Oil to finish, but a finishing oil would work nicely too. Sand the oil in with a 600 grit on low speed. Repeat a few times for a nice, shiny, smooth finish.
Removing the holding piece
Using the wood plate jaws and homemade wood plates, insert a piece of dowel to help mark out your coaster. Measure your coaster and mark on the wood plates the diameter of the coaster. This is to hold the coaster to turn away the holding piece at the back.
Use the parting tool to make a cut to set the depth. Use a bowl gouge to clear the waste, and a skew to true up the edge and flatten the bottom. You now have custom made jaws for your coaster. Remove the dowel from the wood plate jaws and remove your coaster from the eccentric spiralling chuck and place in the custom made jaws.
Using the bowl gouge remove the waste wood from the back of the coaster, then sand repeating the previous sanding and finishing steps as before.
Made it? Let’s see it!
If you have had a go at making a set of offset coasters, or anything else using the eccentric spiralling chuck, we would love to see it! Comment below or send us a photograph. Alternatively, get in touch via our social media platforms and share your photographs of your pieces. Find us on Facebook or connect with us on Instagram – search @Axminstertools.
More inspiration
If you want further project inspiration, then subscribe to our YouTube Channel or explore The Knowledge further for more ideas.