
How To Make A Curved Finger Pull

UJK Technology Bushes are used in this instance to create a simple curved finger pull which could be used, for example, on the ends of a large box. Instead of using handles, here’s another method of providing a handhold for a box or drawer. The Festool OF1400 router has been specified, but other machines can be used with the appropriate guide bush adaptor plate.
What you'll need
Method
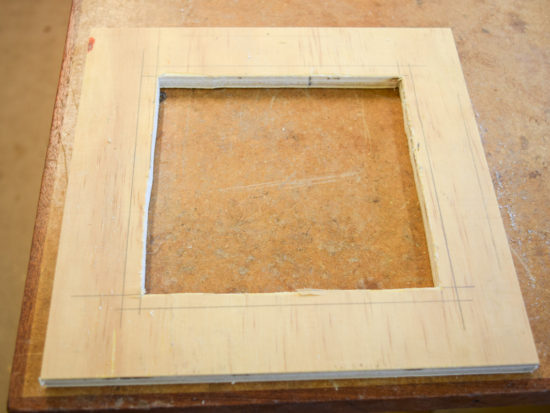
Step 1
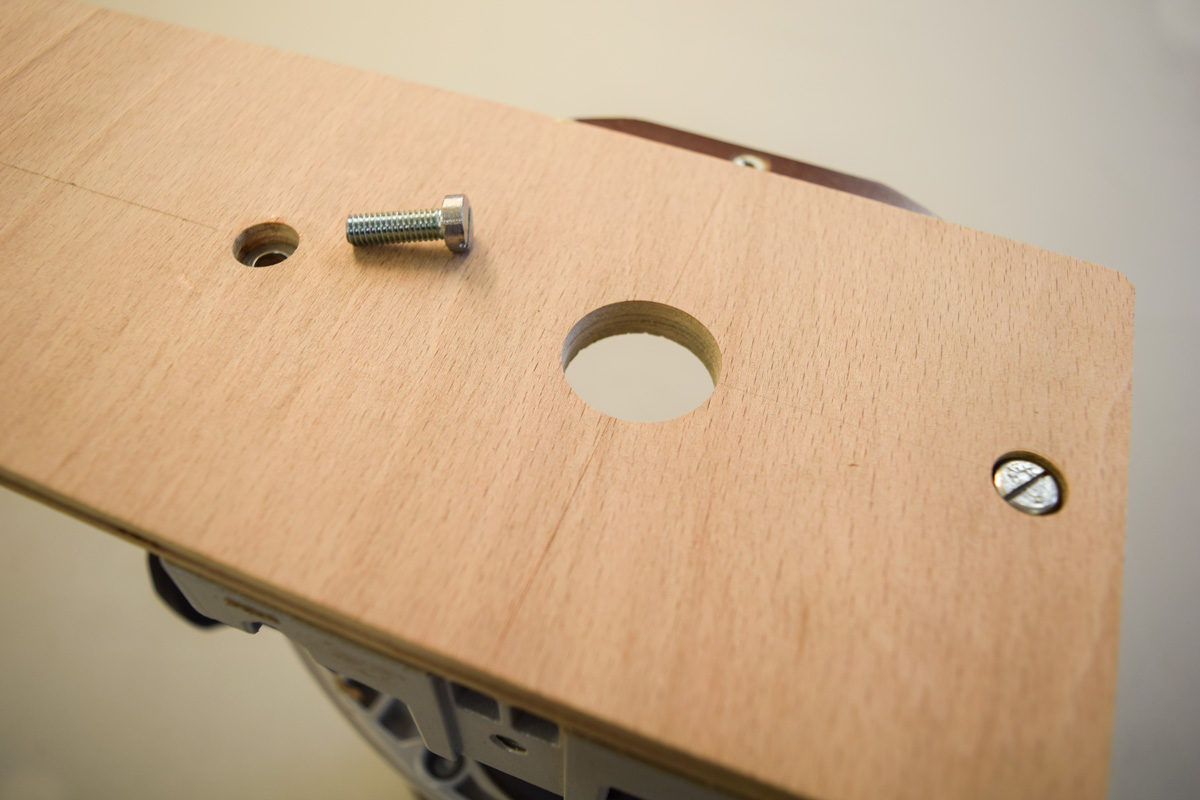
Use an oddment of 8mm ply to make a circle jig, mark a line down the centre. At one end, bore a 25mm hole for the router cutter and two smaller holes to bolt it to the base of the router.
Top Tip!
Don’t over tighten the bolts as there’s a possibility of stripping the threads in the router base.
Step 2
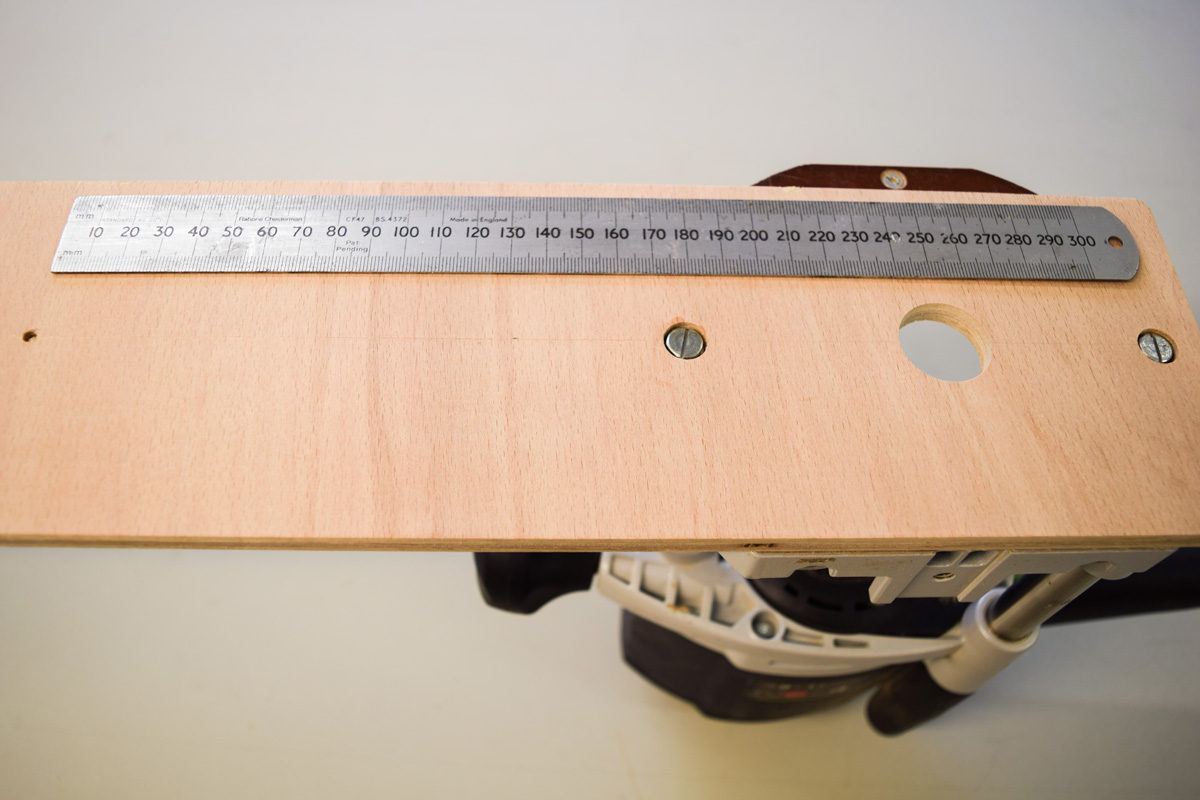
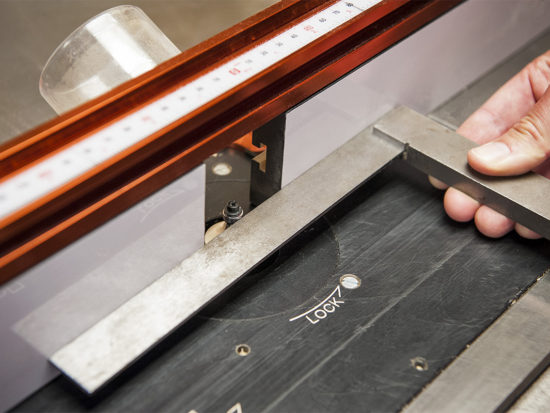
The radius of the finger pull was set to 250mm by drilling a small hole for a pivot screw at the correct distance.
Step 3
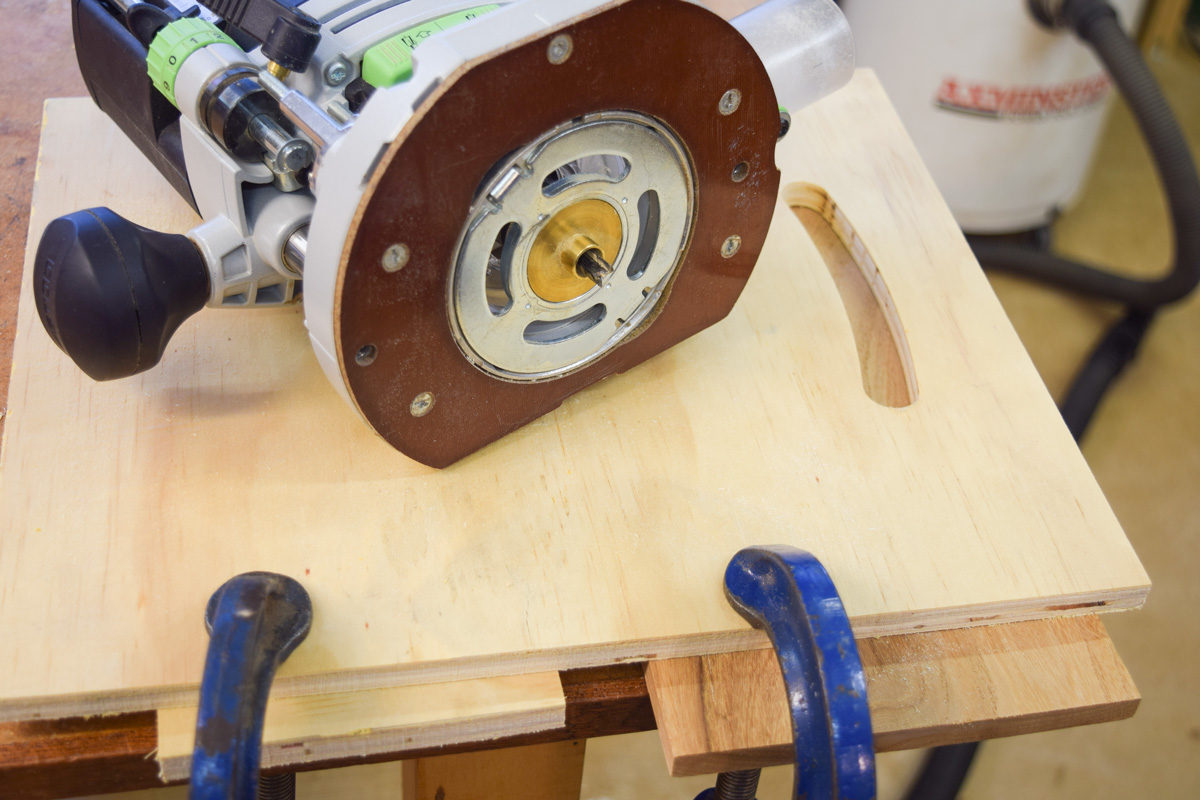
Insert the 19mm cutter into the router and screw the circle jig into the template material. The router will now cut a curve with a radius of 250mm. Plunge the router several times into the template to form a curved shape of the required length. The last cut should pass completely through the material. Unscrew the circle jig from the template material.


Step 4
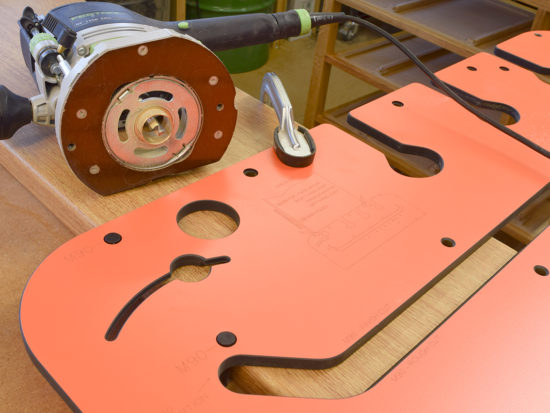
Remove the 19mm cutter and insert the 8mm bit. Install the 12mm bush into the router, giving a 2mm offset (12-8÷2=2mm).
Want to brush up on fitting Router Bushes?
Read this How To article which includes a chart guide to the offset.
Step 5
Clamp the template to the project such that the curved finger pull will be routed in the correct location. The final width is 15mm (19-2-2=15mm) as the cutter is worked firstly along one side of the template and then the other.
Step 6
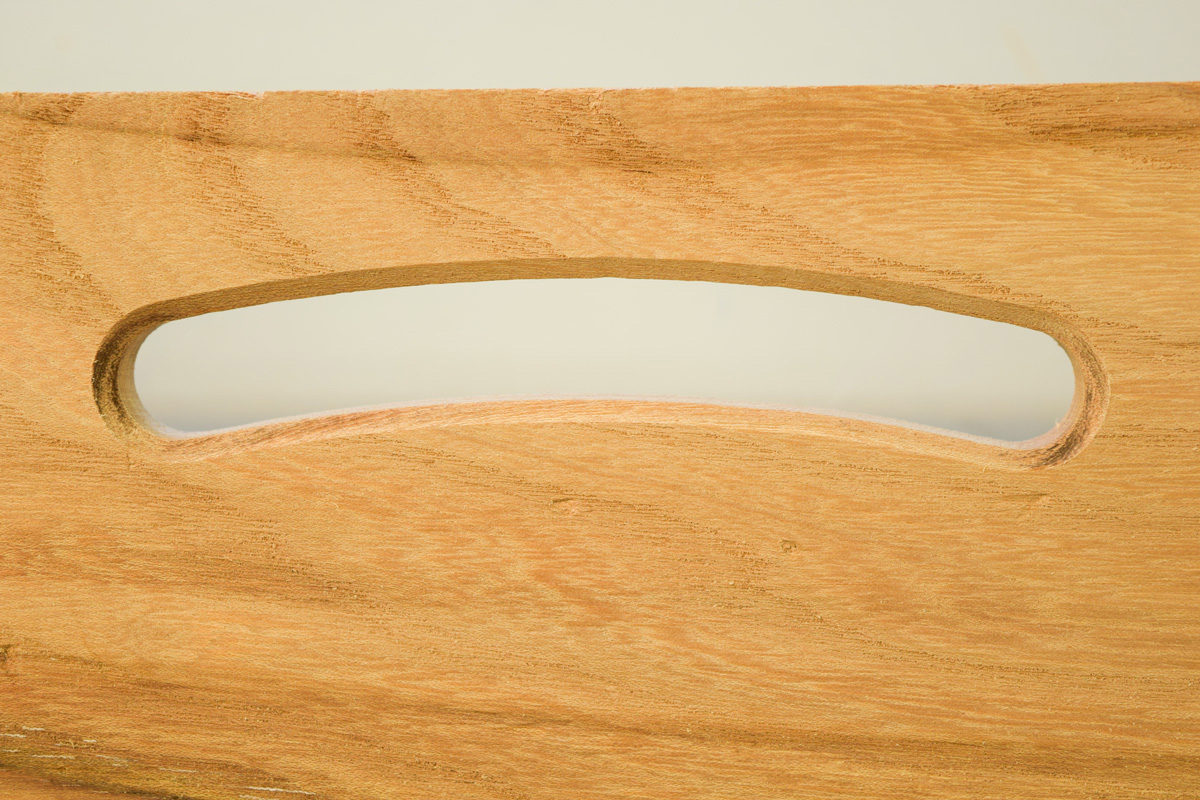
Remove the cutter and bush, replace them with a bottom bearing chamfer cutter. The hard edge of the finger pull is softened by machining a small chamfer all the way around.
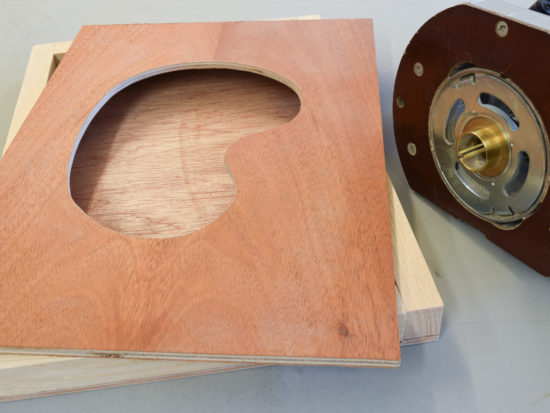
This is upside down! I used to work for a company which made thousands of crates a year for Coca-Cola and Bulmers, the machines which cut the hand holes where set up to cut them the opposite way to that shown in your article. See attached picture.
https://images-na.ssl-images-amazon.com/images/I/71NMZPb7aHL._SL1500_.jpg
He's not wrong!
The shape in the Coke box follows the shape of the hand, also has more material for the fingers to grip when pulling - seeing as the article is a finger pull - also more clearance for the back of the hand when putting the fingers into the slot. It's all about ergonomics. Tut, tut Axminster - dropped the ball on this one me-thinks.