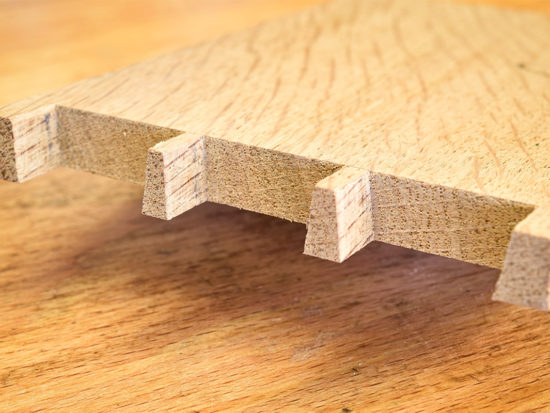
Commercial Veneers - How To Lay Them
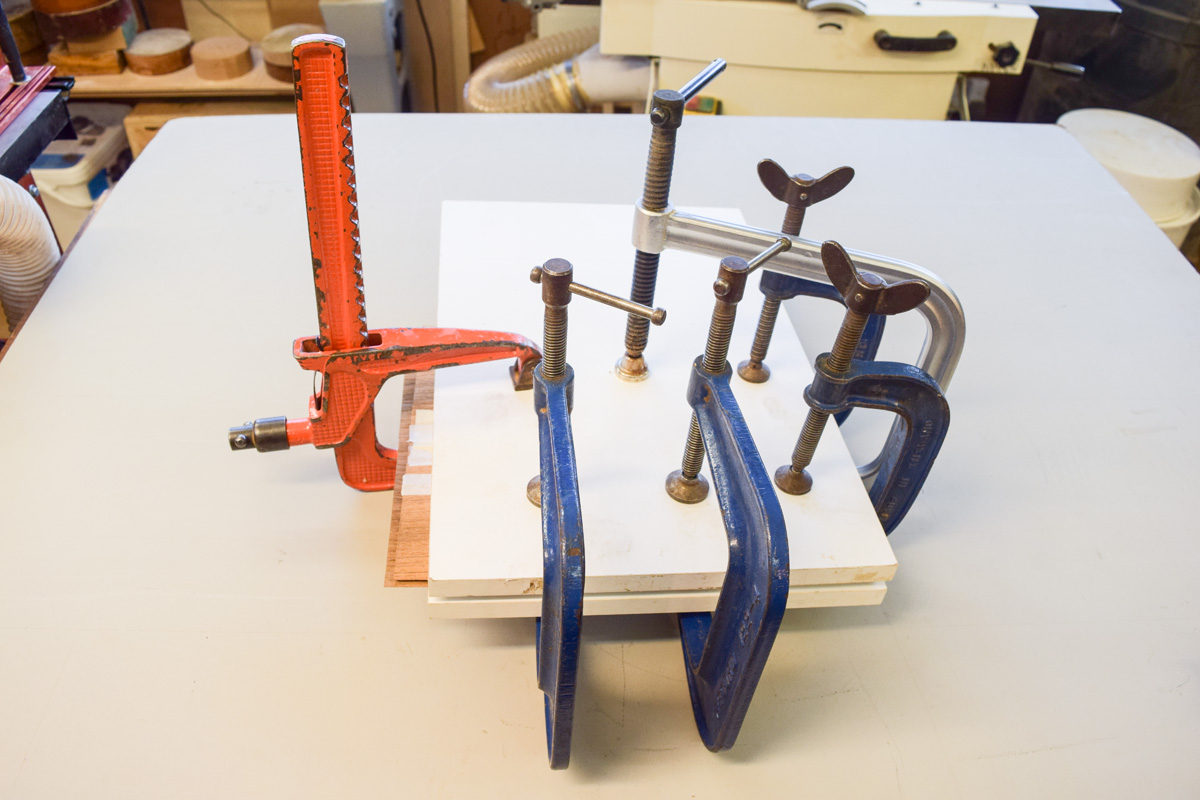
Laying veneer to a ground, or substrate, is a fundamental woodworking process which is not difficult to master provided simple guidelines are followed. A vacuum bag is used for this example, but a smaller project could be pressed between two cauls and the pressure applied with G or F clamps. Bear in mind that single handed clamps don’t apply enough pressure, so are best avoided. Most waterproof PVA adhesives are suitable as well as a urea formaldehyde glue such as Cascamite or similar.
What you'll need
Method
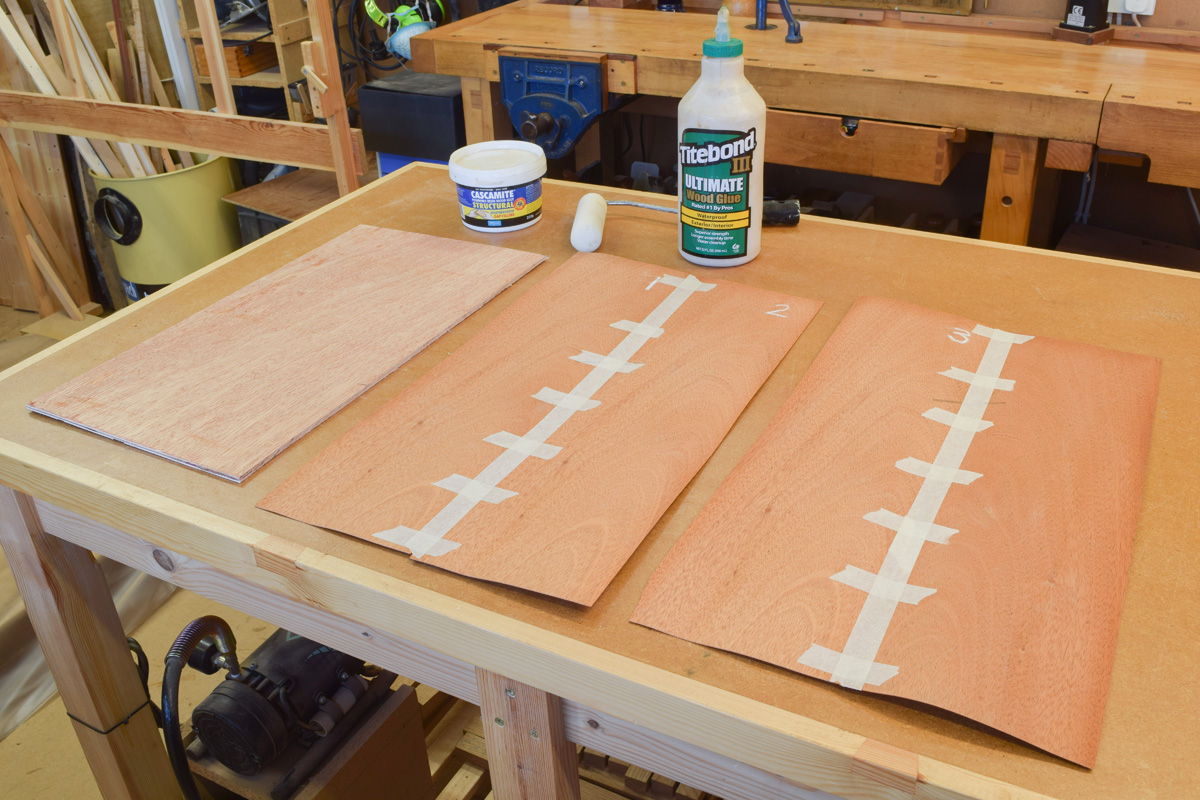
Step 1
Prepare the materials ready for veneering: substrate, veneer leaves, glue and roller.

Step 2
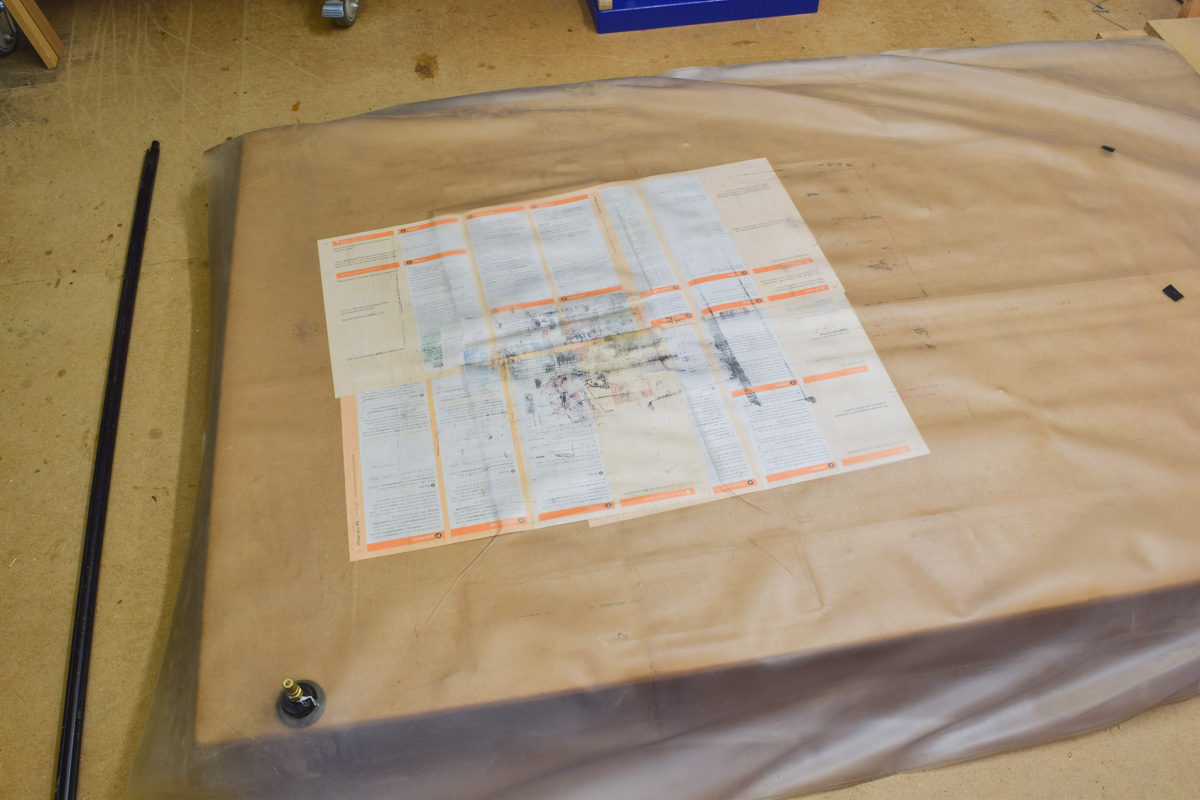
Place thick paper on the baseboard inside the bag. This prevents any glue ‘squeeze out’ from sticking the project to the base.
Step 3
Apply and roll the glue onto the substrate, ensuring that there’s an even layer across the whole surface and lay one pair of leaves on top. Turn the project over, apply more glue and lay on the second pair.


Step 4
Insert the project into the bag and cover it with more sheets of thick paper.


Step 5
Seal the bag and switch on the vacuum pump. This sucks the bag down over the project to apply atmospheric pressure.
Optional
The setting time for the glue in the bag can be significantly shortened if additional heat is applied over the top.


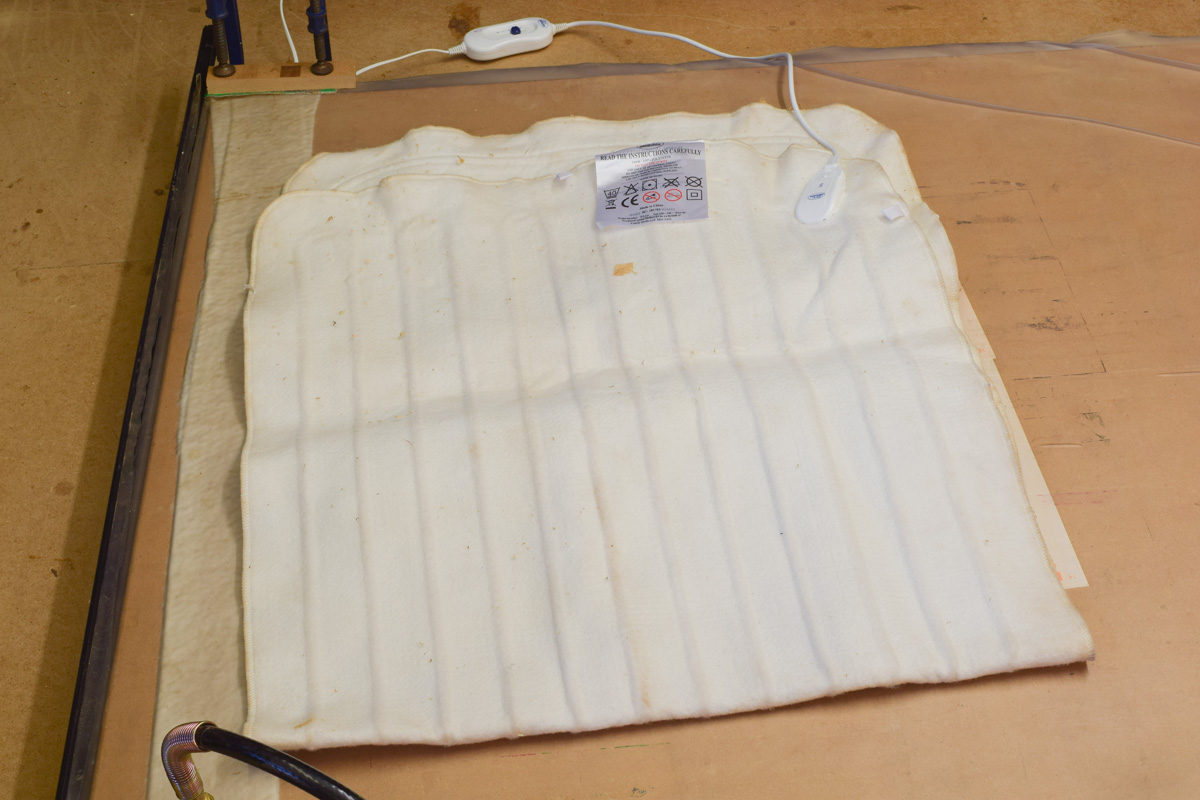
Step 6
Lay an electric blanket on top of the bag, switch to the ‘max’ setting.
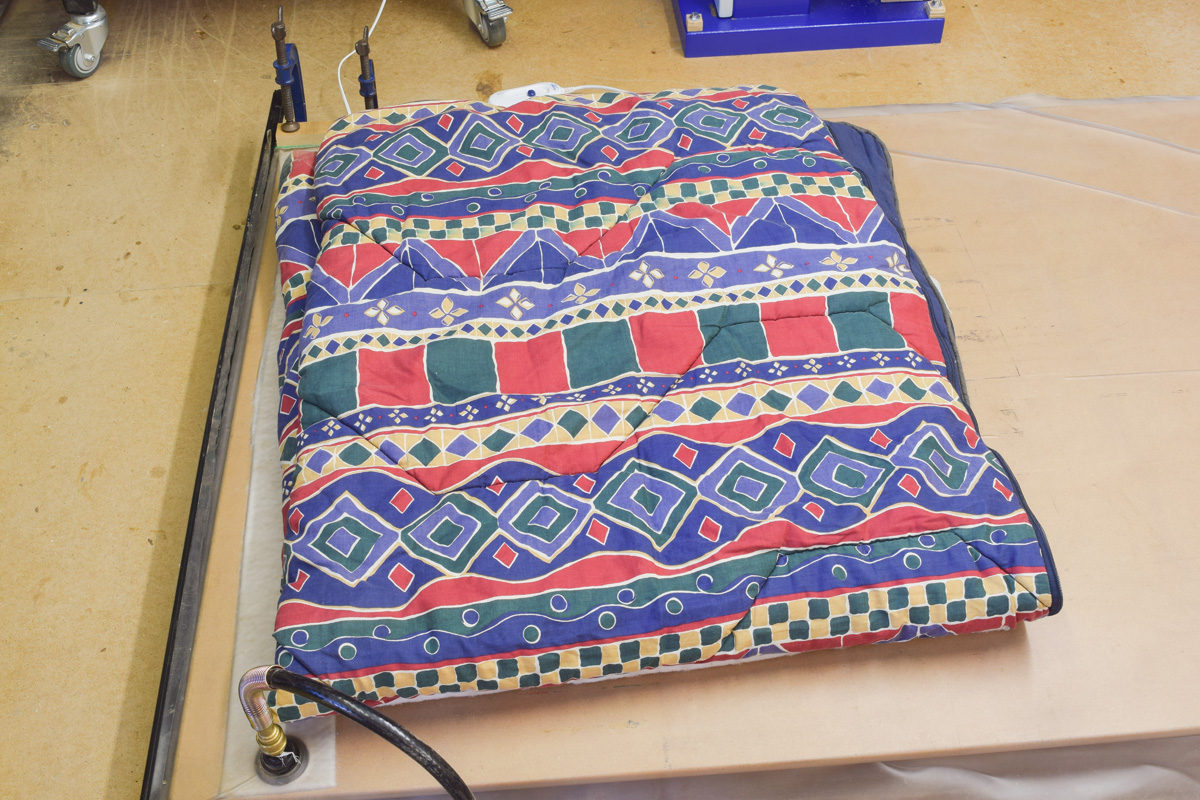
Step 7
To trap the heat, cover the electric blanket with an old duvet. The glue will take around an hour to fully cure.
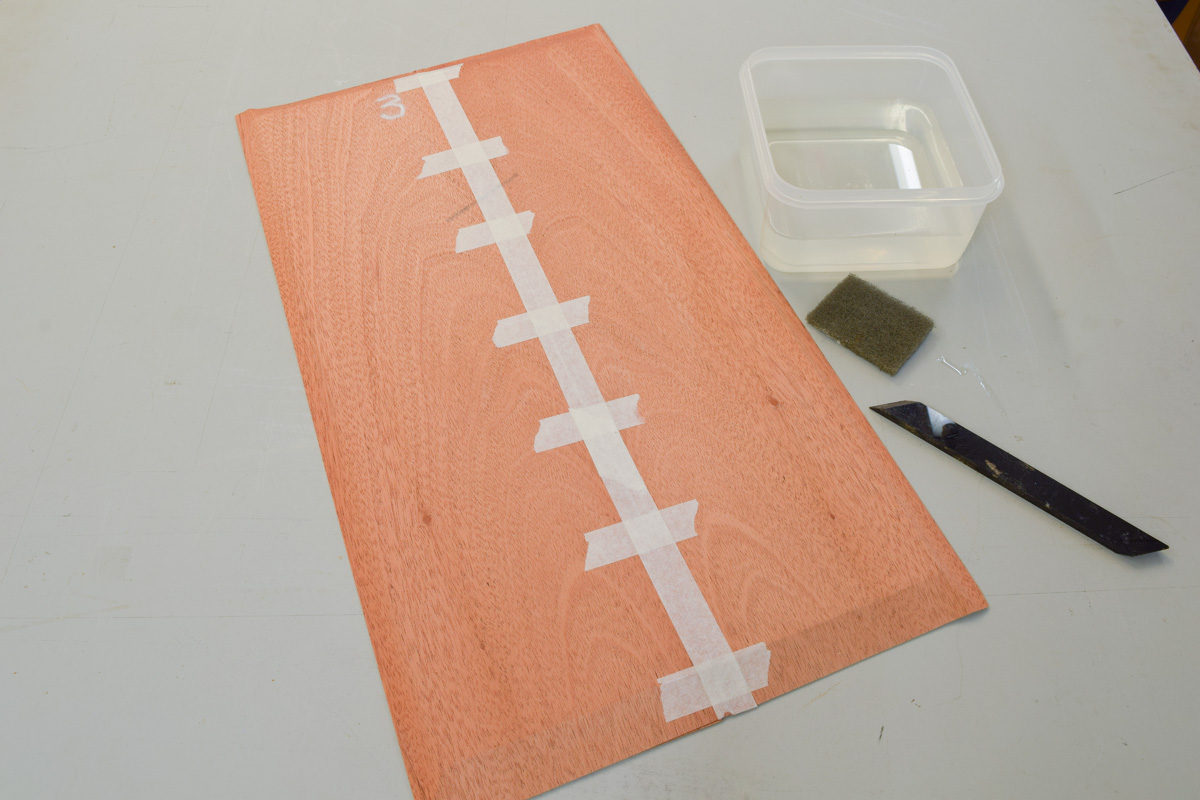
Step 8
When the glue has cured, take the project out of the bag and remove the tape on each side using water, a Webrax pad and a scraping implement.
Step 9
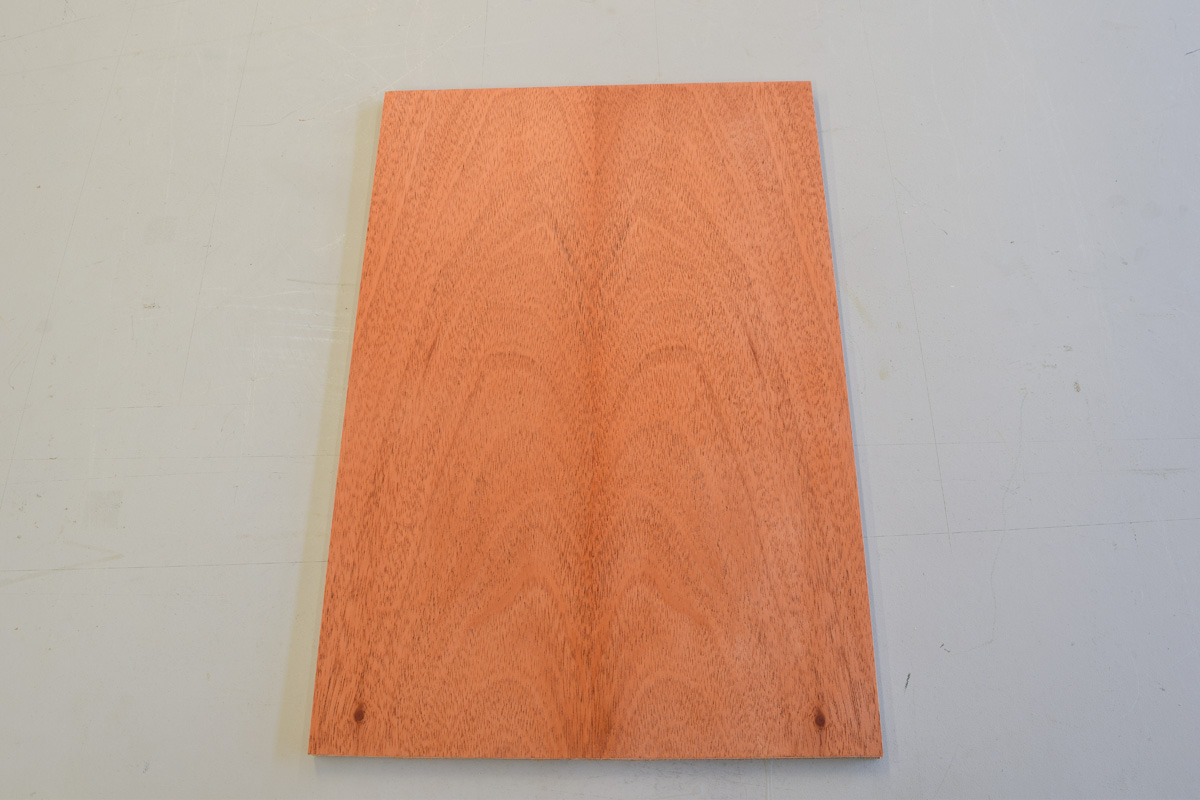
Let each side dry thoroughly and then sand. The completed book matched panel is shown with a coat of finishing oil to enhance the grain pattern.