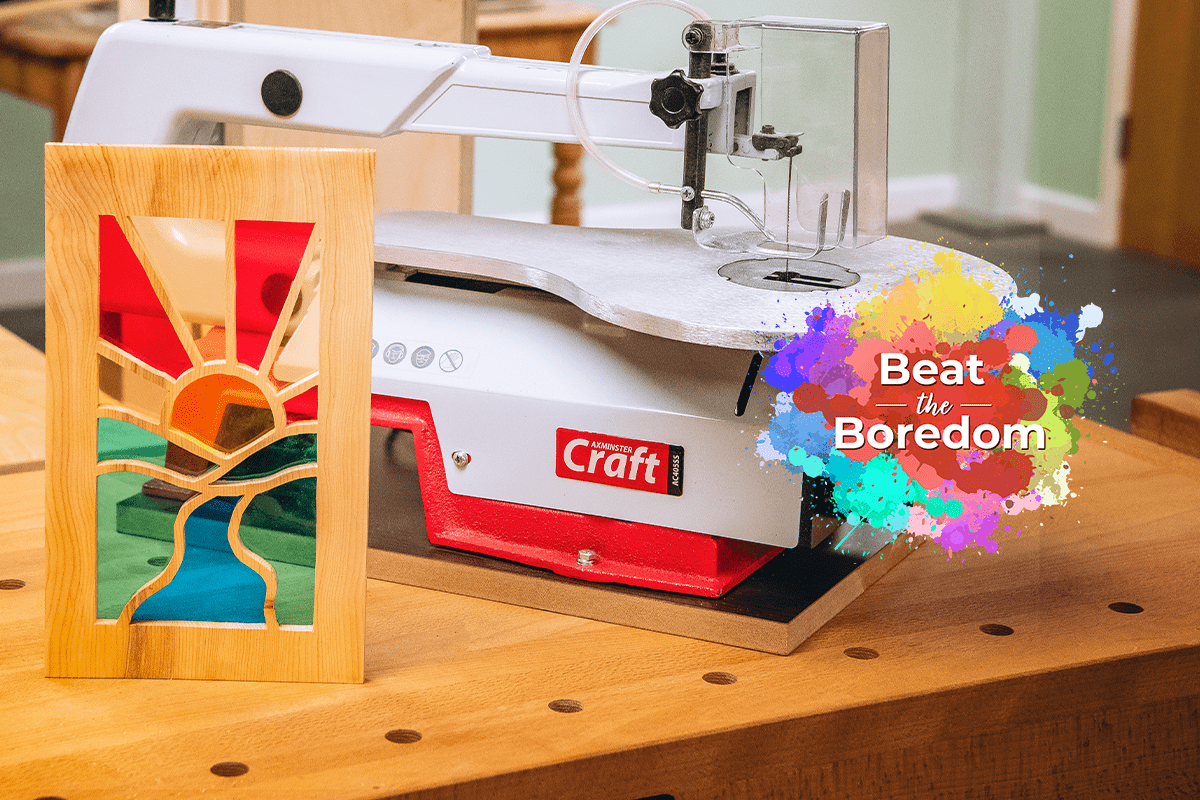
Wooden Stained Glass Window
If you’re looking for inspiration on how to entertain the children during the Summer holidays, why not try our latest Beat The Boredom project? With just a small selection of tools and lots of inspiration, have a go at creating this bright, bold and beautiful stained glass window. Suitable for older children, under adult supervision.
Part 1 - Lay out the template
Firstly, stick your template directly onto your piece of wood/ply using Copydex glue, or another strong PVA adhesive. Alternatively, use carbon paper to transfer the template. In our example, we chose to use a slice of Yew but any species will do for this project. We recommend that you avoid open grained timber such as Ash or Chestnut as there are some thin sections in the finished project.
Looking for a template? See here: Stained Glass Window Template.
Part 2 - Drill holes
Next, drill a hole in each of the windows. Use a scrap board behind the material you’re cutting to stop the drill bit breaking out the back. These holes are what we will push the scroll saw blade through once we get cutting.
Part 3 - Cut the pattern
You can cut the windows out in any order you want. Keep the bottom blade clamp of the scroll saw tight and undo the top blade clamp. Pop the blade through one of the drilled holes and cut each individual piece. Remember to slow down as you approach the end of each cut to avoid over shooting it.
Part 4 - Clean up
If you need to sand any part of your stained glass window project, or need tidying up to do, now’s the time. Brush any loose dust off of the project and have a clean up of your work area. At this stage, make sure to get rid of any wood dust as it will stick to the coloured lighting gel or sweet wrappers.
Part 5 - Cut the windows
For this part of the project, use lighting gels, transparent sweet wrappers or even coloured in tracing paper to create the windows. As long as the light shines through you will still get a great effect. You can either use your original template or the project itself to mark out the shapes needed. Then cut it out with either a pair of scissors or a craft knife. Make sure to do it slightly oversized so that there is an overlap.
Part 6 - Glue up
Next, it's time to glue up your project. Here, you will glue your cut shapes to the back of the project, but take care when you put each piece in place. The glue can smear onto the window which can affect the look of the finish. Firstly, place a small amount of the suitable glue/adhesive onto the timber. Next, carefully position the window in place. Repeat this step until you have covered the back of the project.
This glue is to hold everything in place. A small spot of Superglue on each window where it meets the timber will then secure them properly. Leave until the glue is dry. Your stained glass window project is now finished!
Lastly, choose a spot in a window or on the window sill to display your wooden stained glass window. As the light shines through it should throw lovely colours into the room!
Win a £25 Gift Card…
For a chance of winning at £25 Axminster Gift Card, simply show us what Beat The Boredom projects you’ve completed by uploading them to Instagram, Facebook or on to our Community Forum.
Snap It
Take a photo of your project.
Tag It
Use the #BeatTheBoredom hashtag and upload it to one of the following;
Discover more…
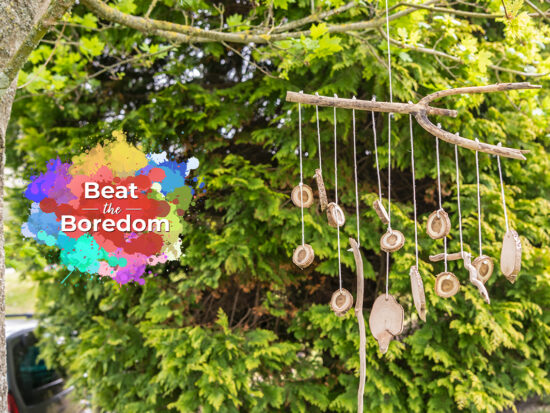
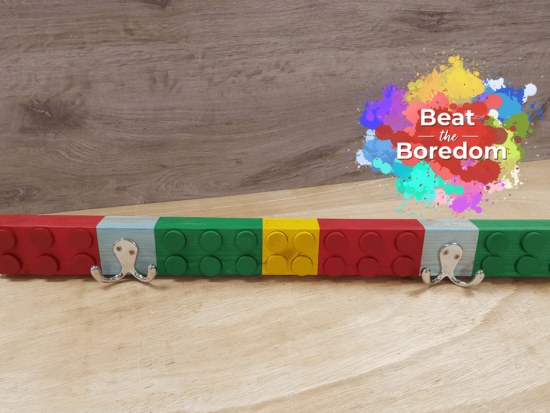
If you’ve enjoyed reading this article, keep an eye out for our next woodworking project for kids as part of our Beat The Boredom series. Watch this space for more details! Furthermore, why not take a look at all of our previous projects below?
Stuck at home with the kids? Looking for something fun to do? We have the answer with our online Beat the Boredom Series. A great way to get the children involved in a variety of...
Get connected!
Follow us on Instagram and Facebook to stay up to date on all the latest from our Beat the Boredom series. Connect with us using #BeatTheBoredom to @AxminsterTools.


Is there a link to the template? This looks a great project for our folk! Thanks :)
Hi there, it's now attached to the article as a link, just below the intro. Thanks, Hannah
Really nice, but where can I download the template?
Hi there, it's now attached to the article as a link, just below the intro. Thanks, Hannah
All looks great, I am inspired.
Where can we find the template for the window cut out?
Hi there, it's now attached to the article as a link, just below the intro. Thanks, Hannah